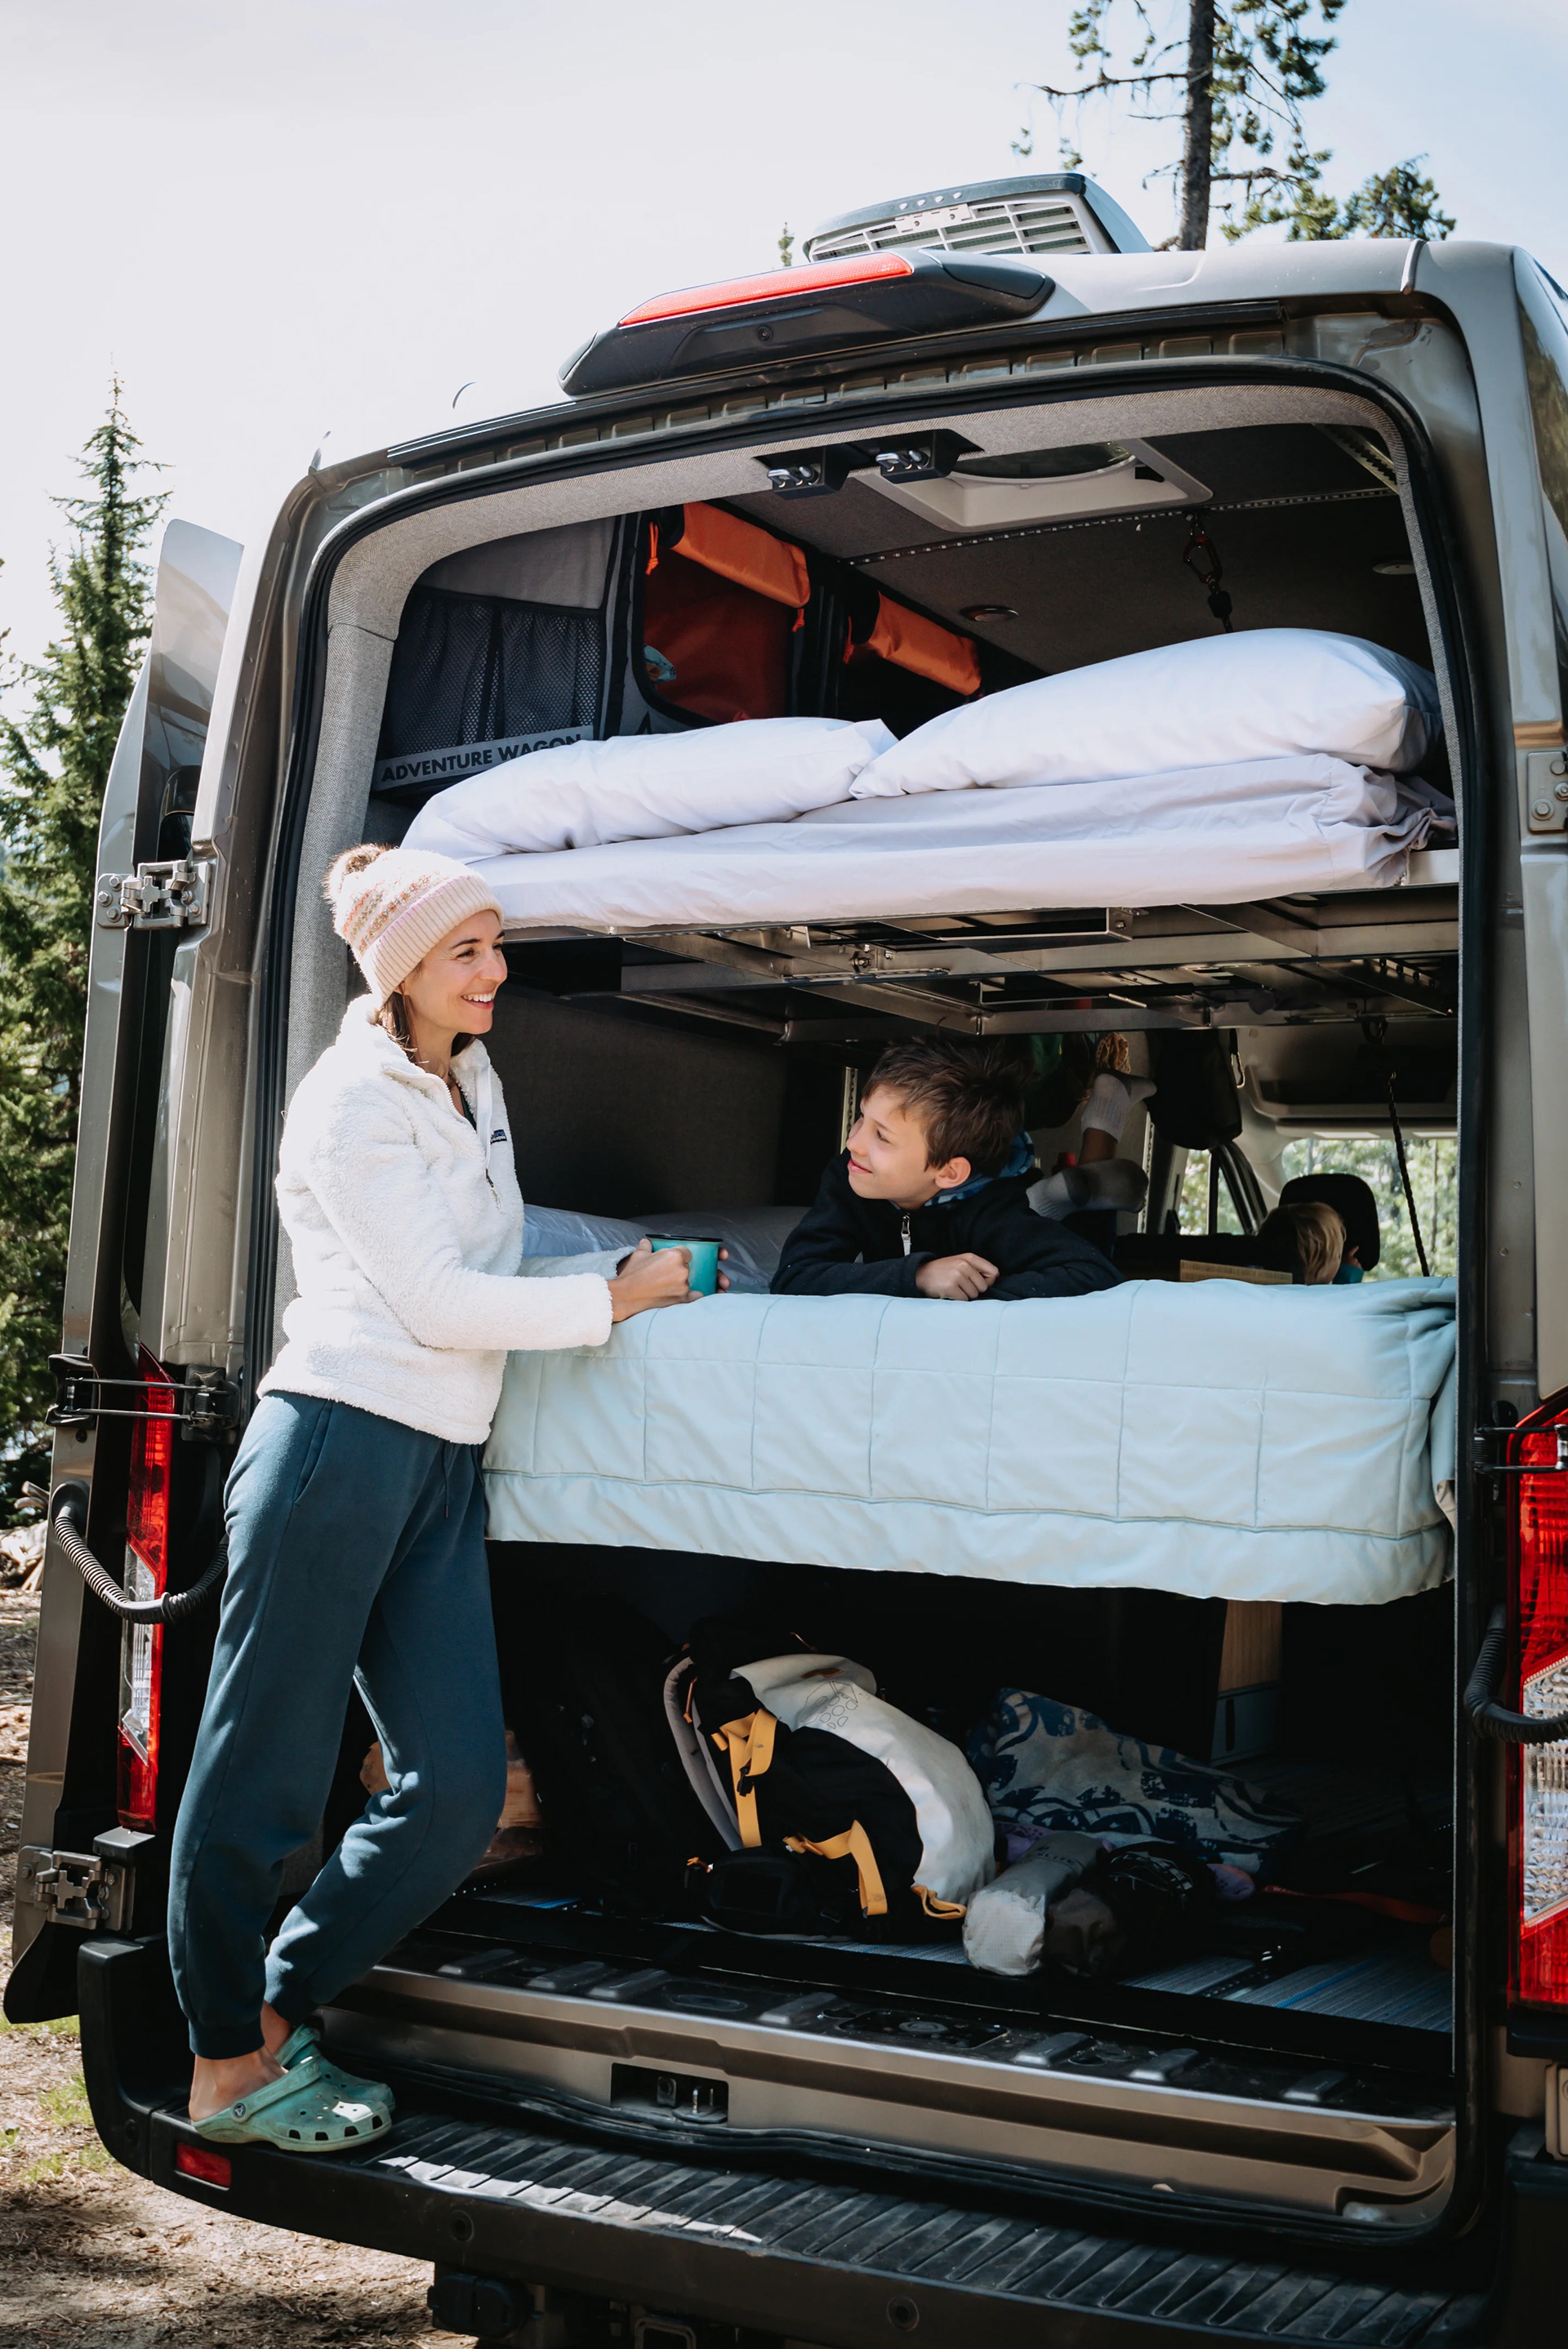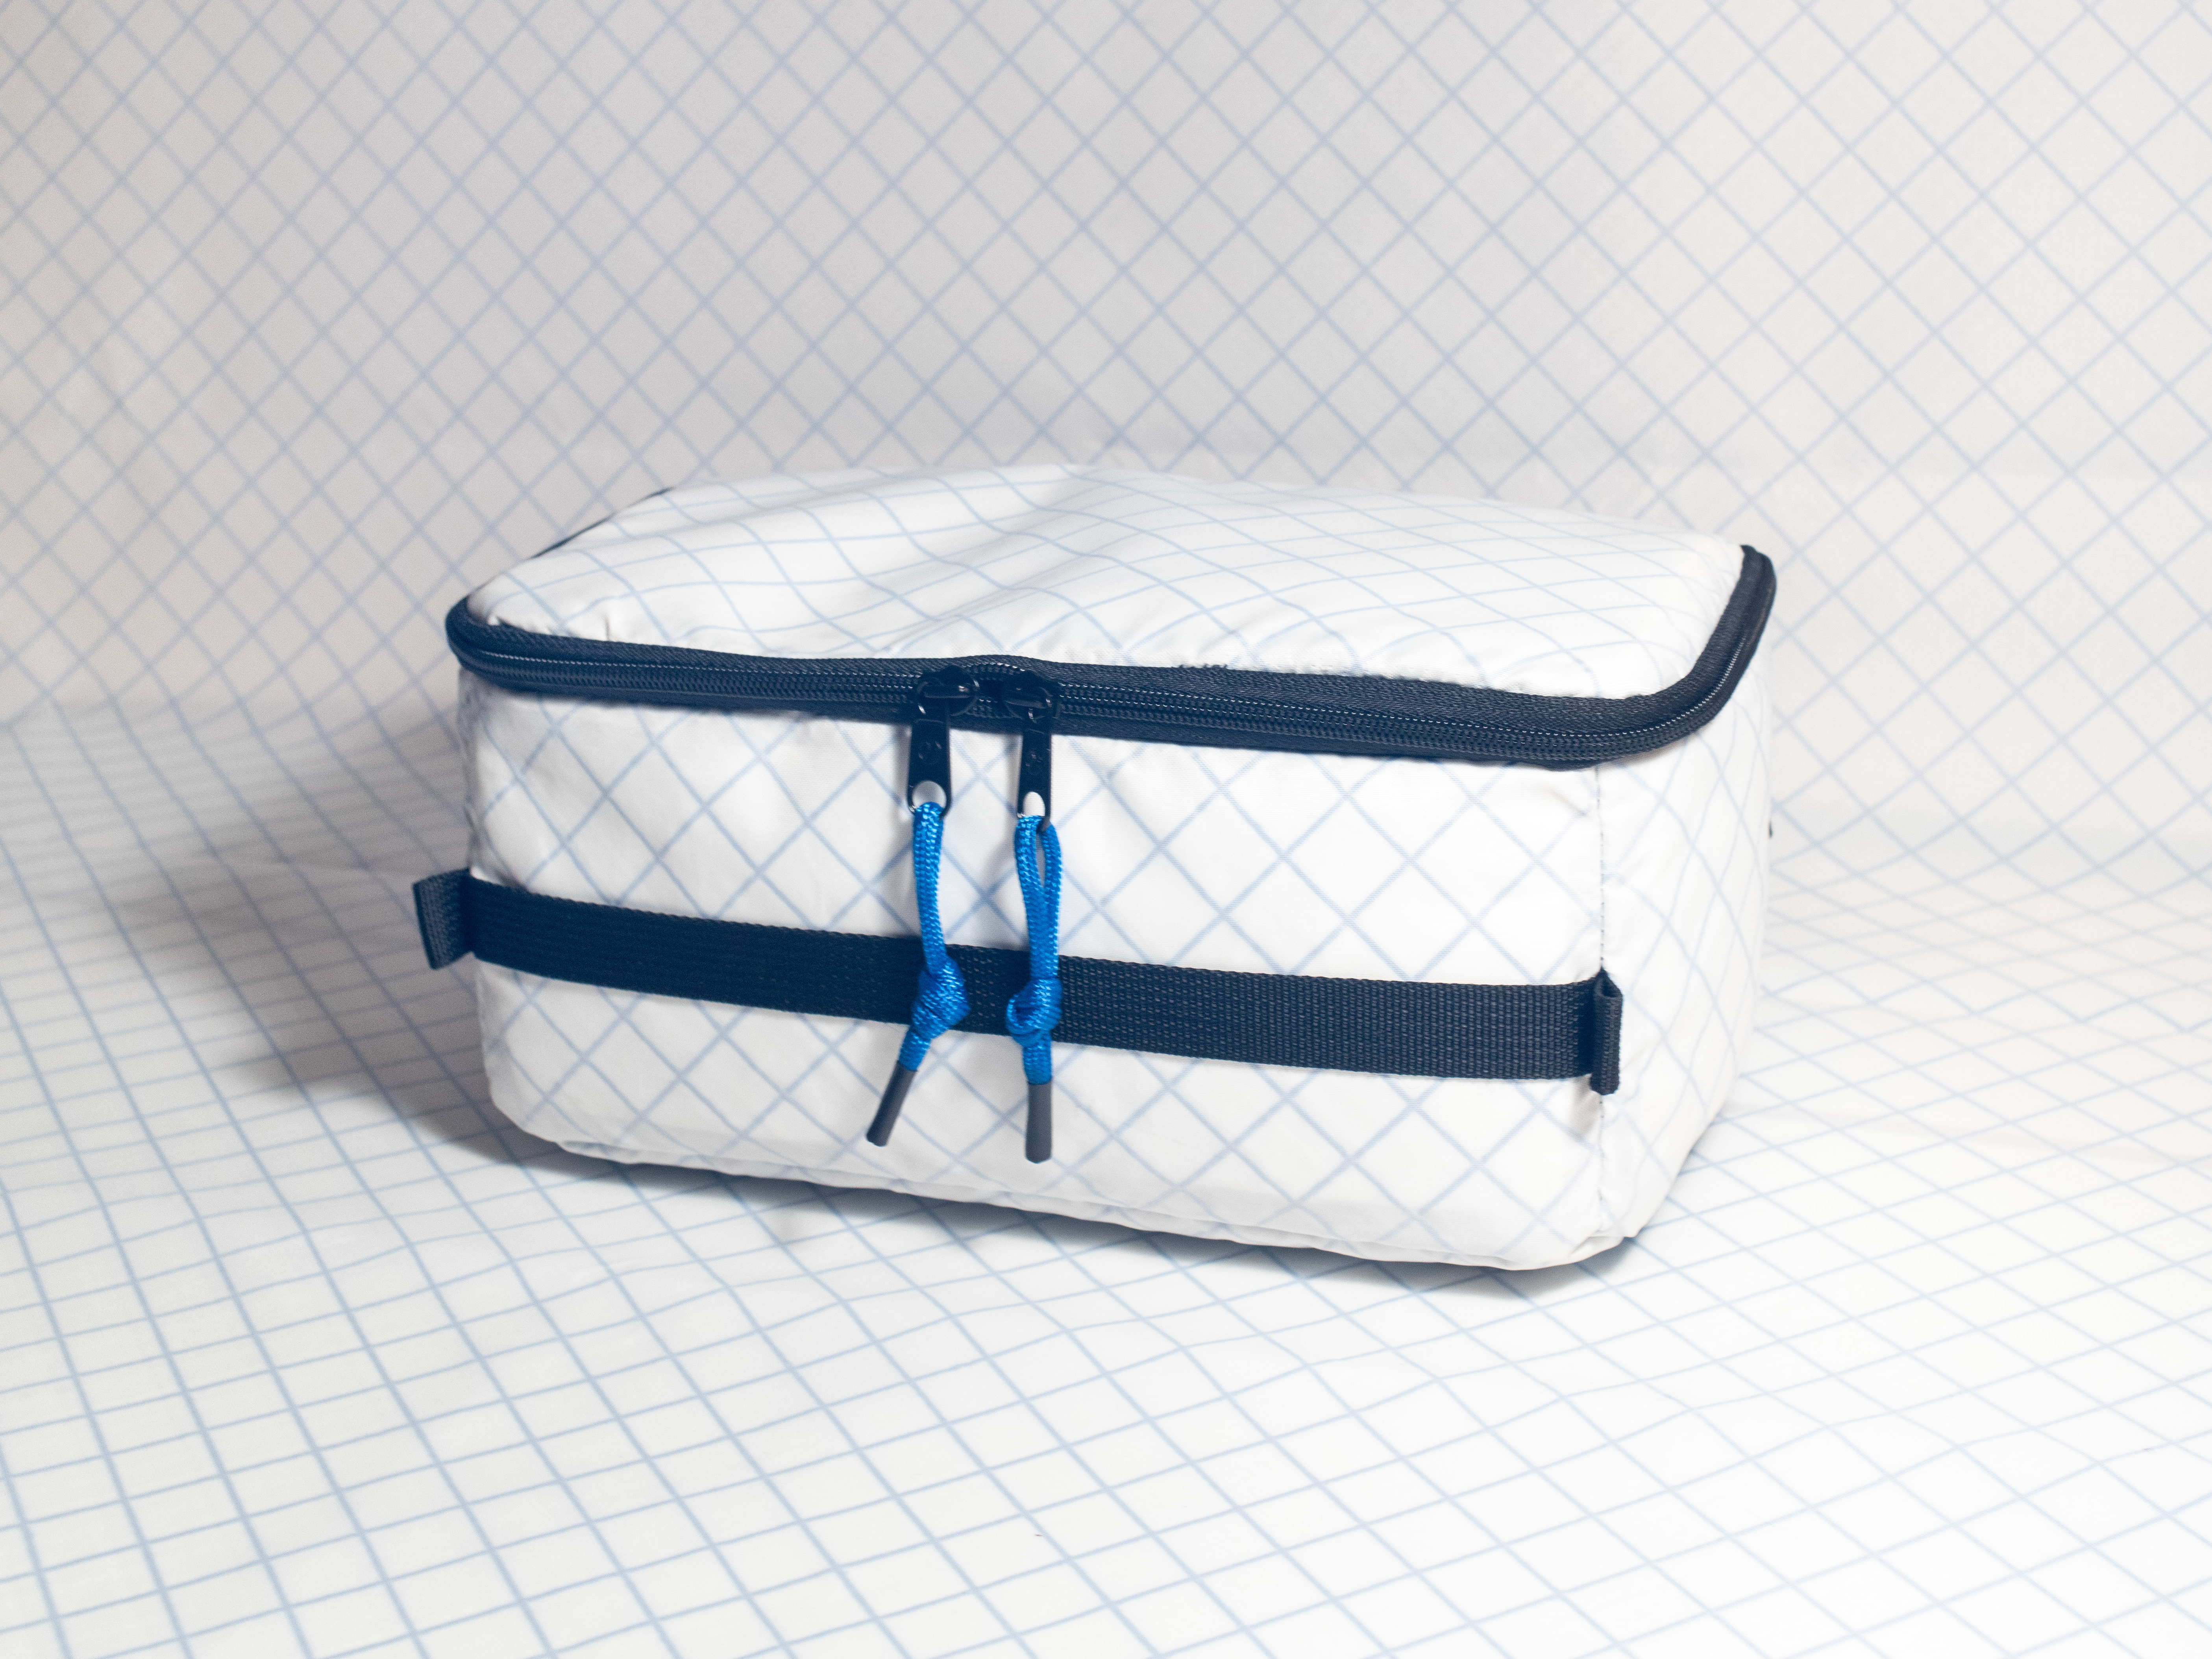
Adventure Wagon products are part of how people travel, explore, and spend meaningful time outside. When a component fails, even a small issue can interrupt that experience.
This project focused on improving the fabric cover pattern for Flarespace panels, turning a recurring fit and delamination issue into a more reliable production solution.
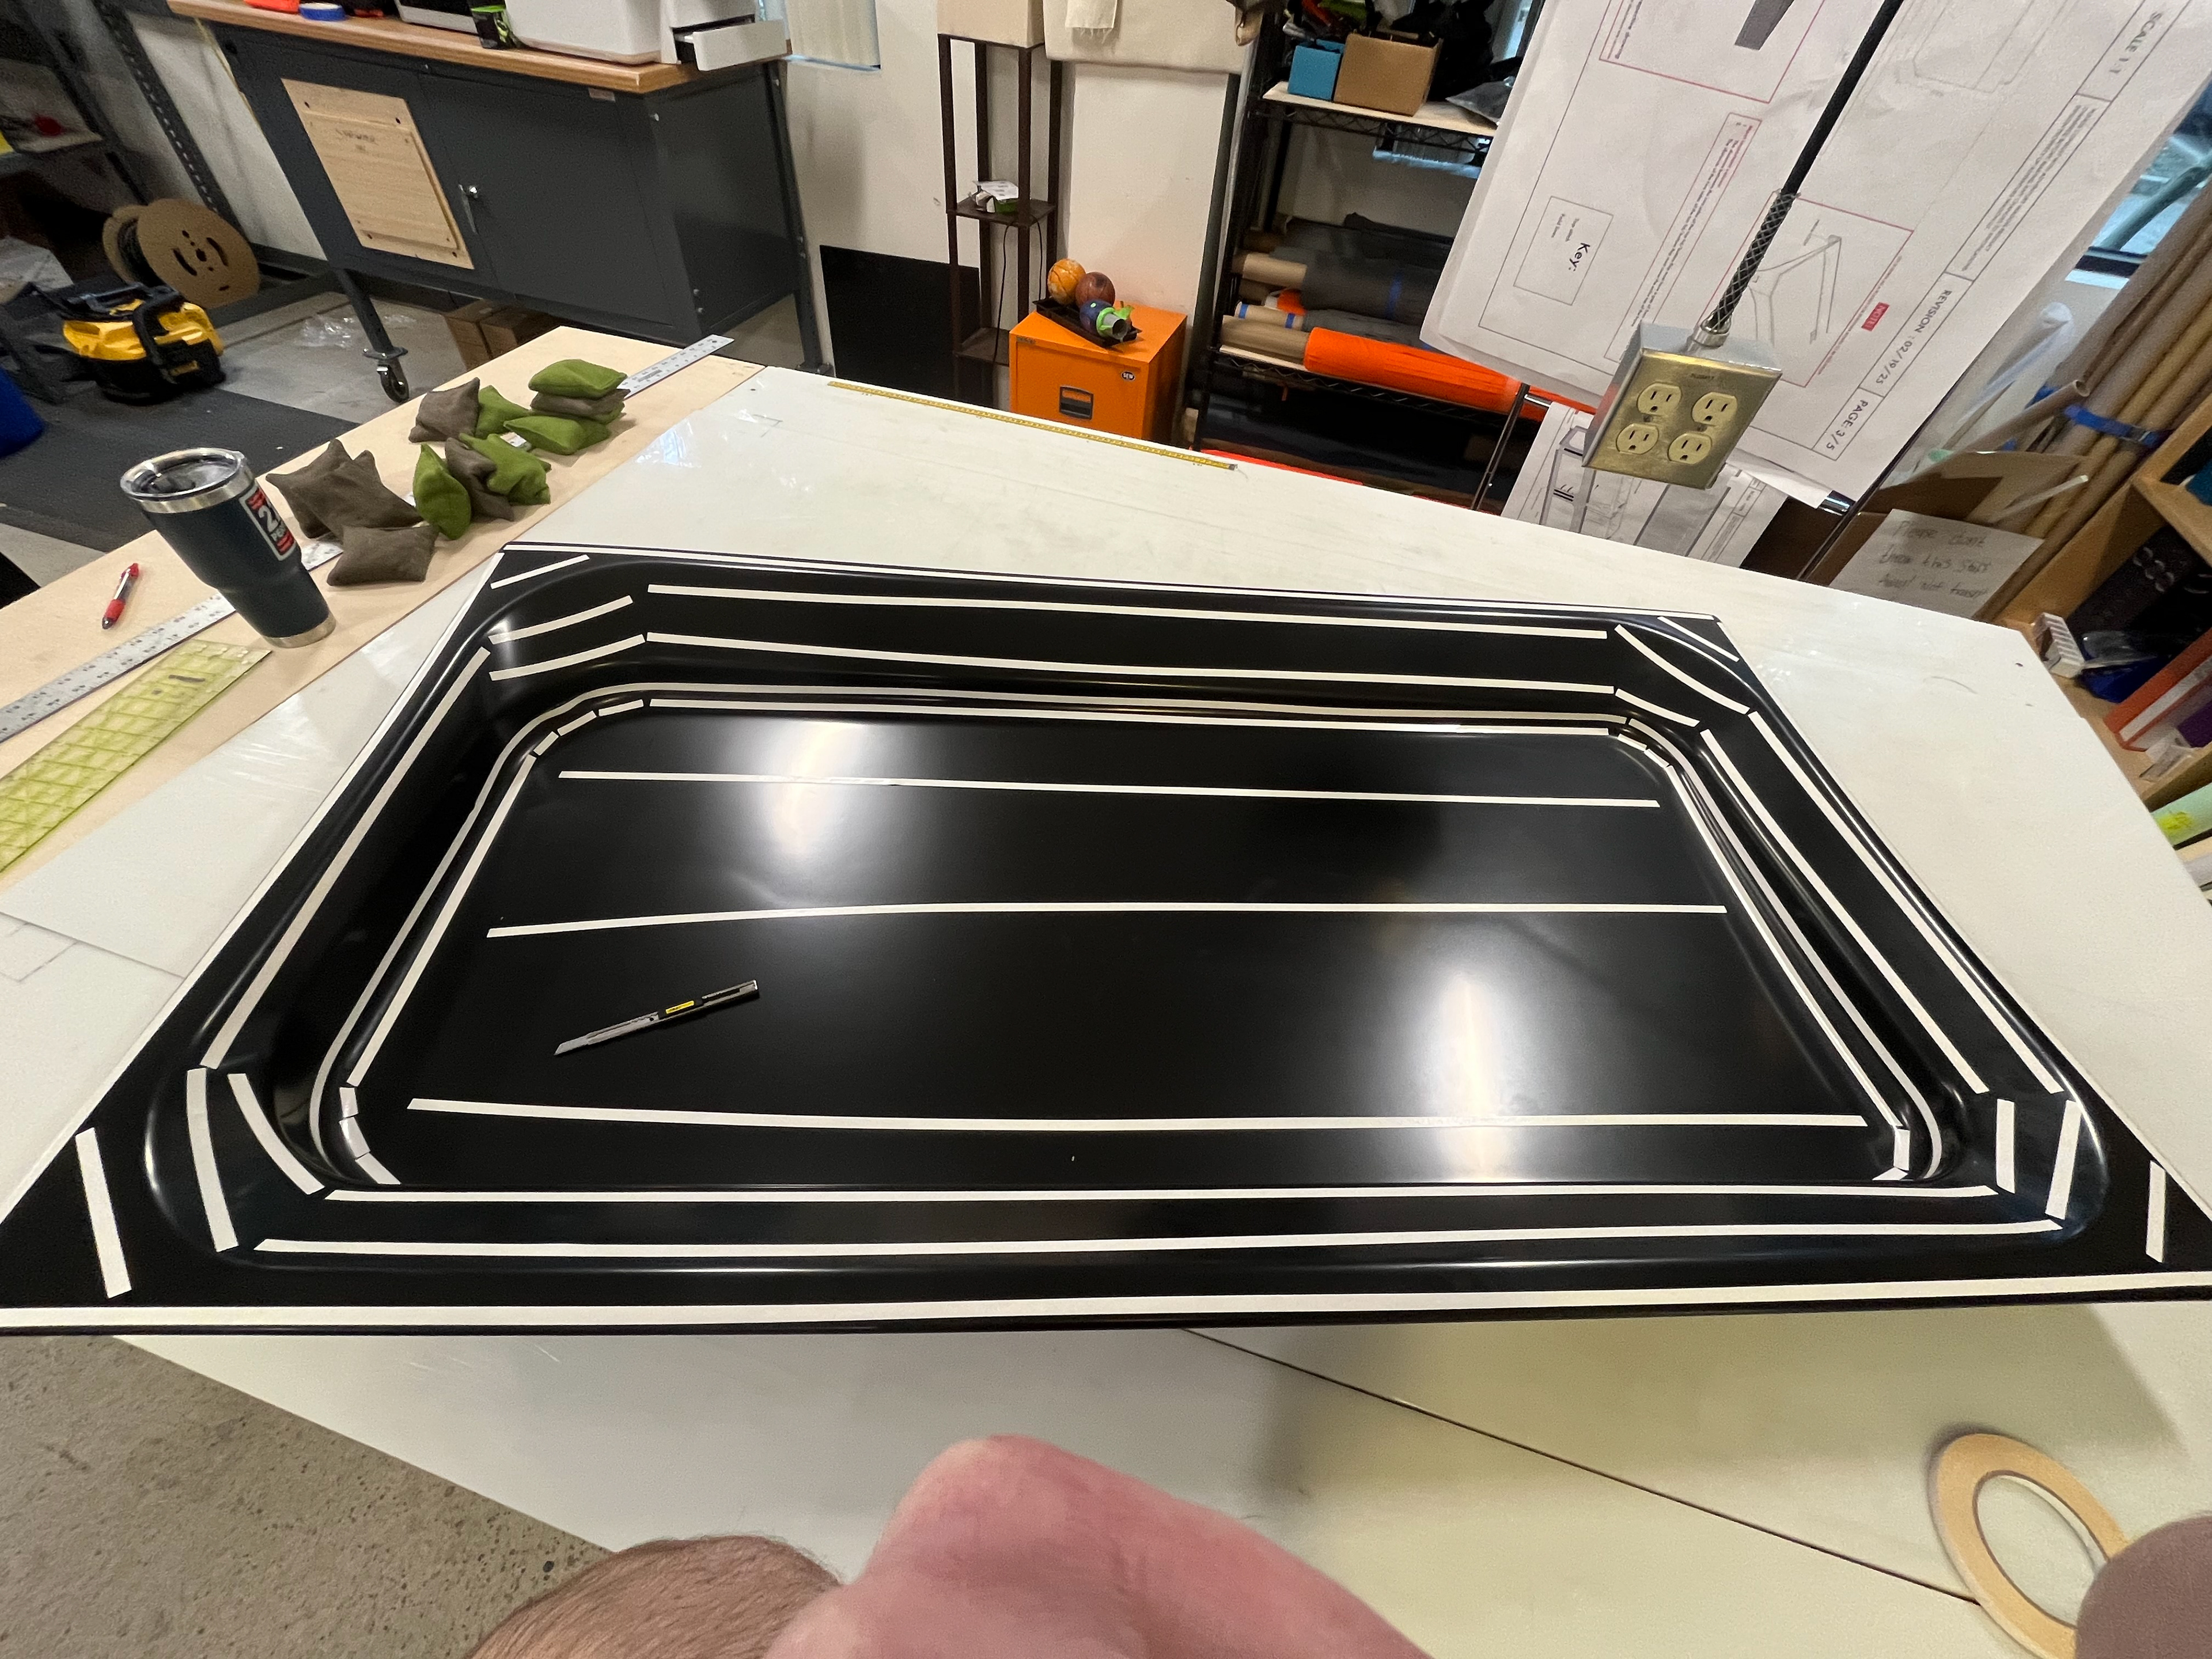
The technical challenge was creating a pattern that would promote long term glue adhesion to a double-curved ABS panel through deliberate patternmaking techniques.
Exploration:
The problem was surface tension. Fundamentally the previous 1 seam fabric covers created a hot spot where heat and pressure was required for the fabric to stick to the panel.
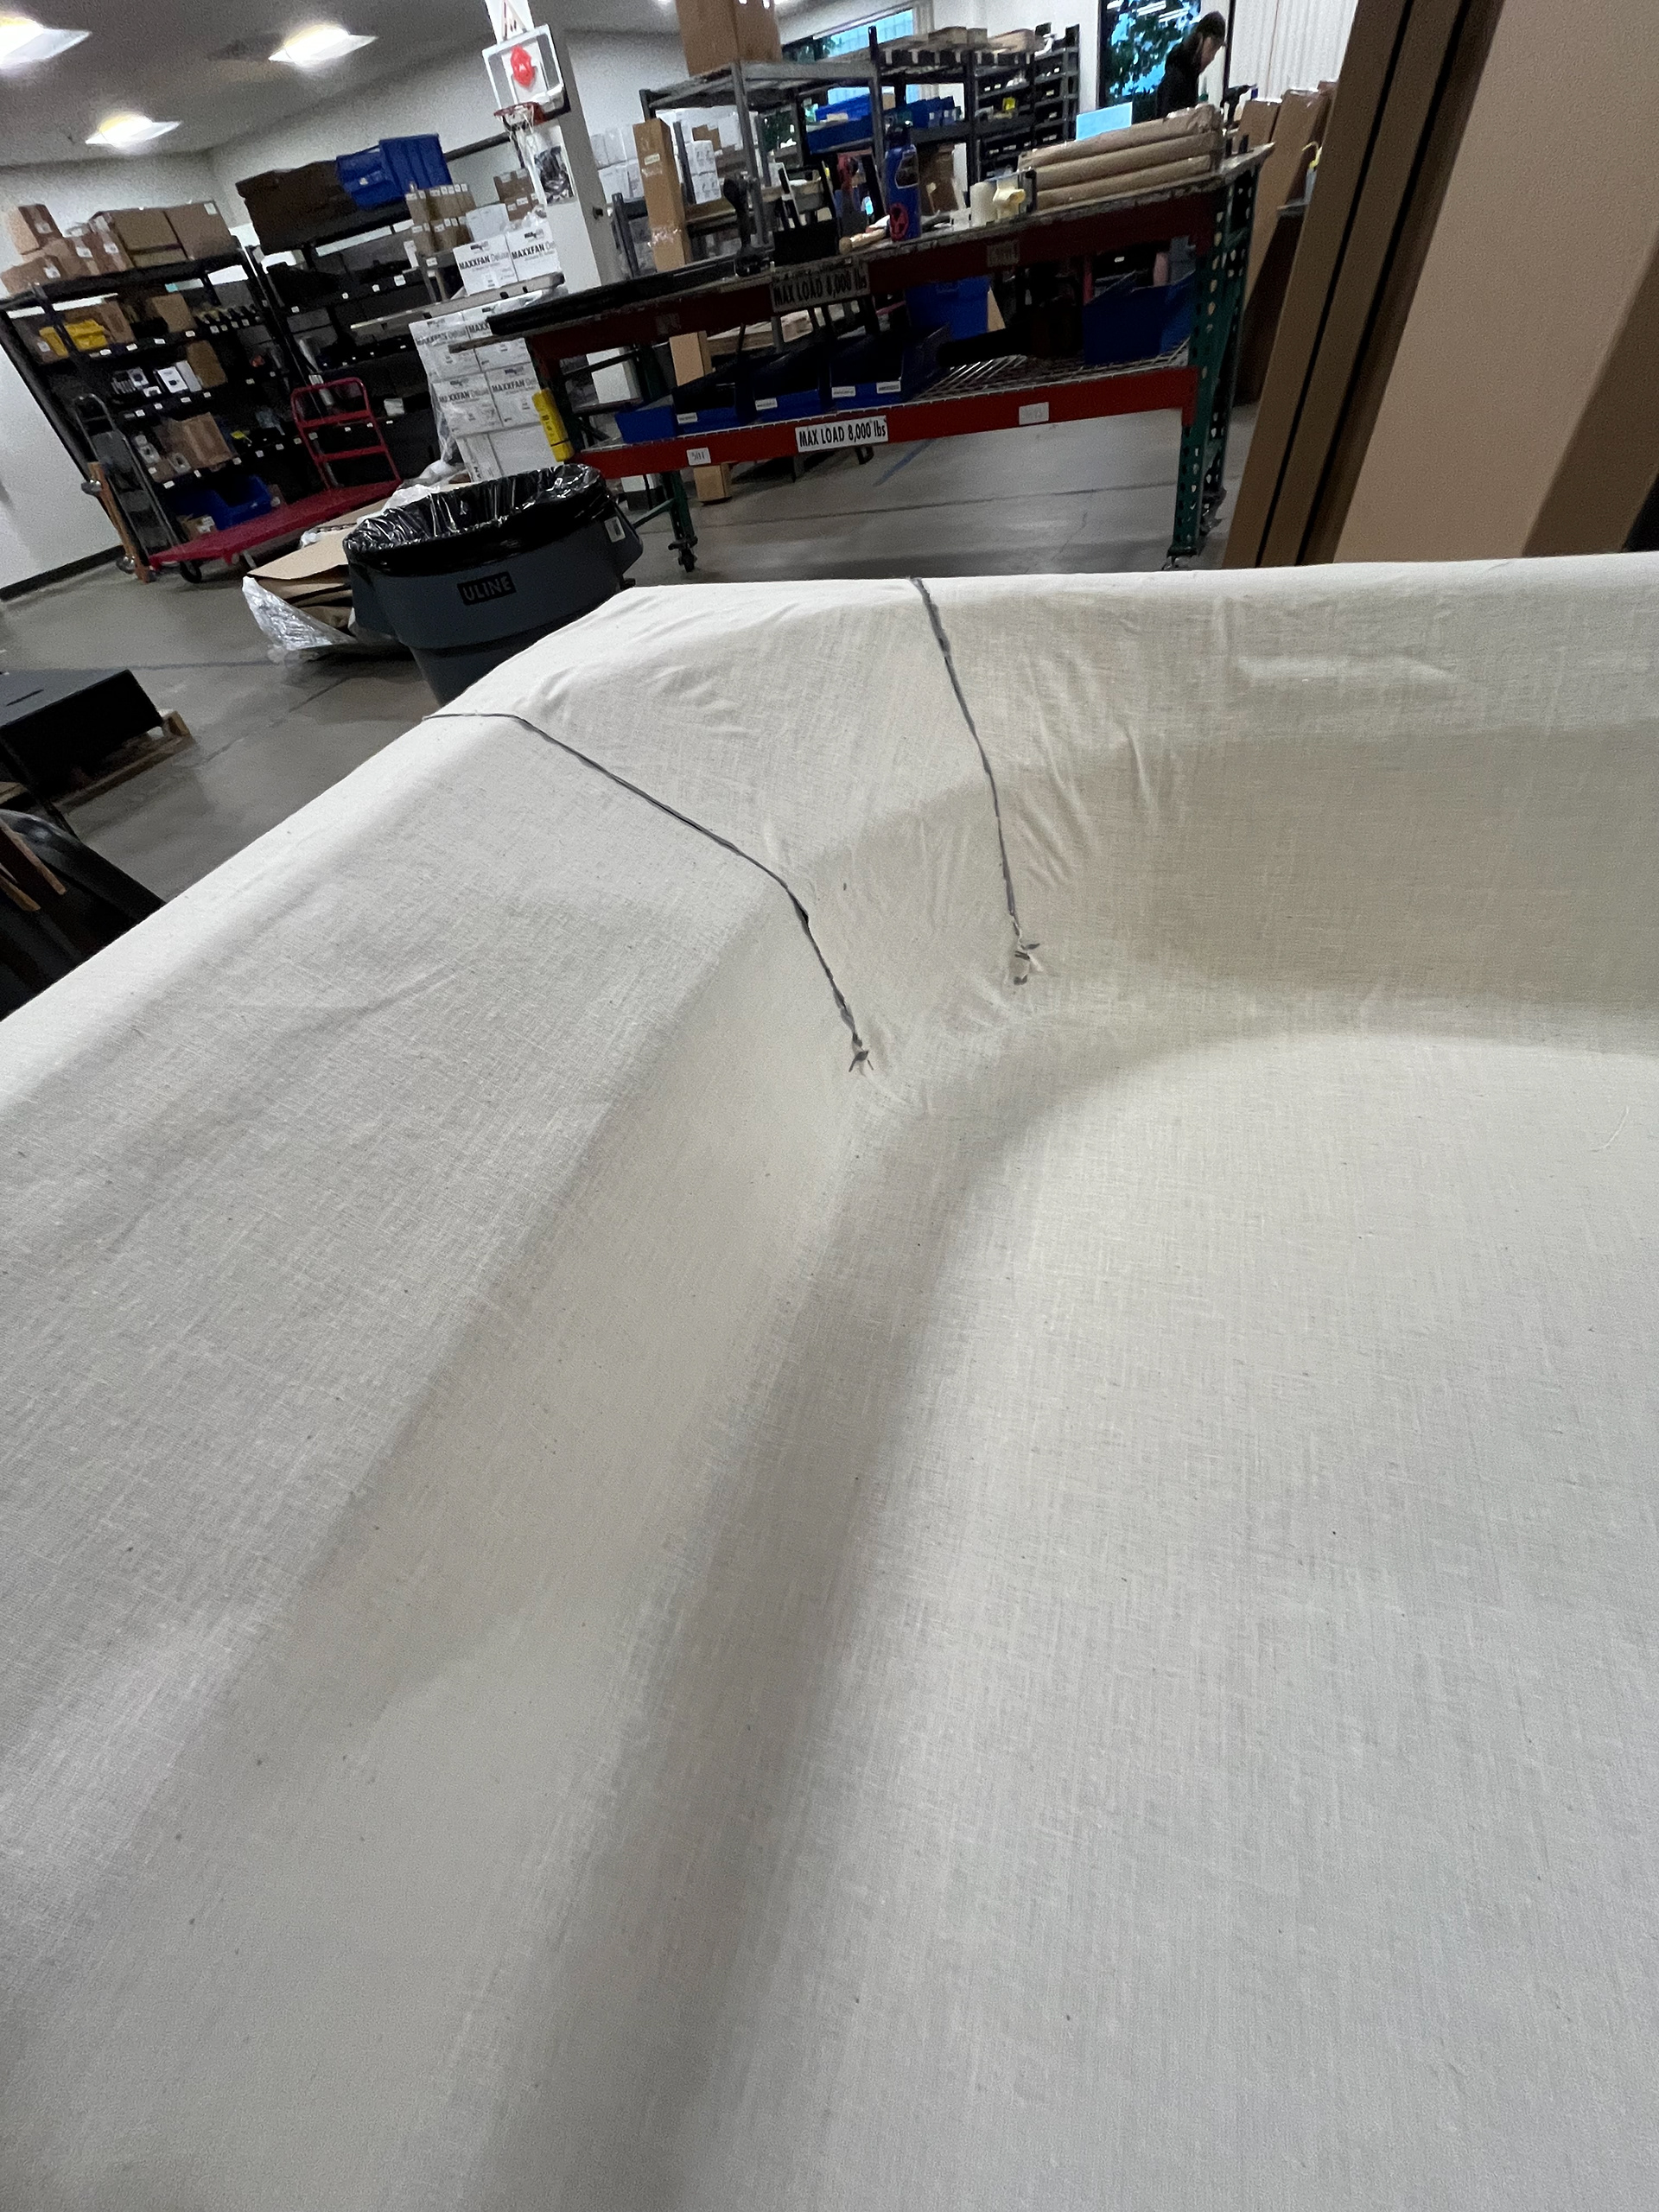
To address the surface tension issue, I explored two potential patterning solutions, a two-seam and a three-seam configuration. Each redistributed the fabric bias to allow controlled stretch through the high-tension radius of the trim piece.
I prototyped both options on a single corner to compare fabric behavior before full patternmaking. The two-seam solution offered the best balance of tension control and visual symmetry.

Draping with adhesive tape:
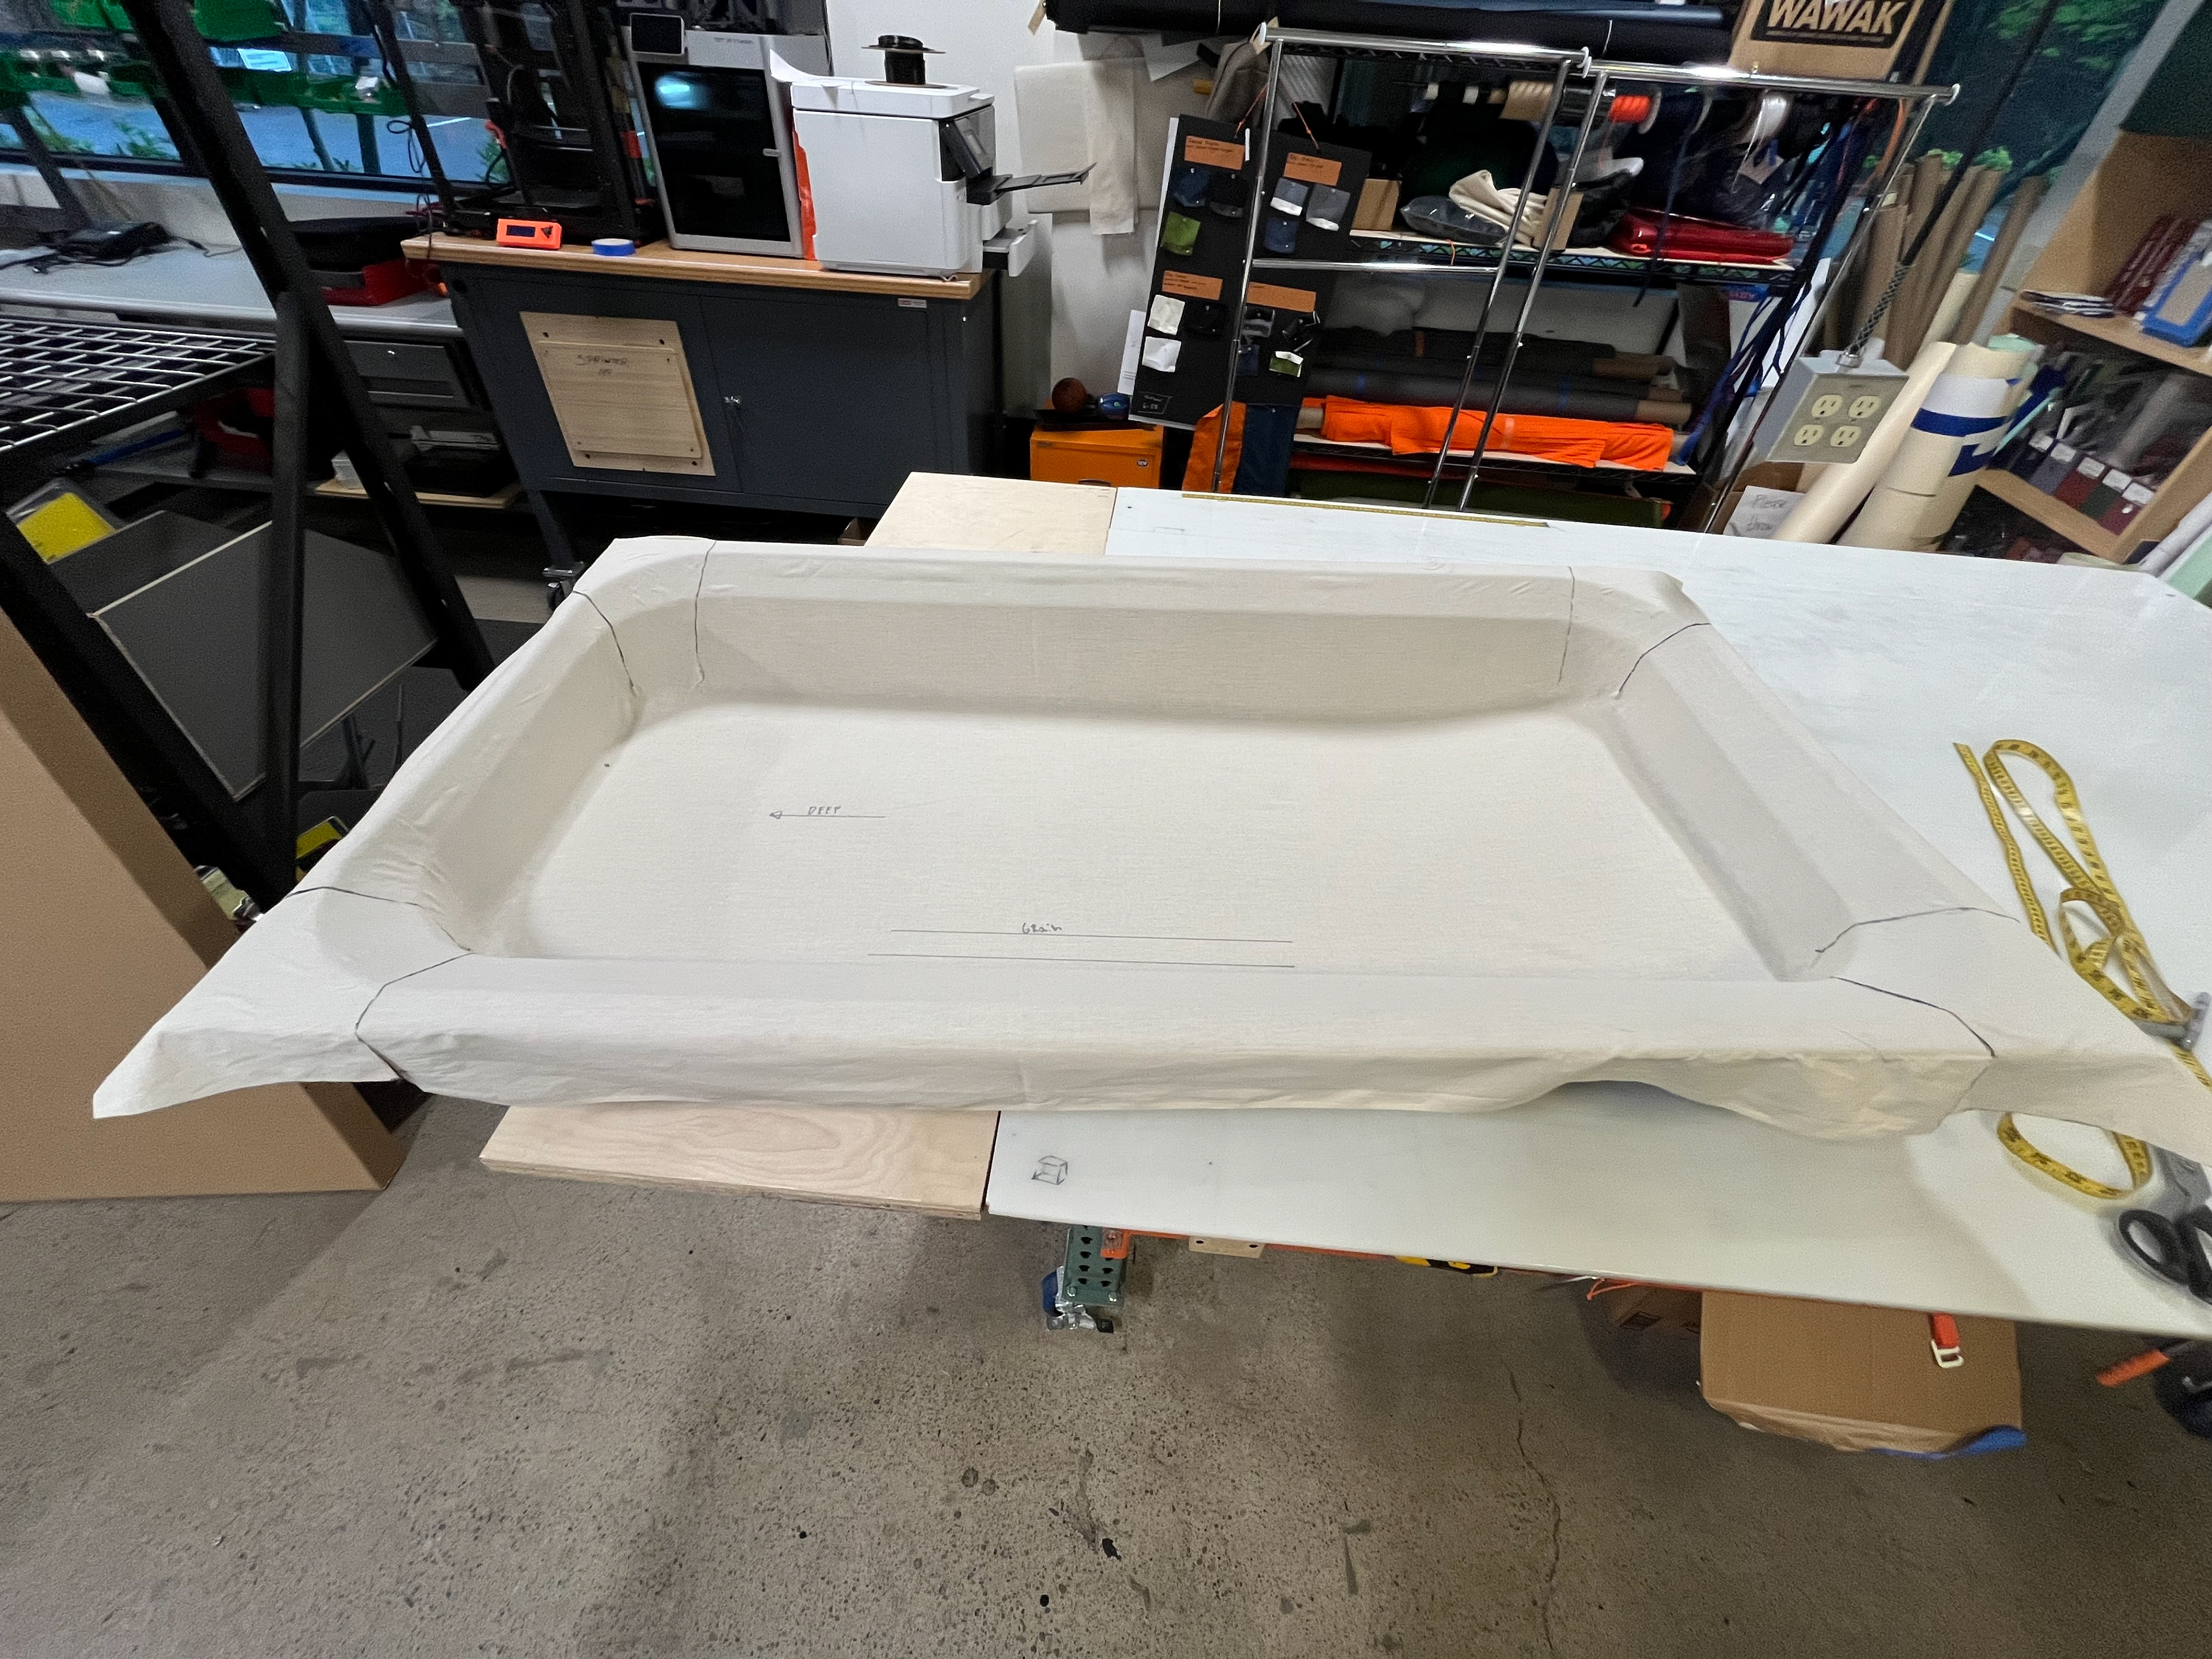
I began by applying double-sided adhesive tape directly to the panel to achieve a skin-tight surface for draping muslin. Rather than modifying the original one-seam pattern or drafting flat, I chose to drape the form by hand, which proved to be the most efficient way to develop the first accurate pattern.
Muslin draping and dart creation:
After applying the tape, I draped muslin over the trim piece using upholstery techniques from my time running that department. I marked the intended seam locations directly on the plastic, then manipulated the fabric into position, creating and refining darts until the material sat flush along the surface.
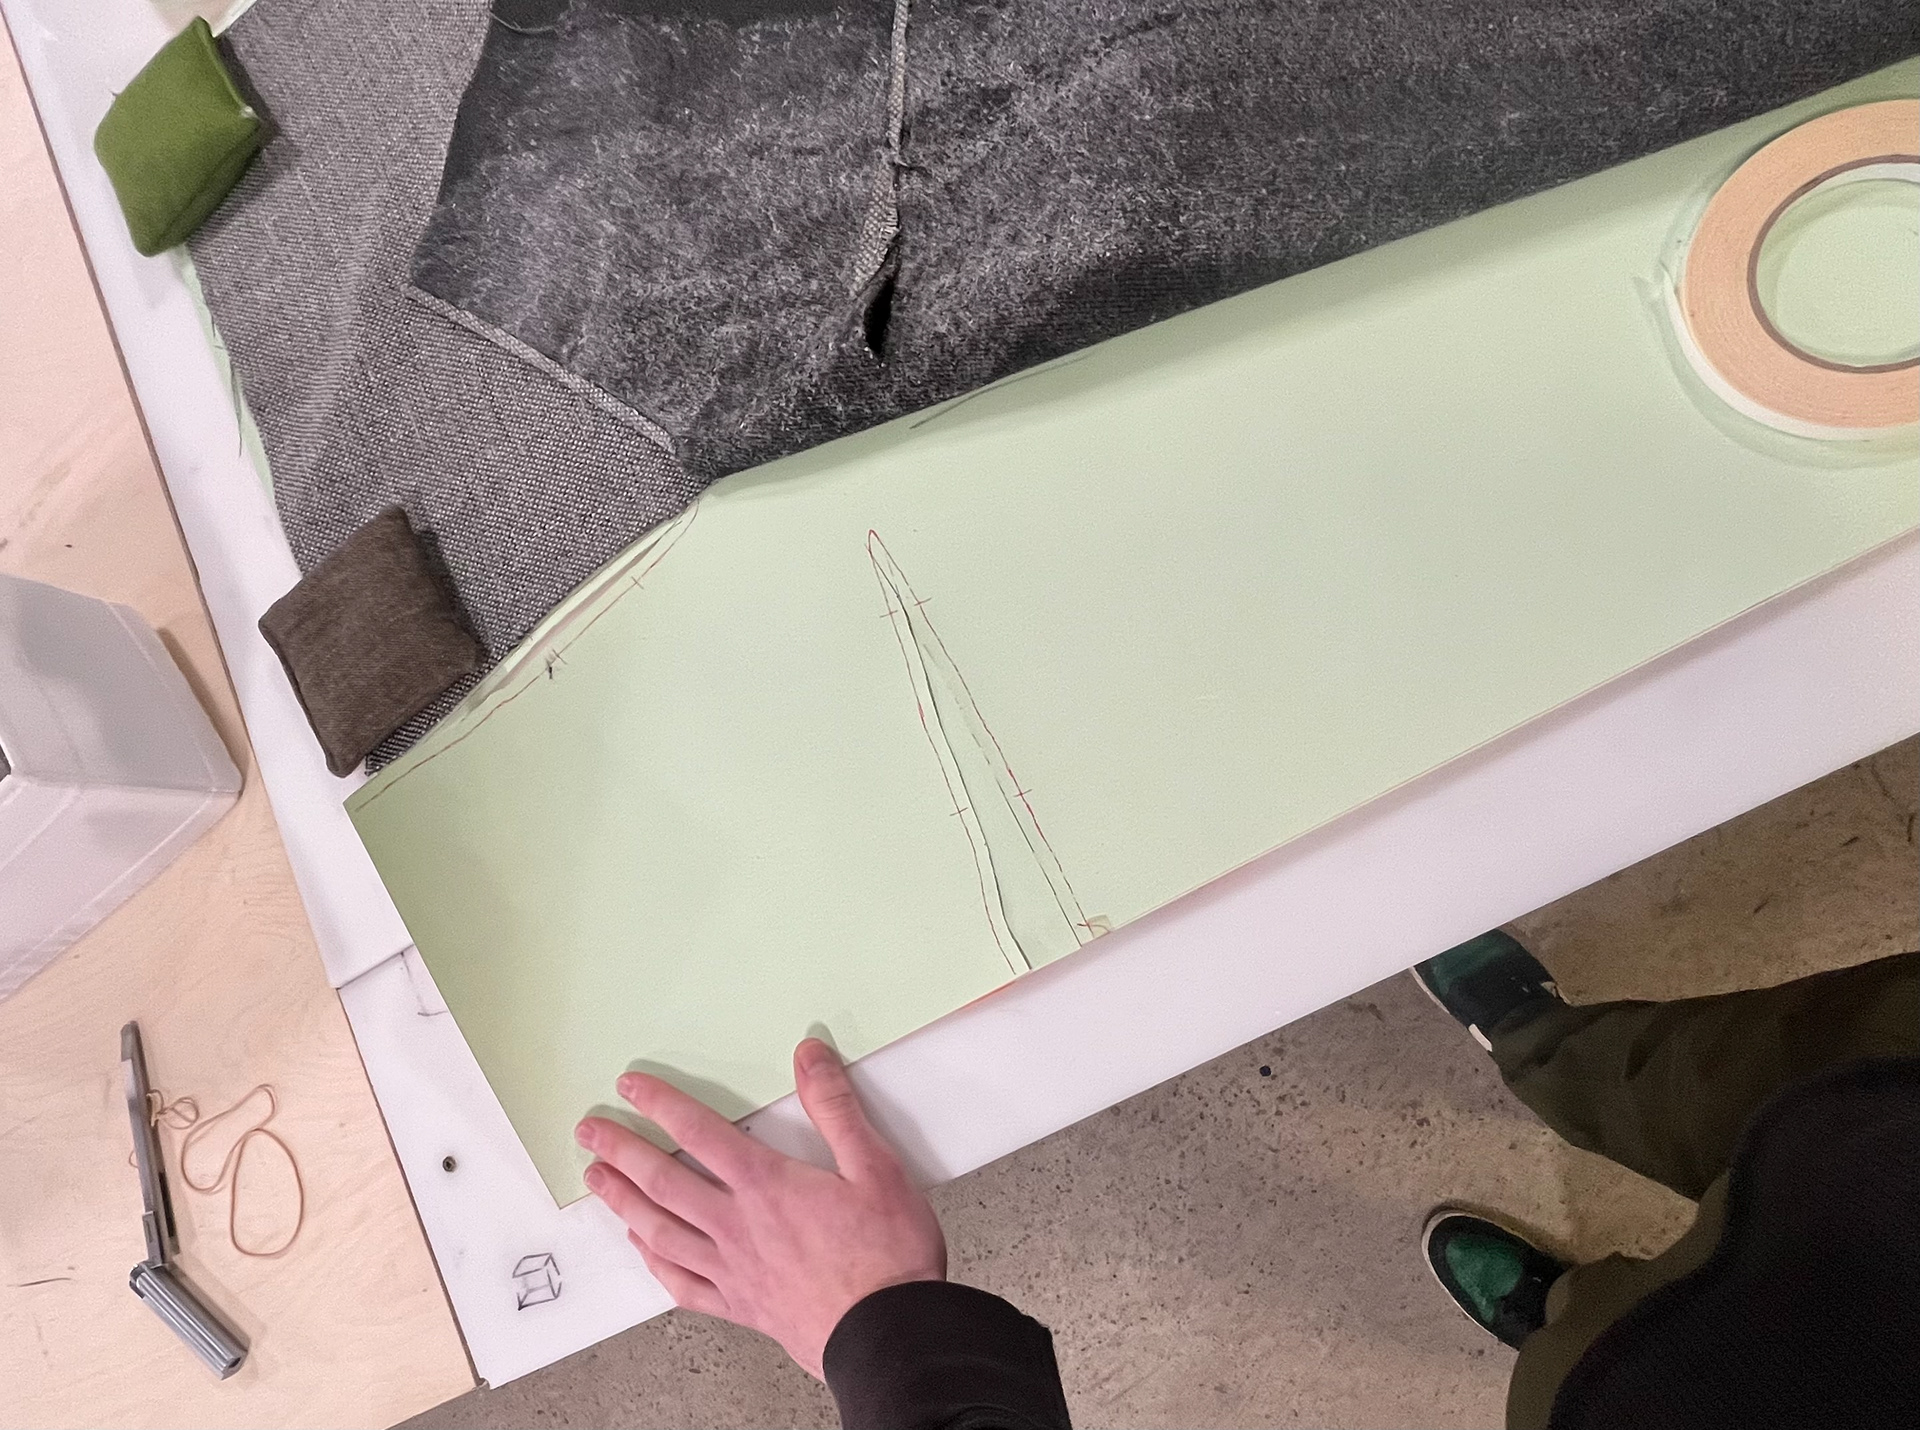
Paper pattern:
I transferred the finished muslin pattern onto construction paper and added seam allowances. Because several darts were extremely small, I used a ¼-inch seam allowance with a ⅛-inch topstitch.
Creating digital patterns:
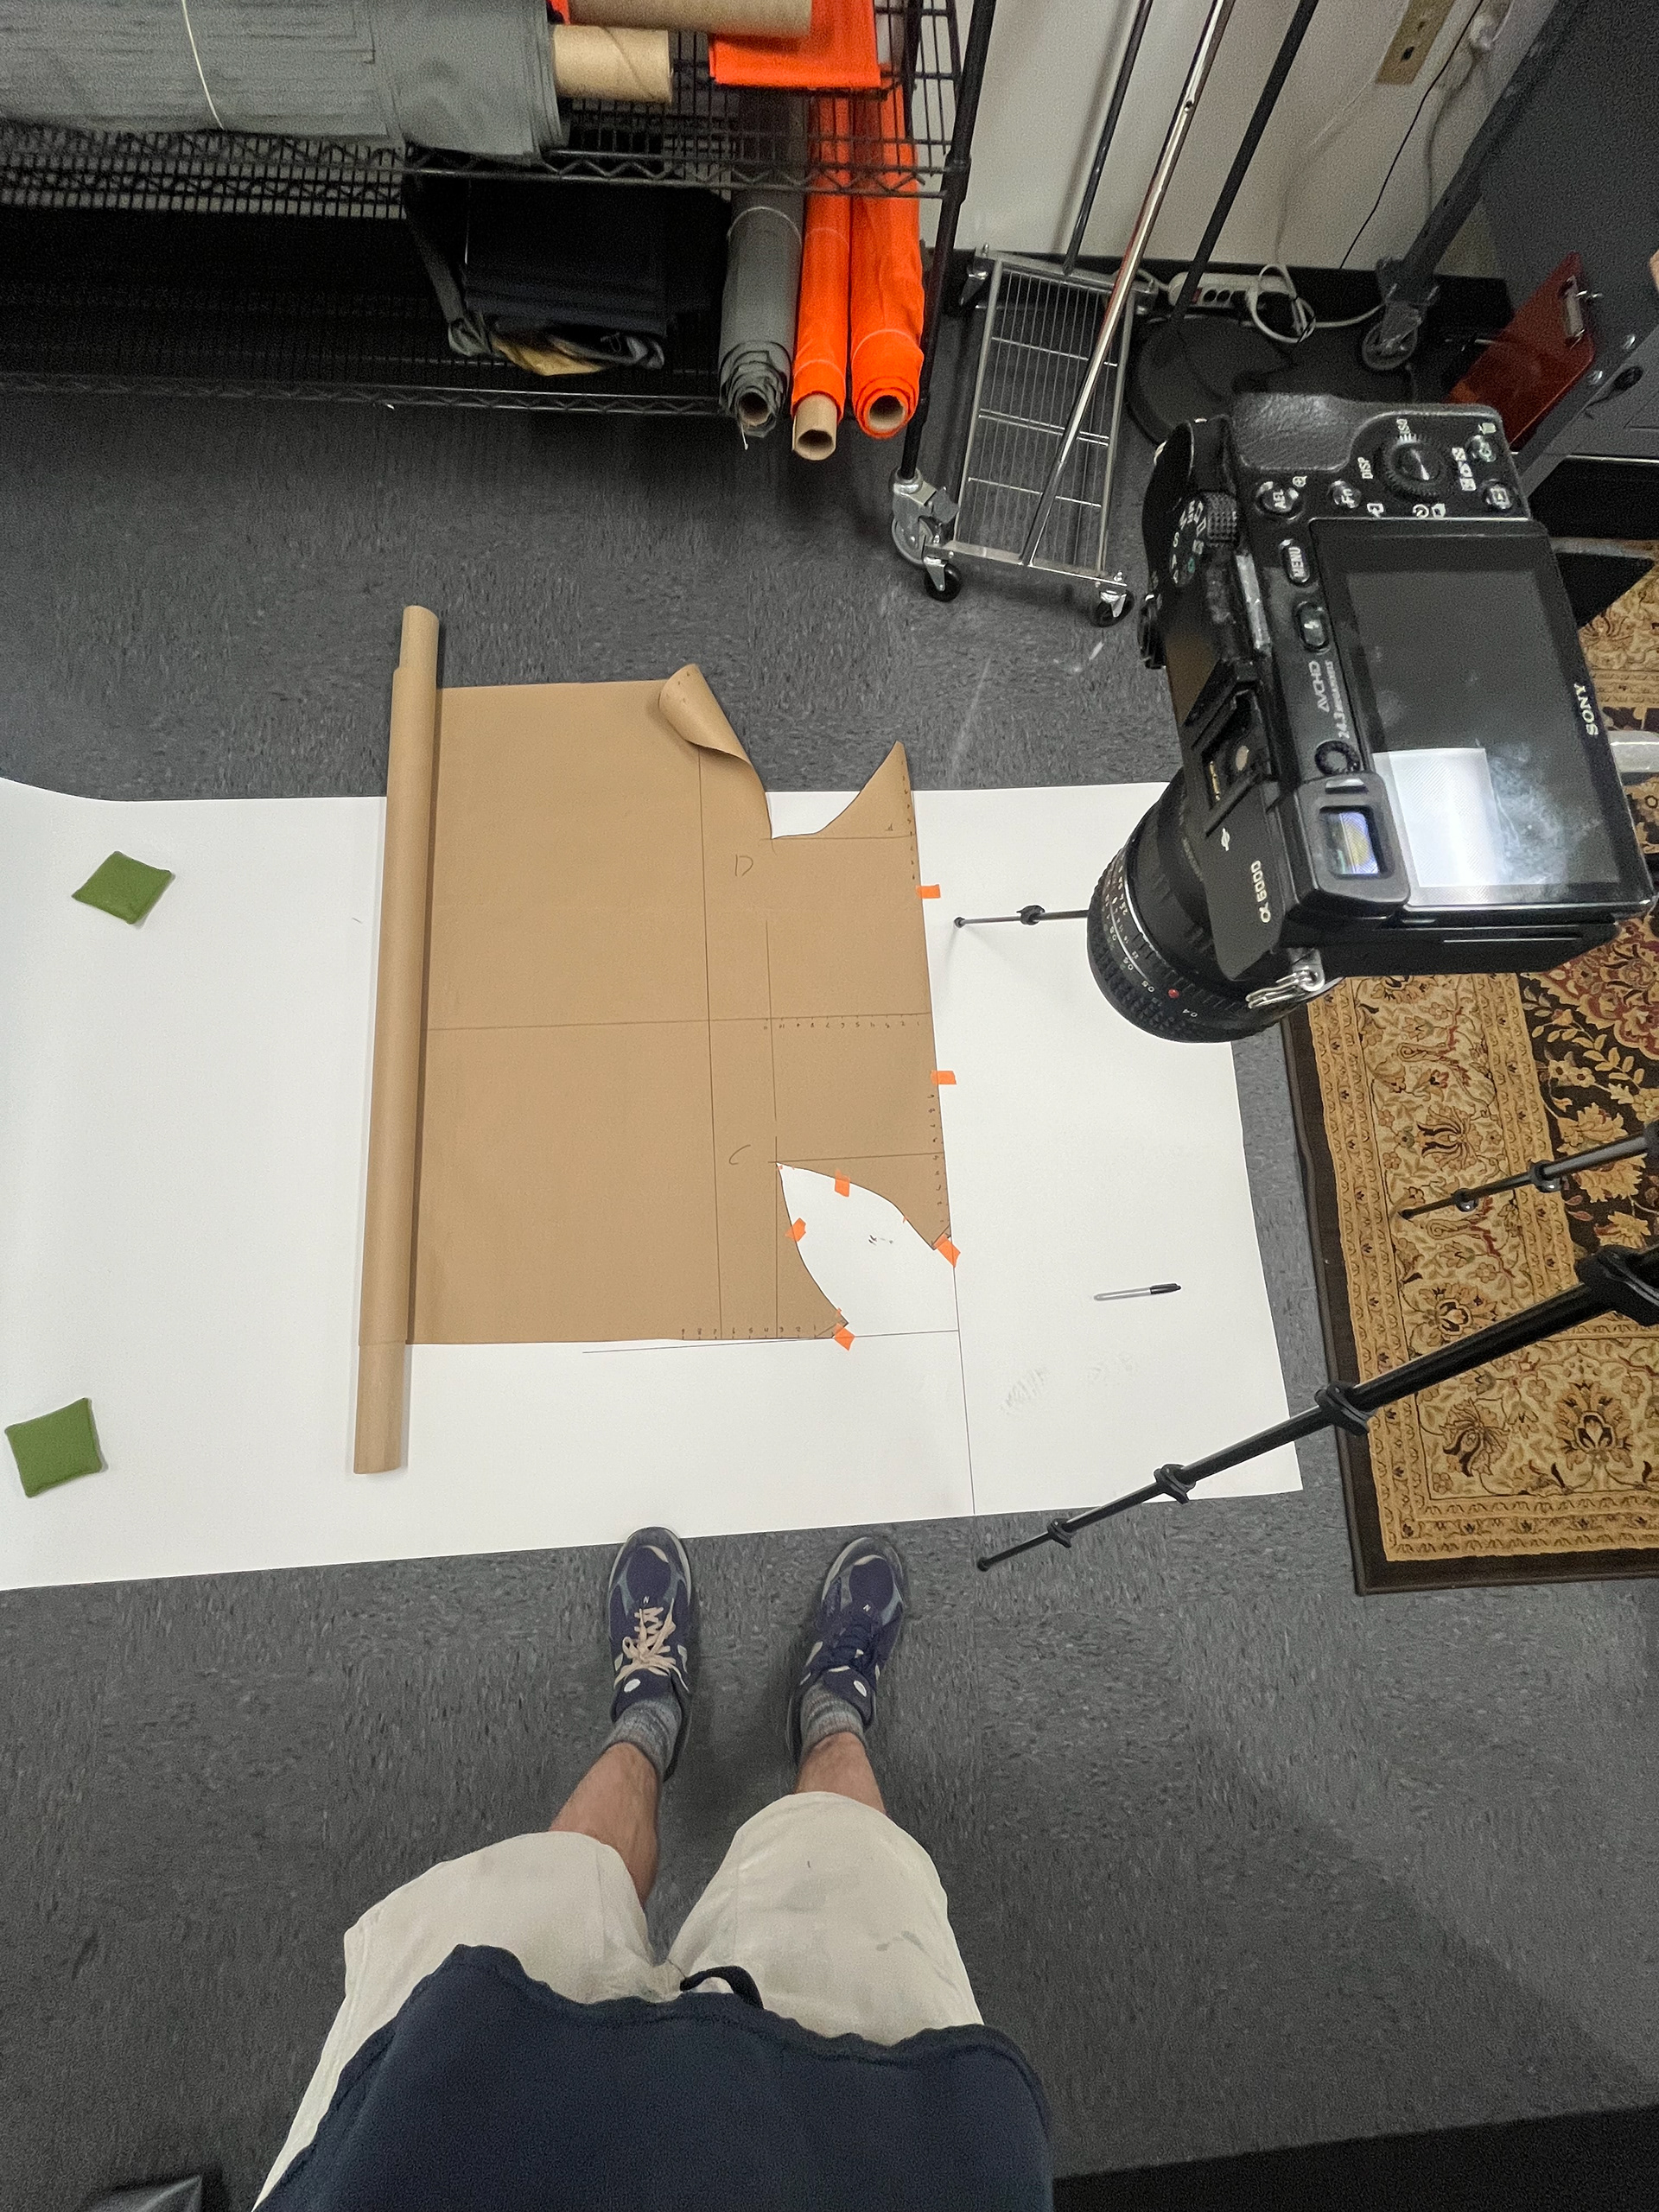
I created digital patterns to create cut files for outsourcing pattern cutting and to create accurate plastic production patterns for in house use.
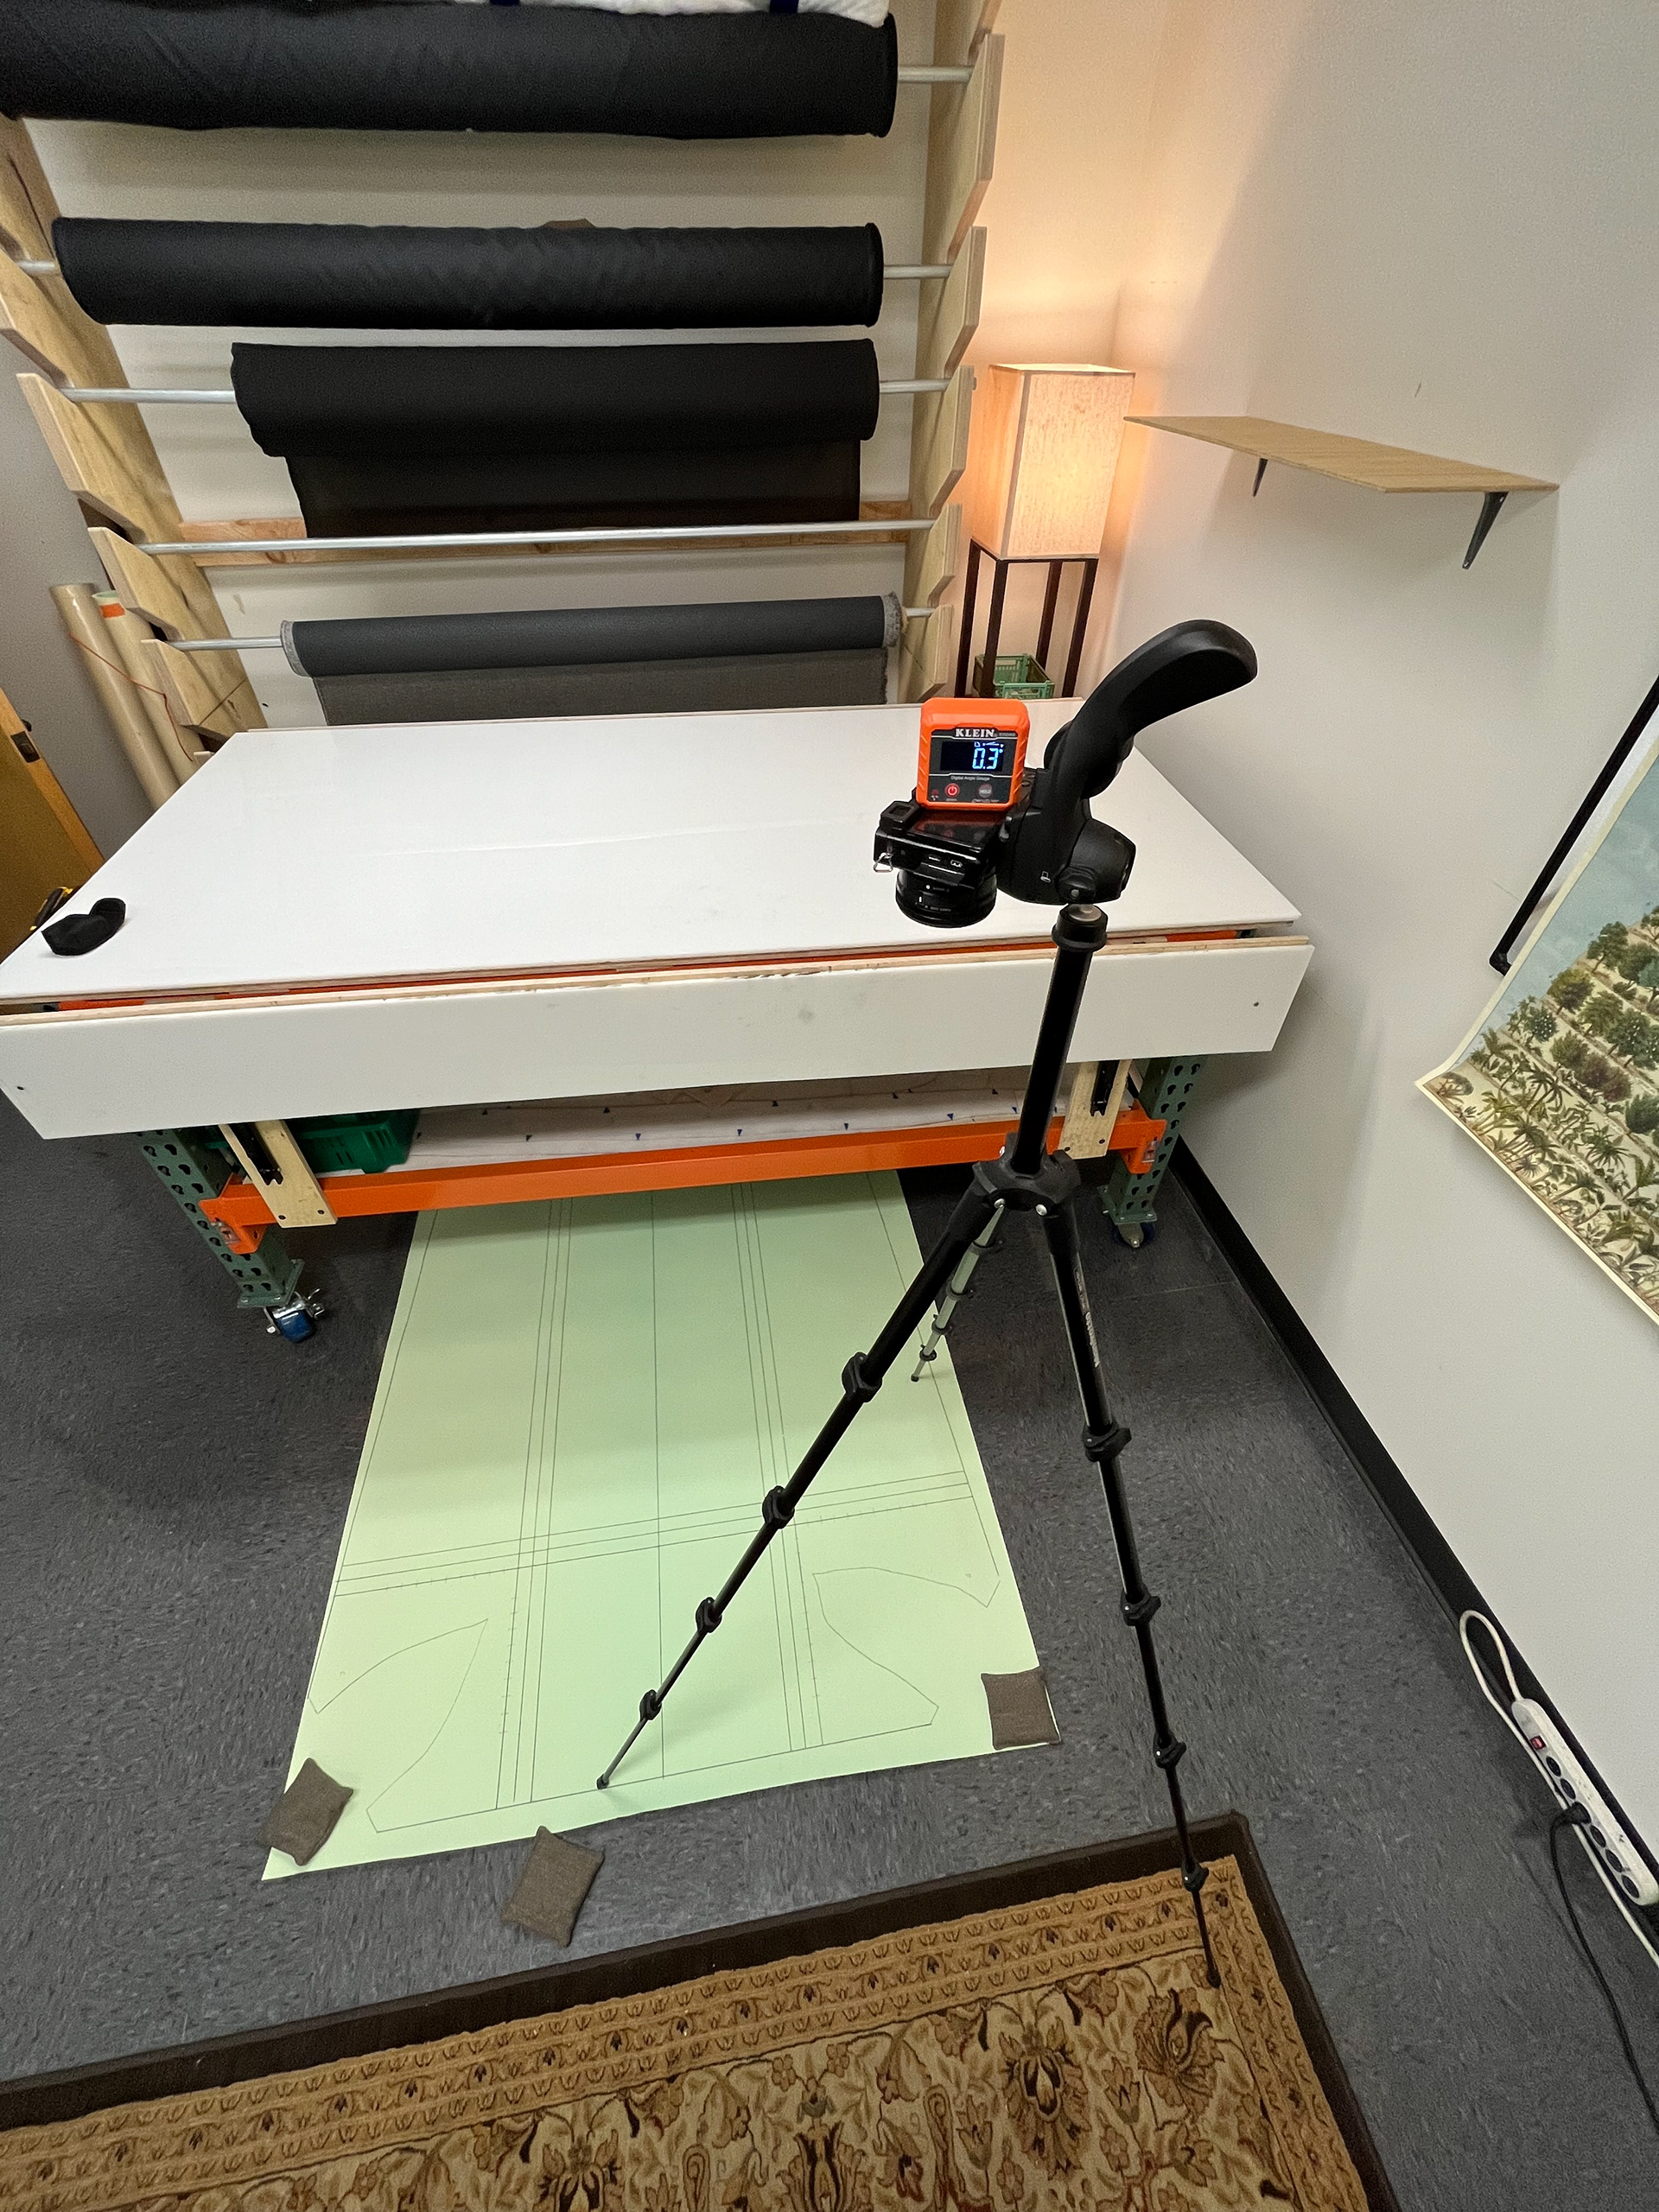
The process involved adding reference marks and through lines onto the pattern and using my camera to take photos of the pattern.
I used illustrator to trace the outline and combine all images into a 1:1 scale pattern
Final result:
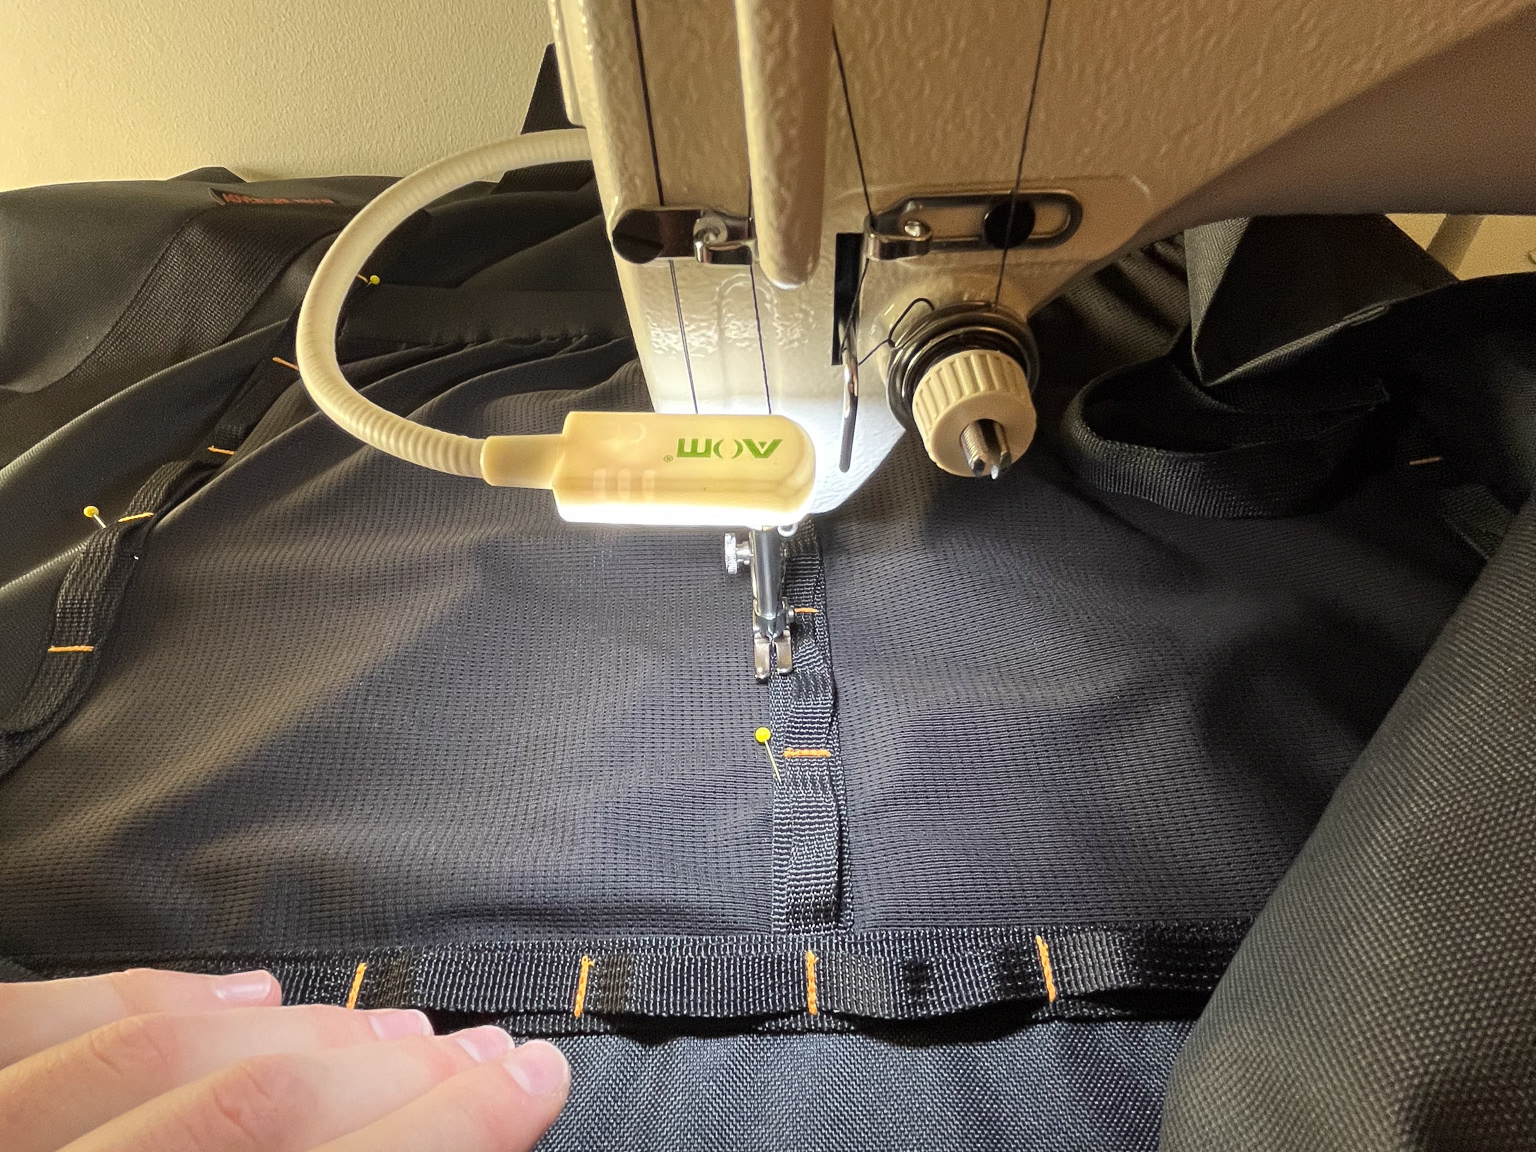
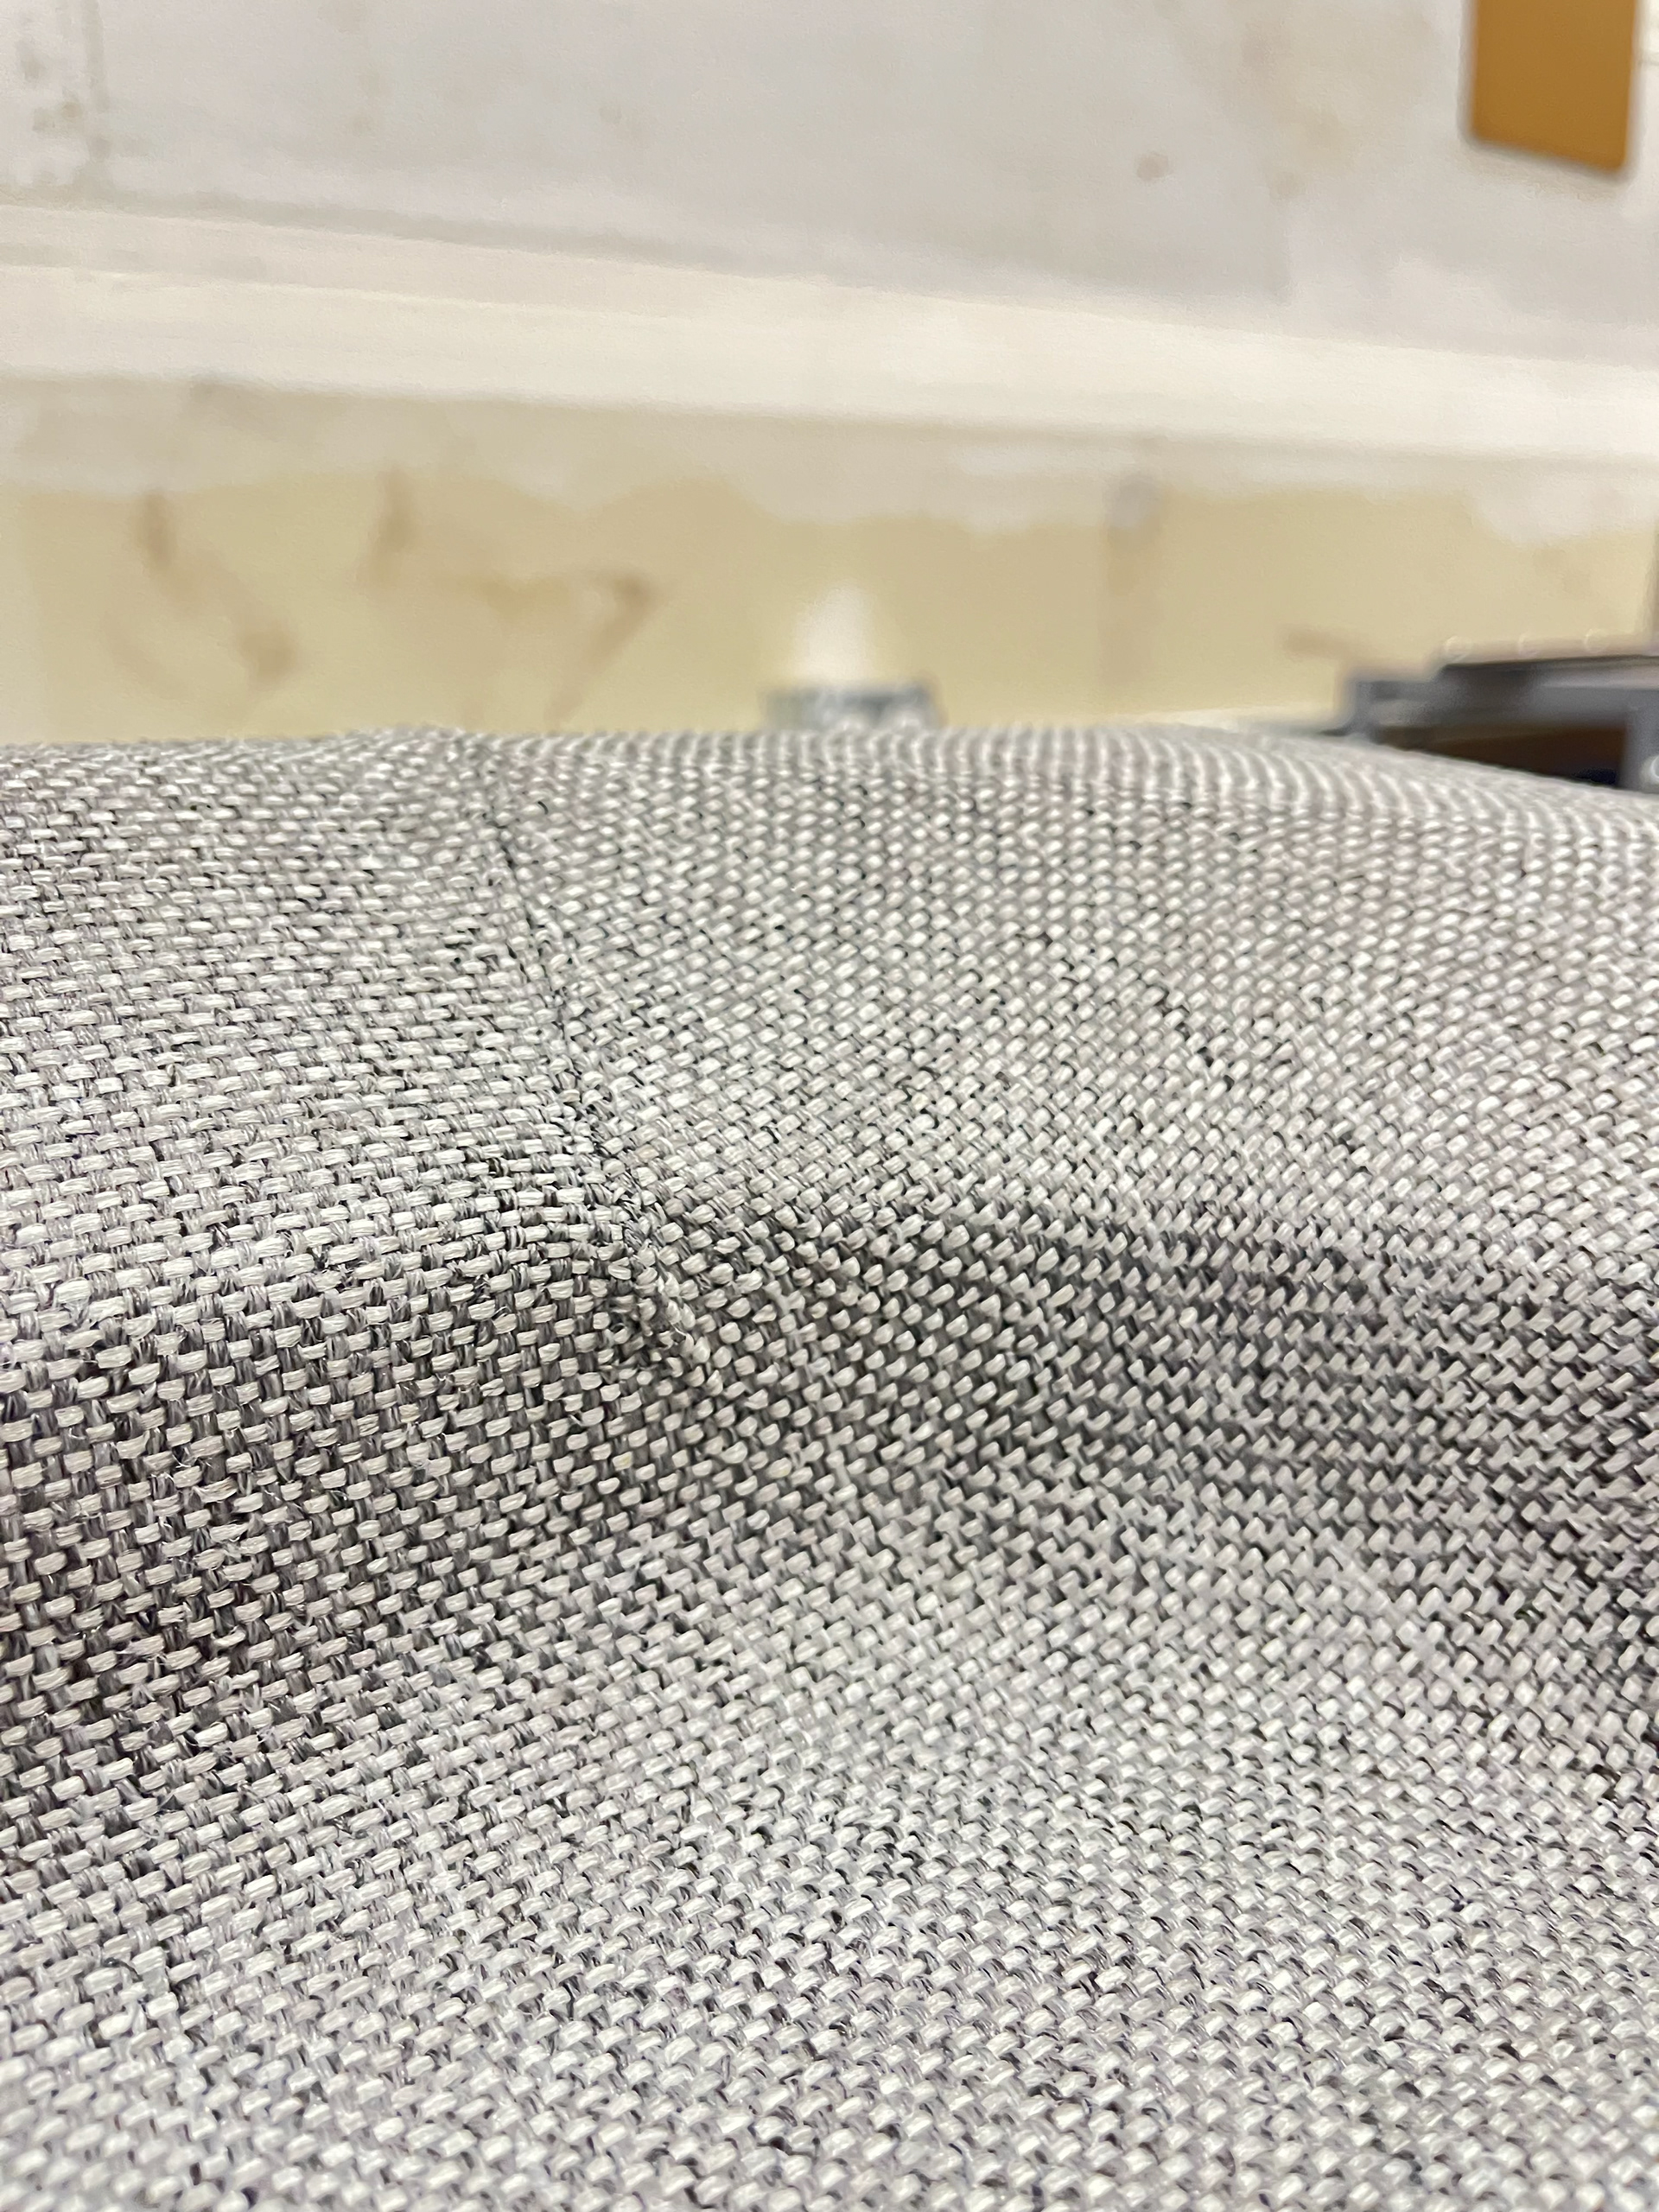
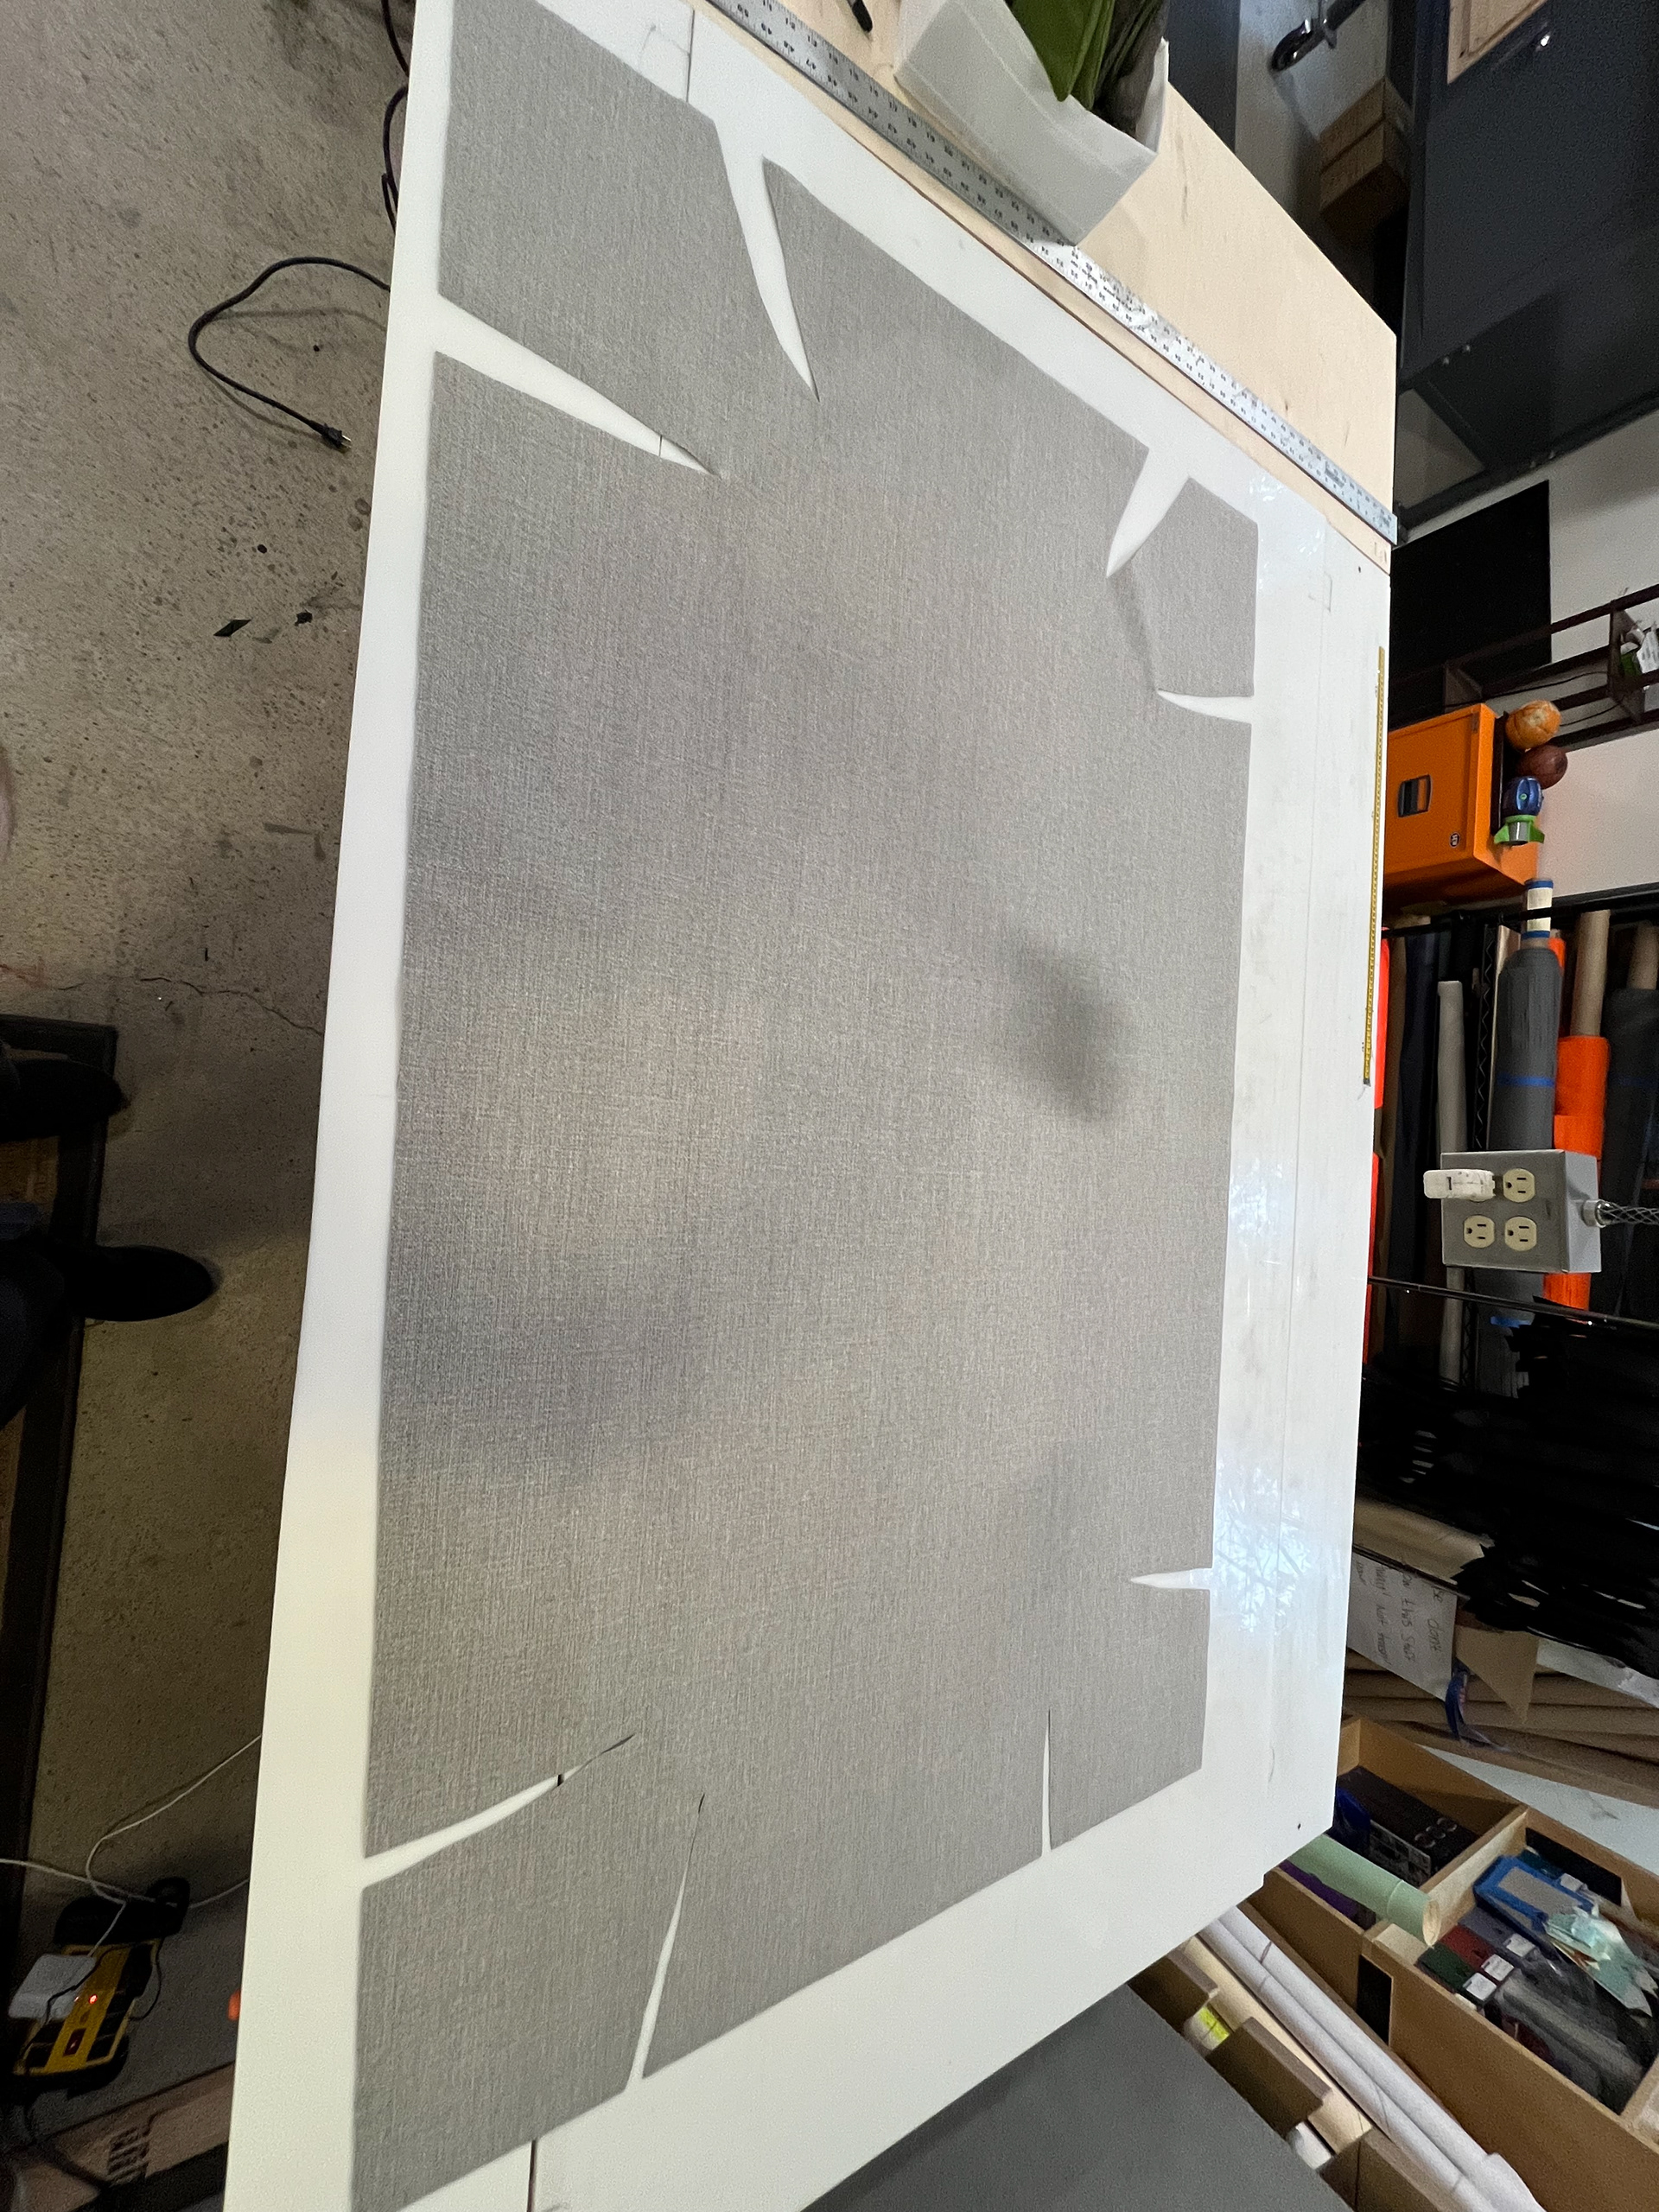
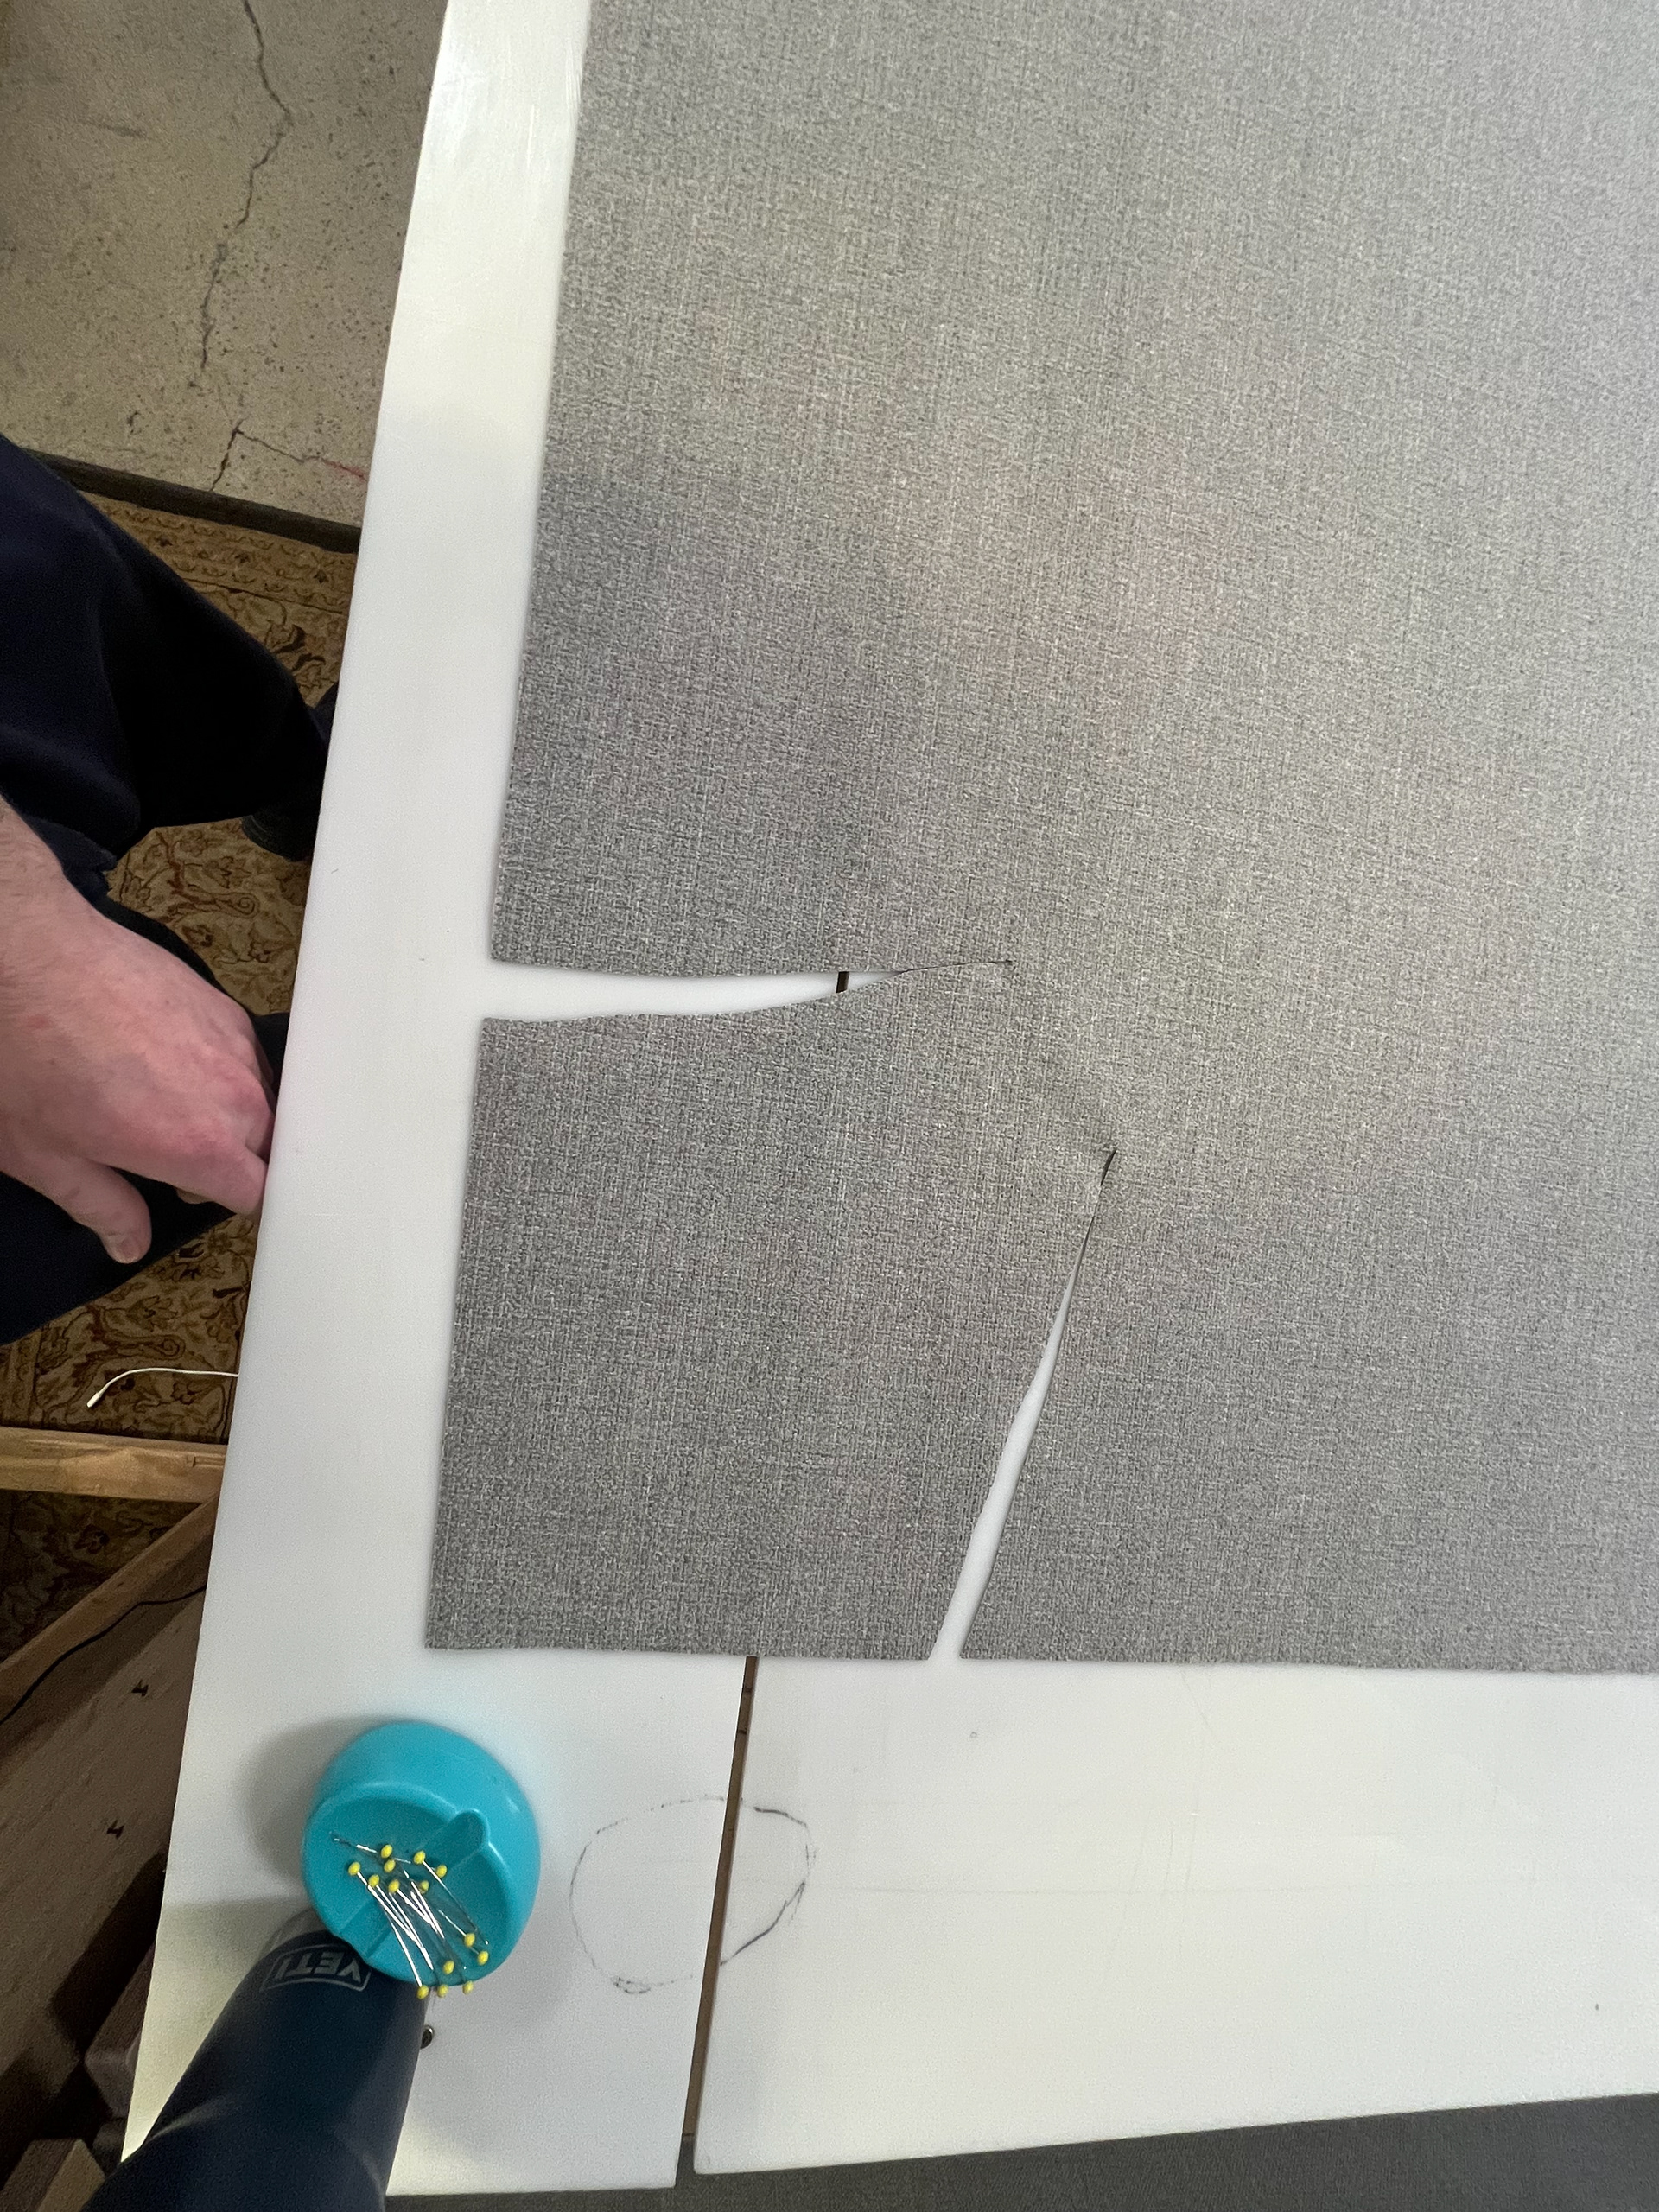
The final step was transferring the pattern onto the woven fabric used for the trim pieces.
I sewed the darts and upholstered a single panel to test the fit. The darts aligned perfectly on the first try, confirming that the draping method paired with the adhesive tape produced an accurate pattern.
Conclusion:
Technical fixes matter most when their impact extends beyond the product itself.
This solution has been implemented for a little over a year now and we have yet to receive a warranty for delimitation issues.
The end result was a better user experience: fewer issues, less interruption, and more confidence in a product built to support life of spontaneous adventure.