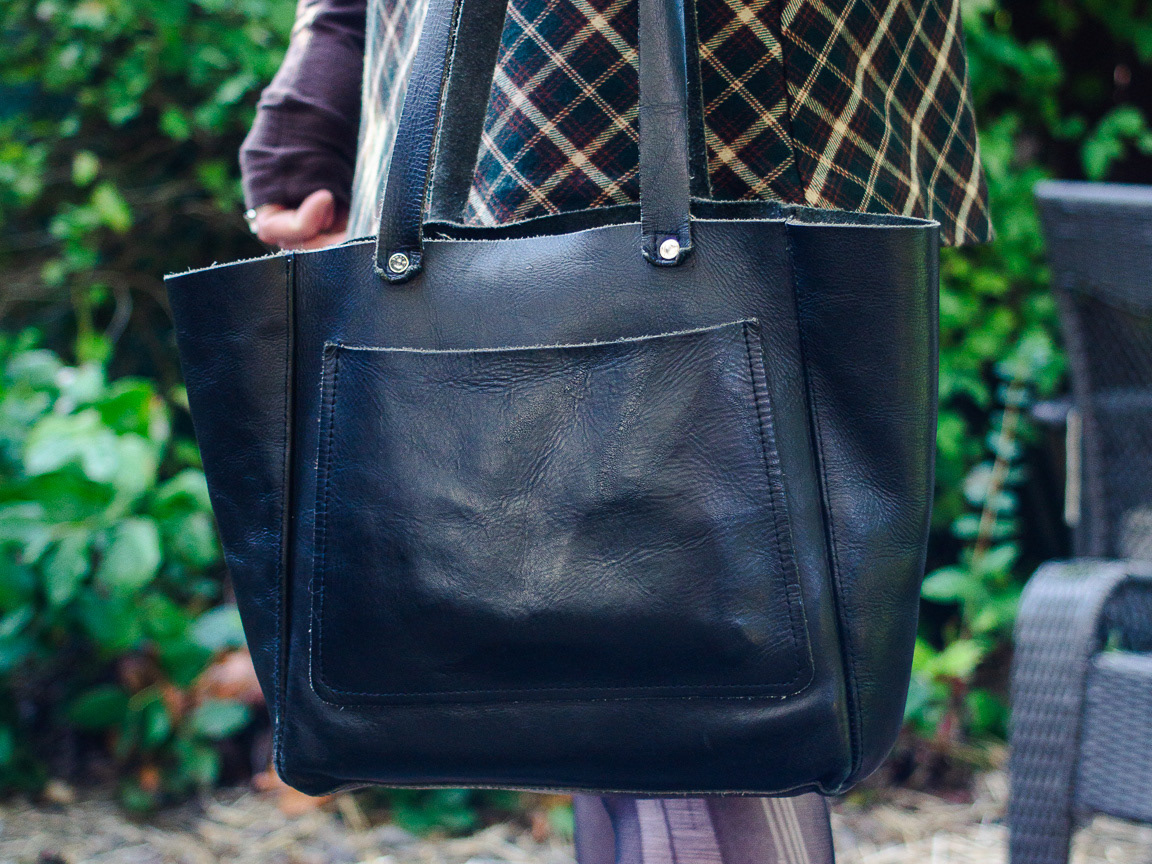

This project was co developed with my friend and co worker Danny Anderson. He helped push me to work within the intersection of hard and soft goods using 3D CAD to develop soft goods!
How it started
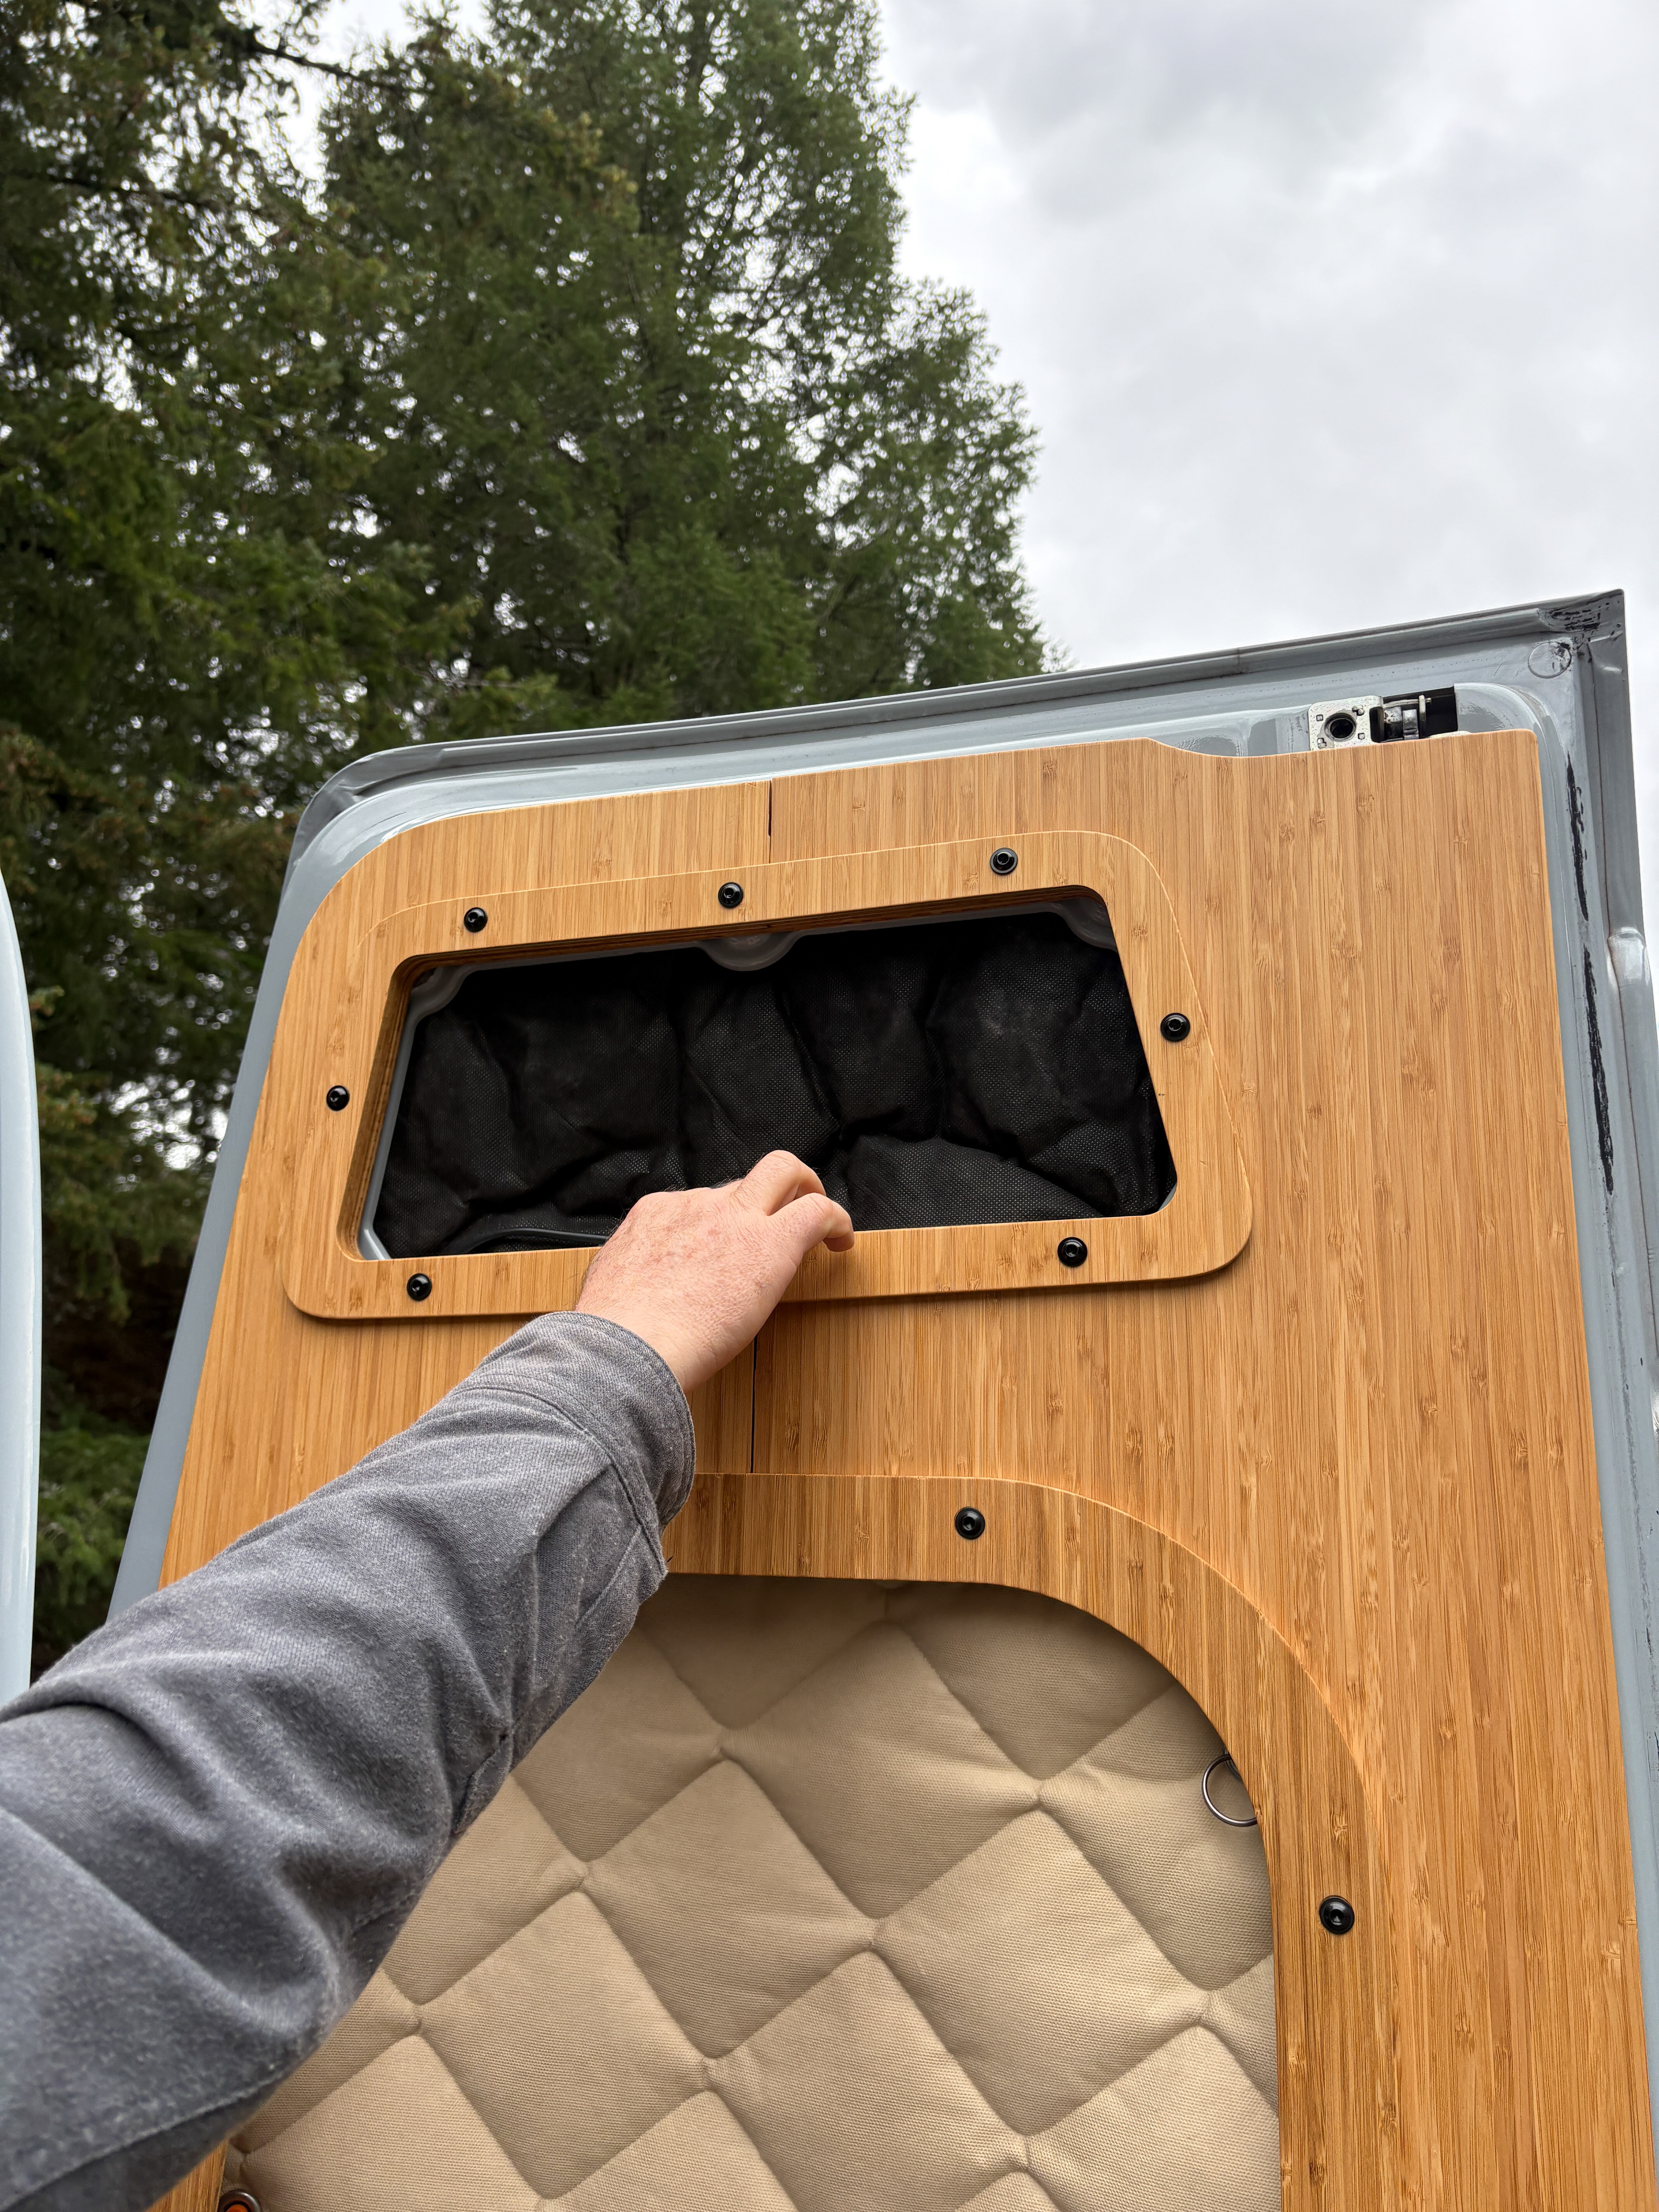
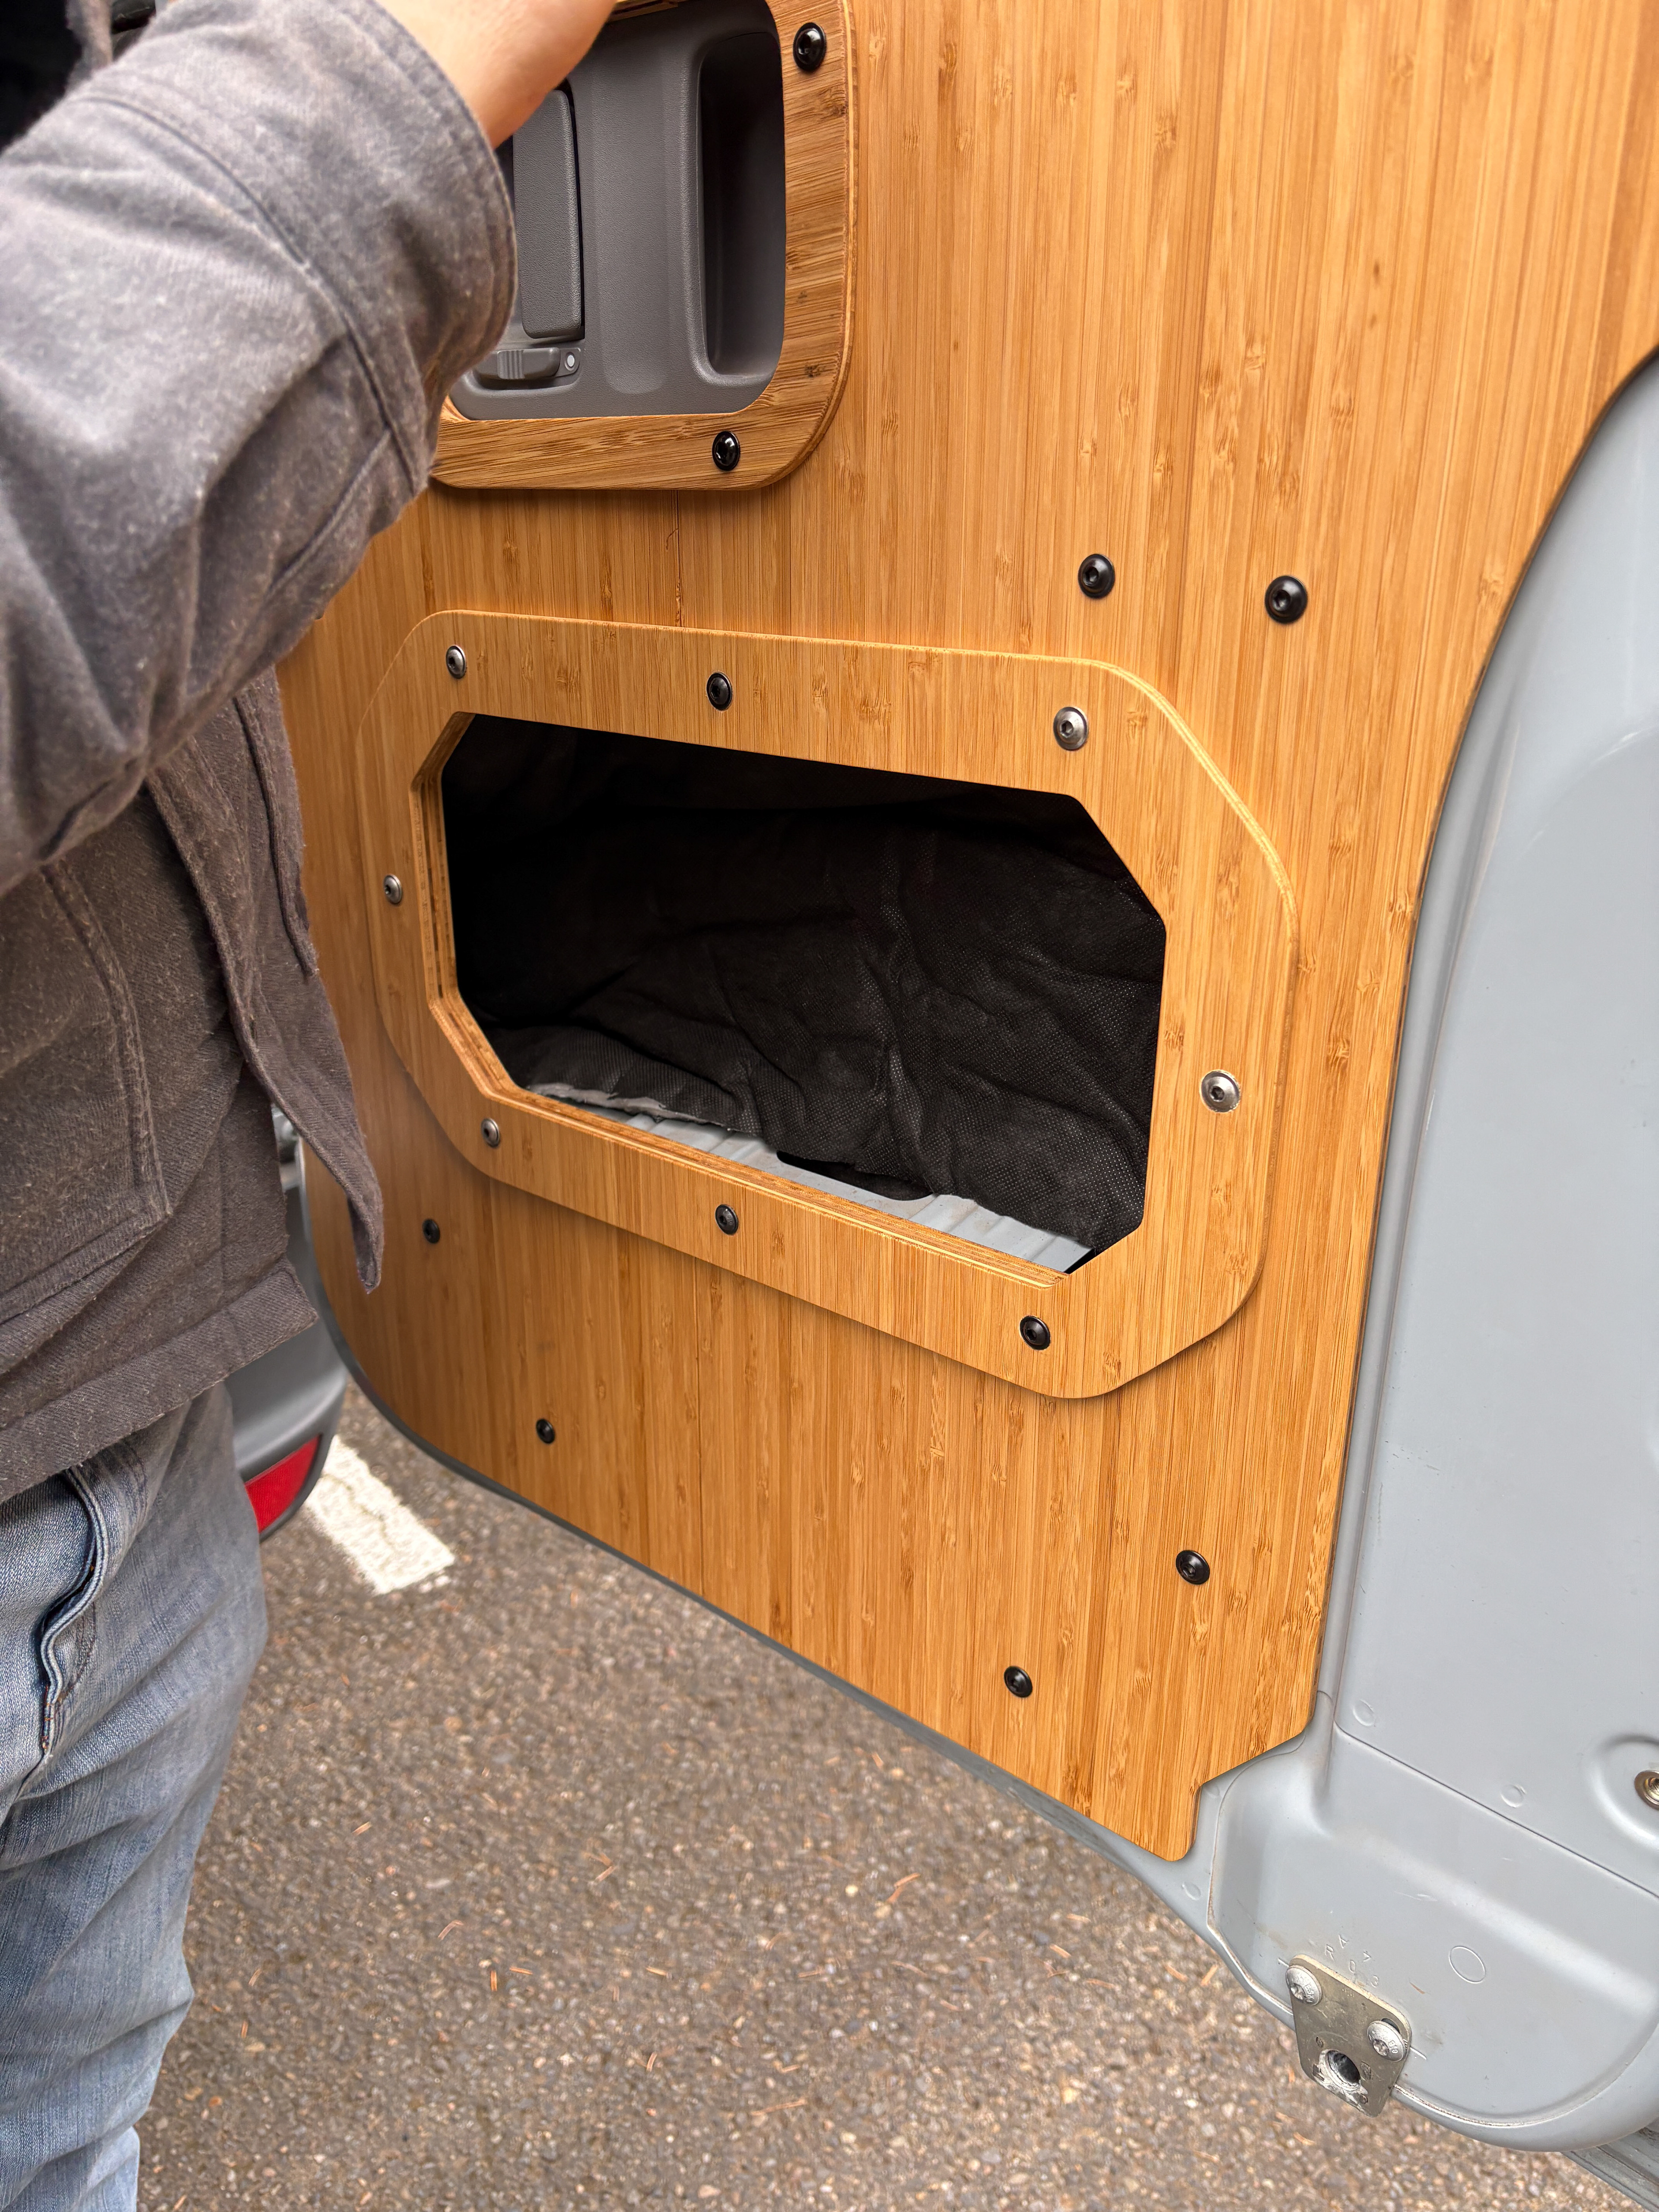
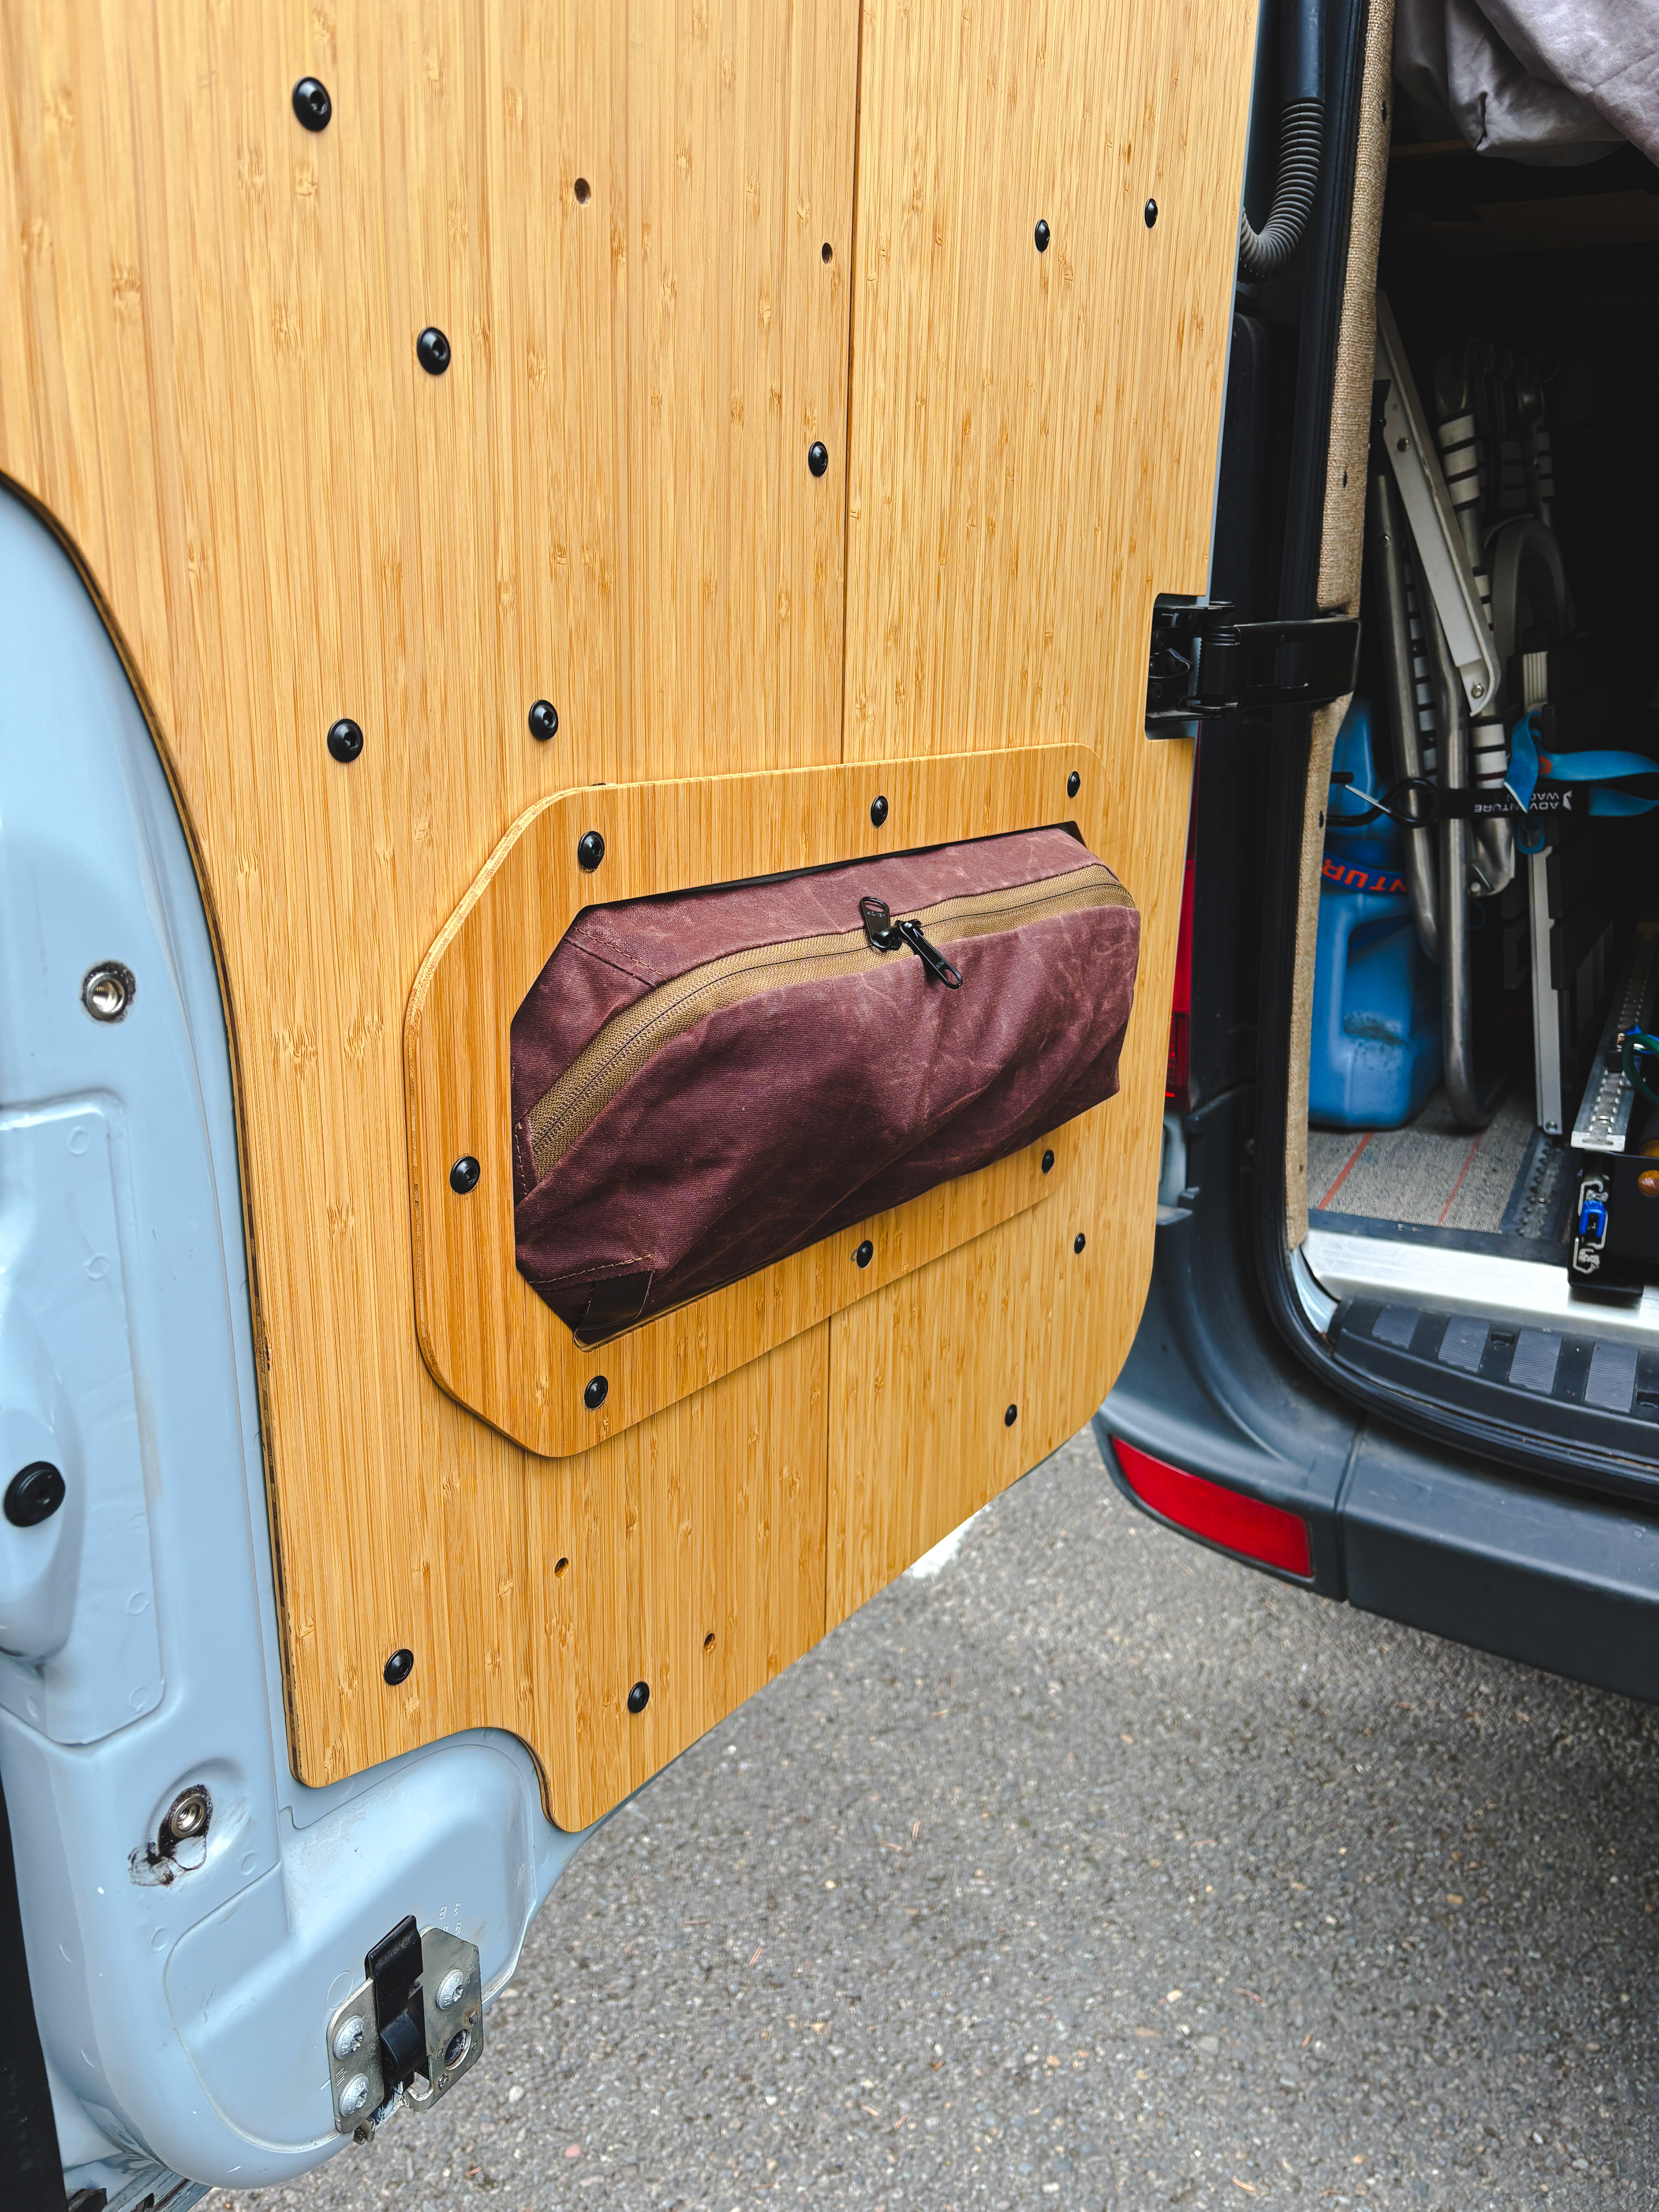
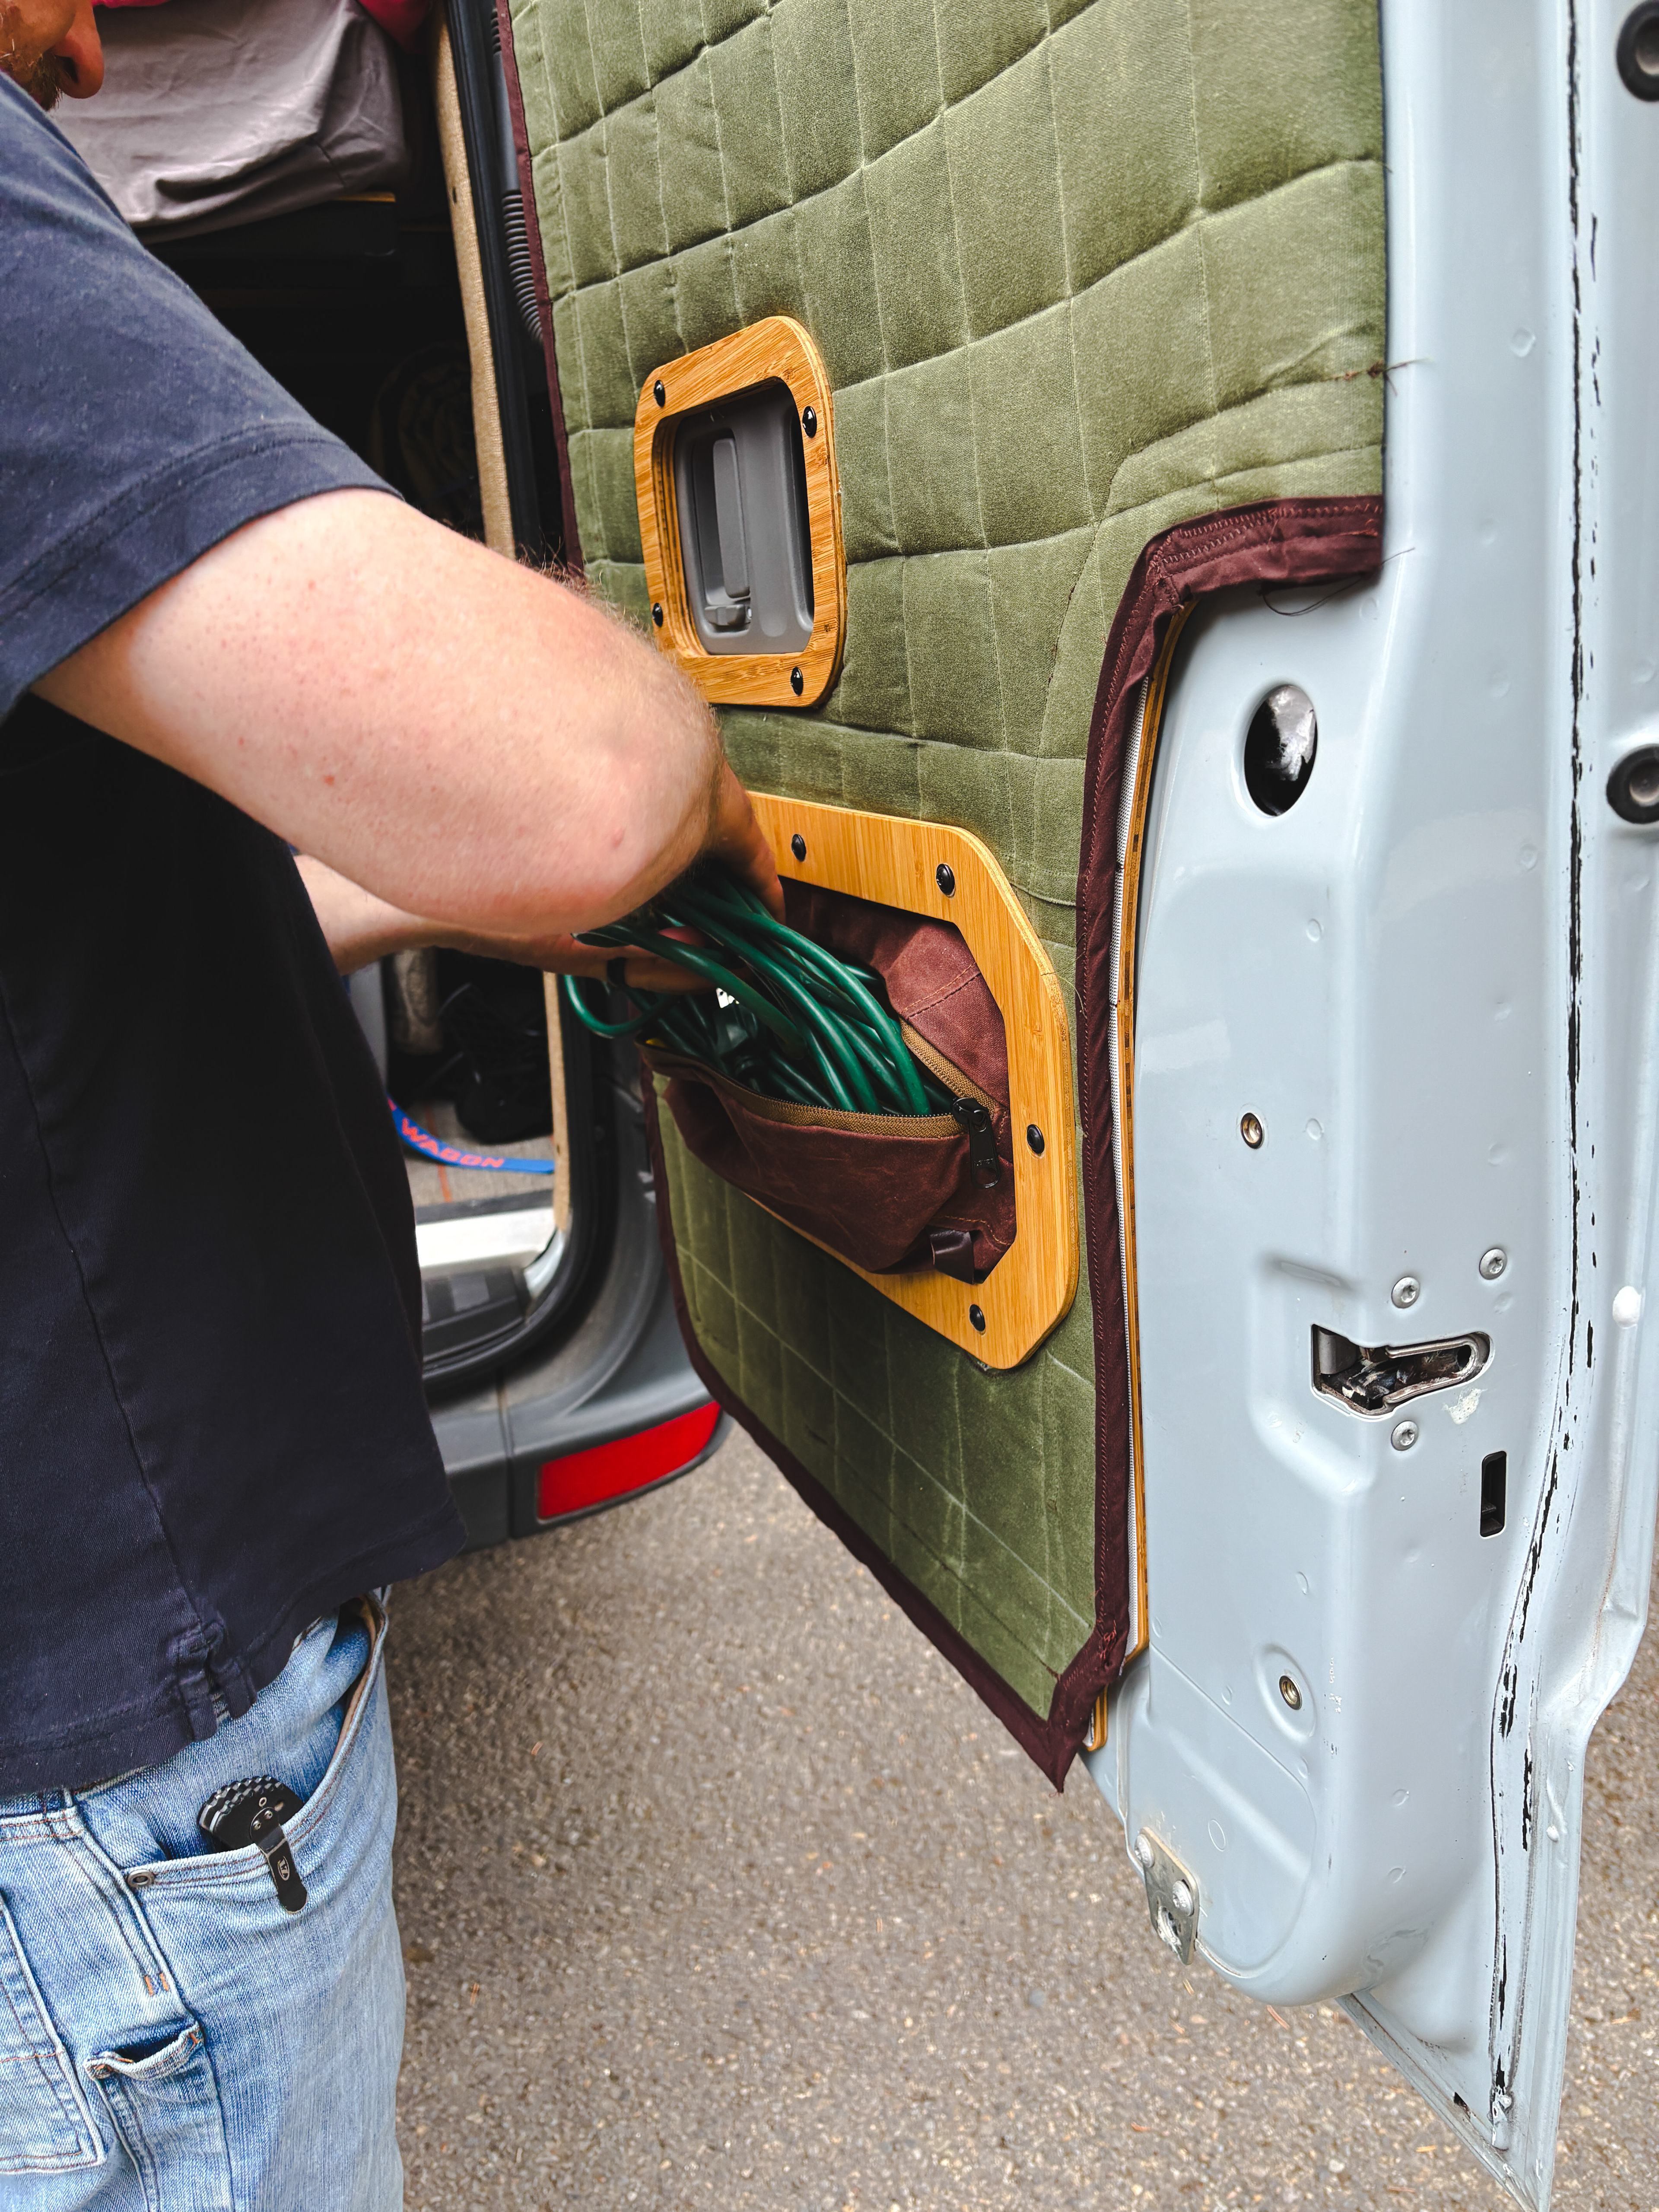
Danny was developing a rear door storage/cover system for his sprinter van. He asked me if I had any thoughts or wanted to help him design and make some storage bags for the cut outs he added to the bamboo rear panel.
Moodboard
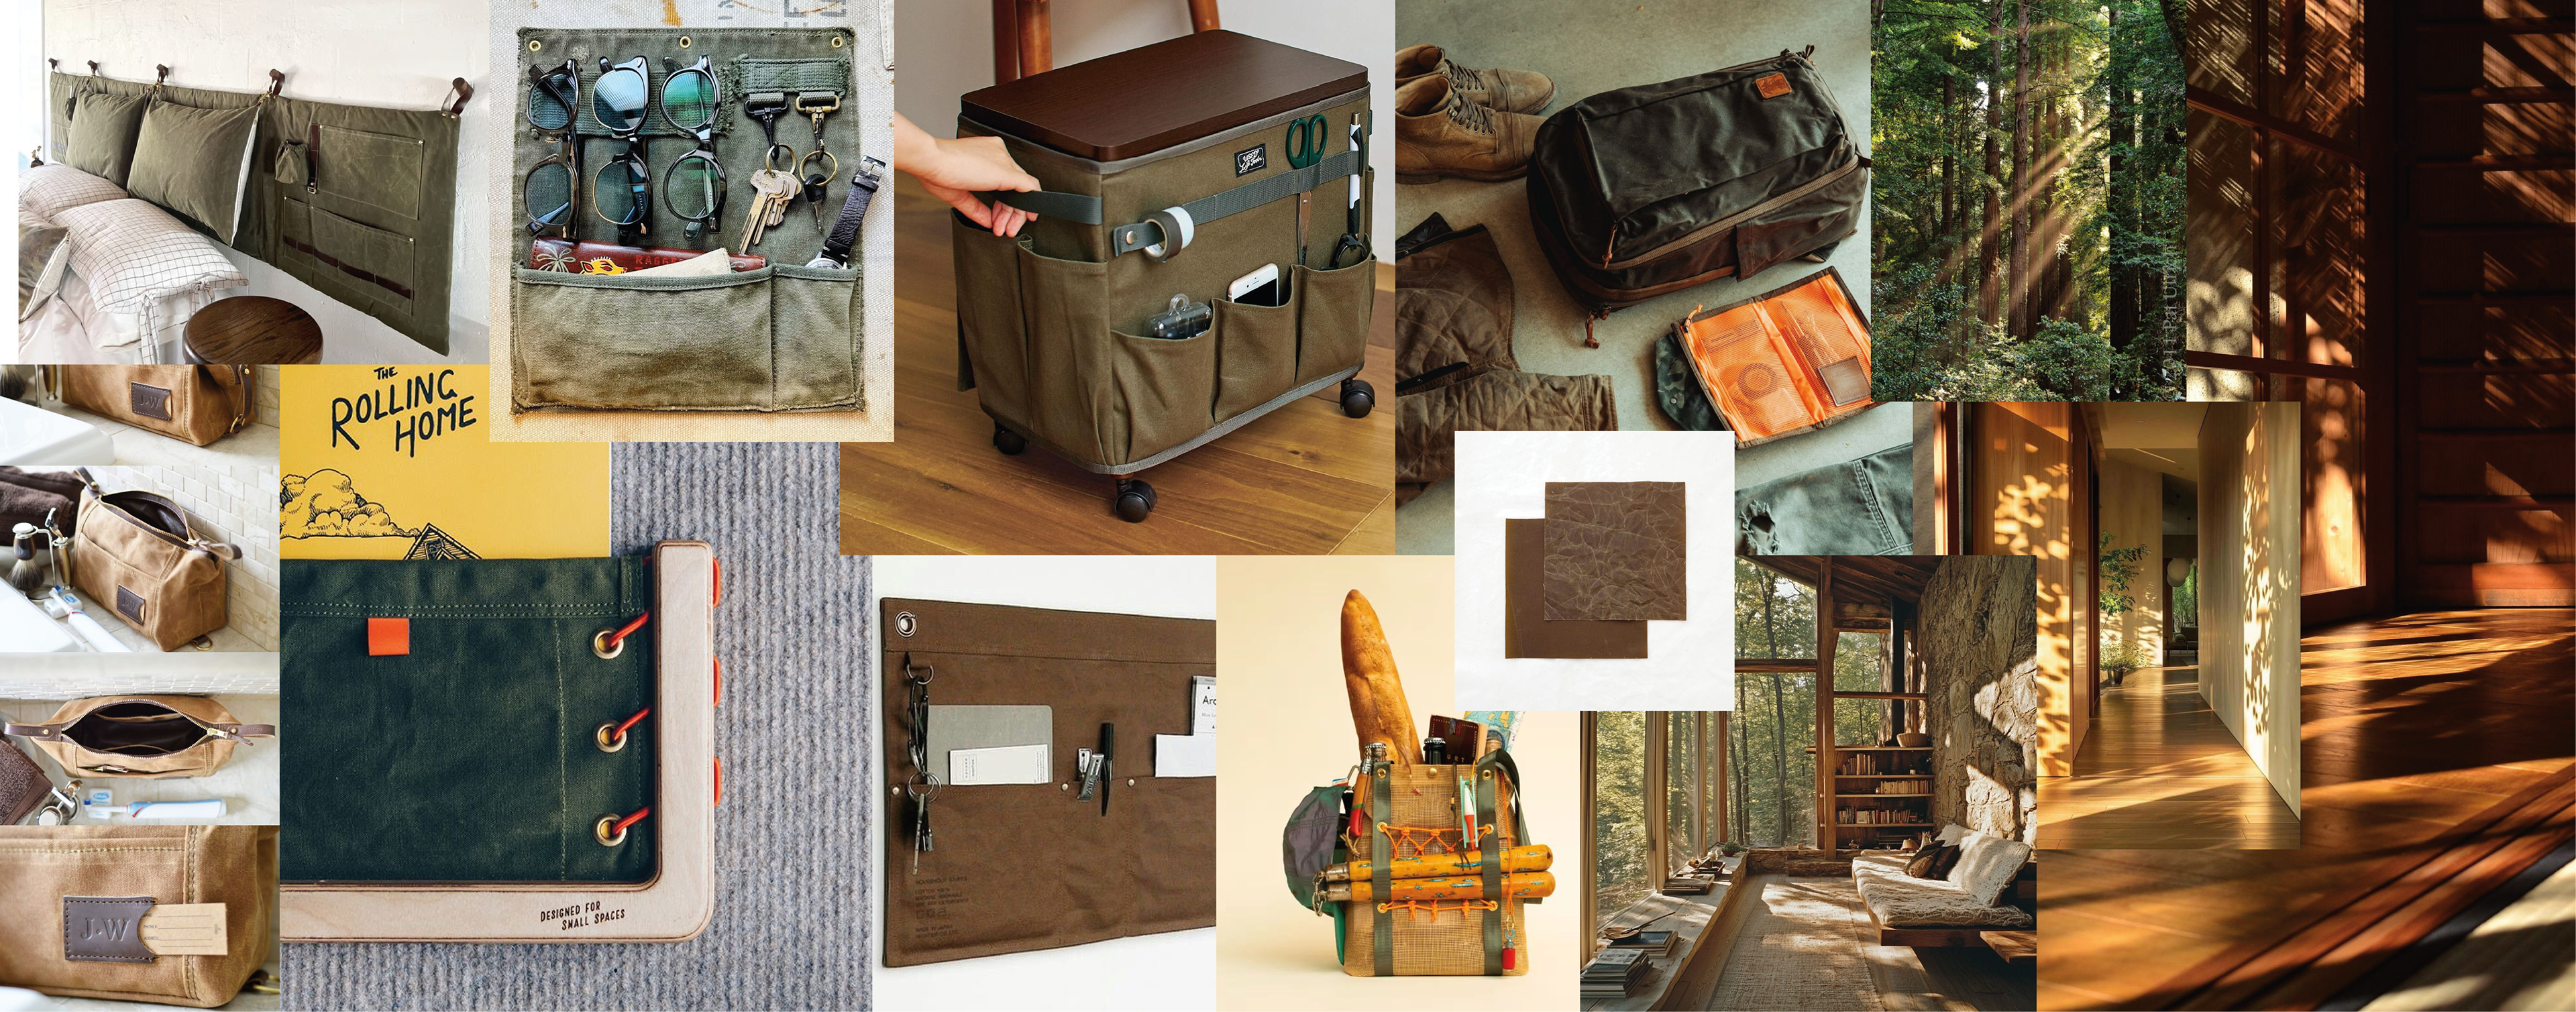
The only request Danny had for this project was waxed canvas. I put together a moodboard filled with waxed canvas products, soft warm lighting and heritage inspired colors and feelings to direct the CMF for this project.
Initial concept/Sketching
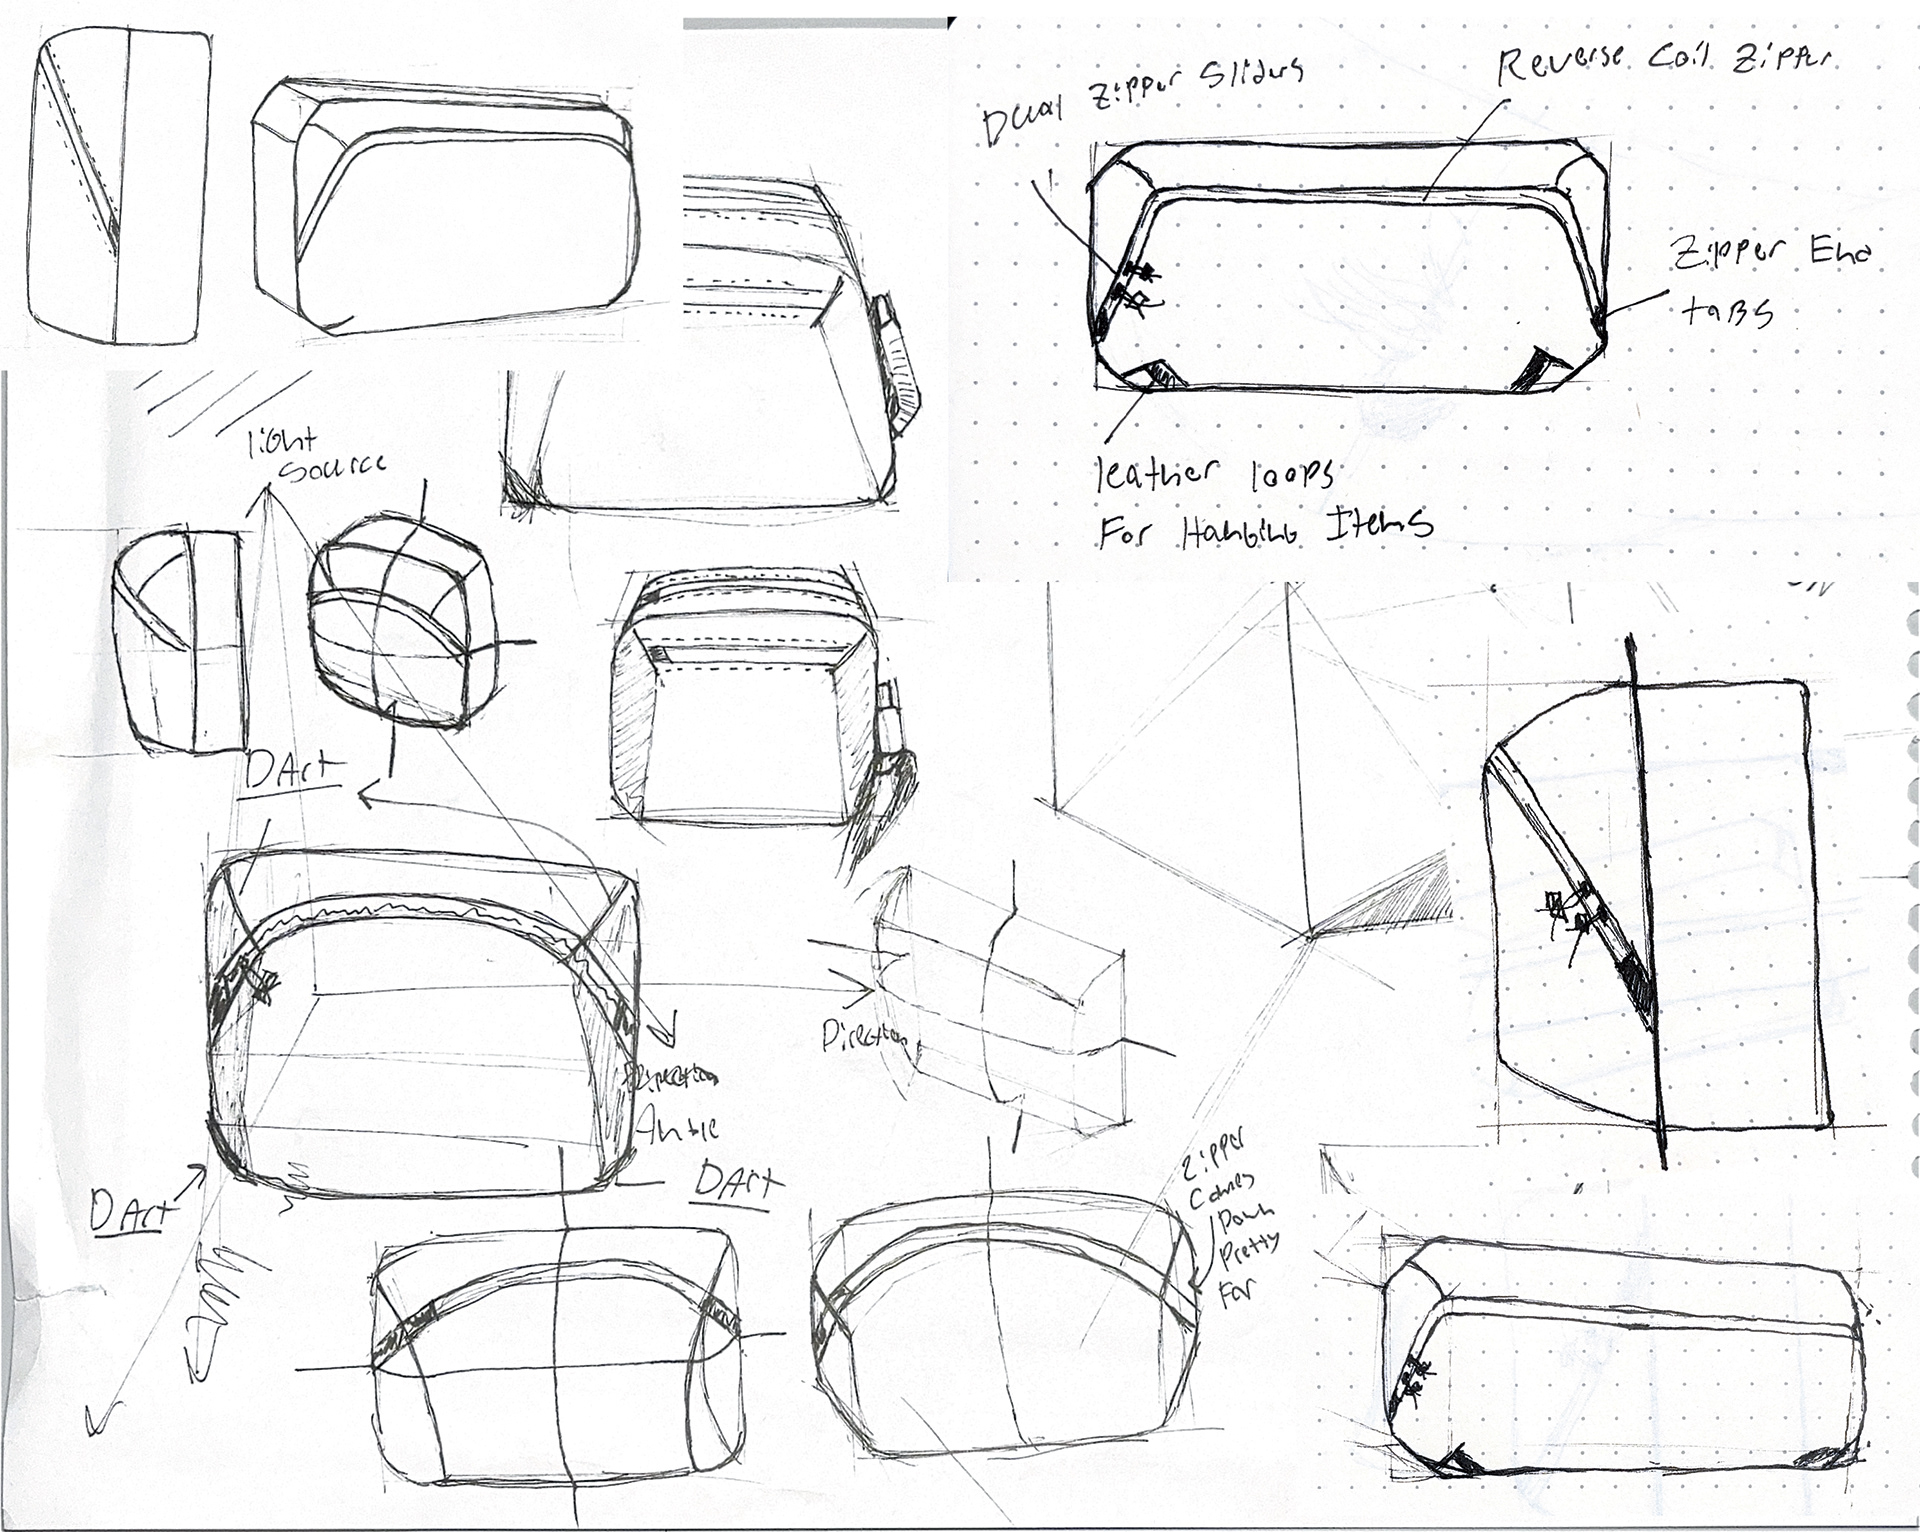
I determined that two somewhat distinct features would increase the functionality of the bags while giving a unique but balanced silhouette while sketching.
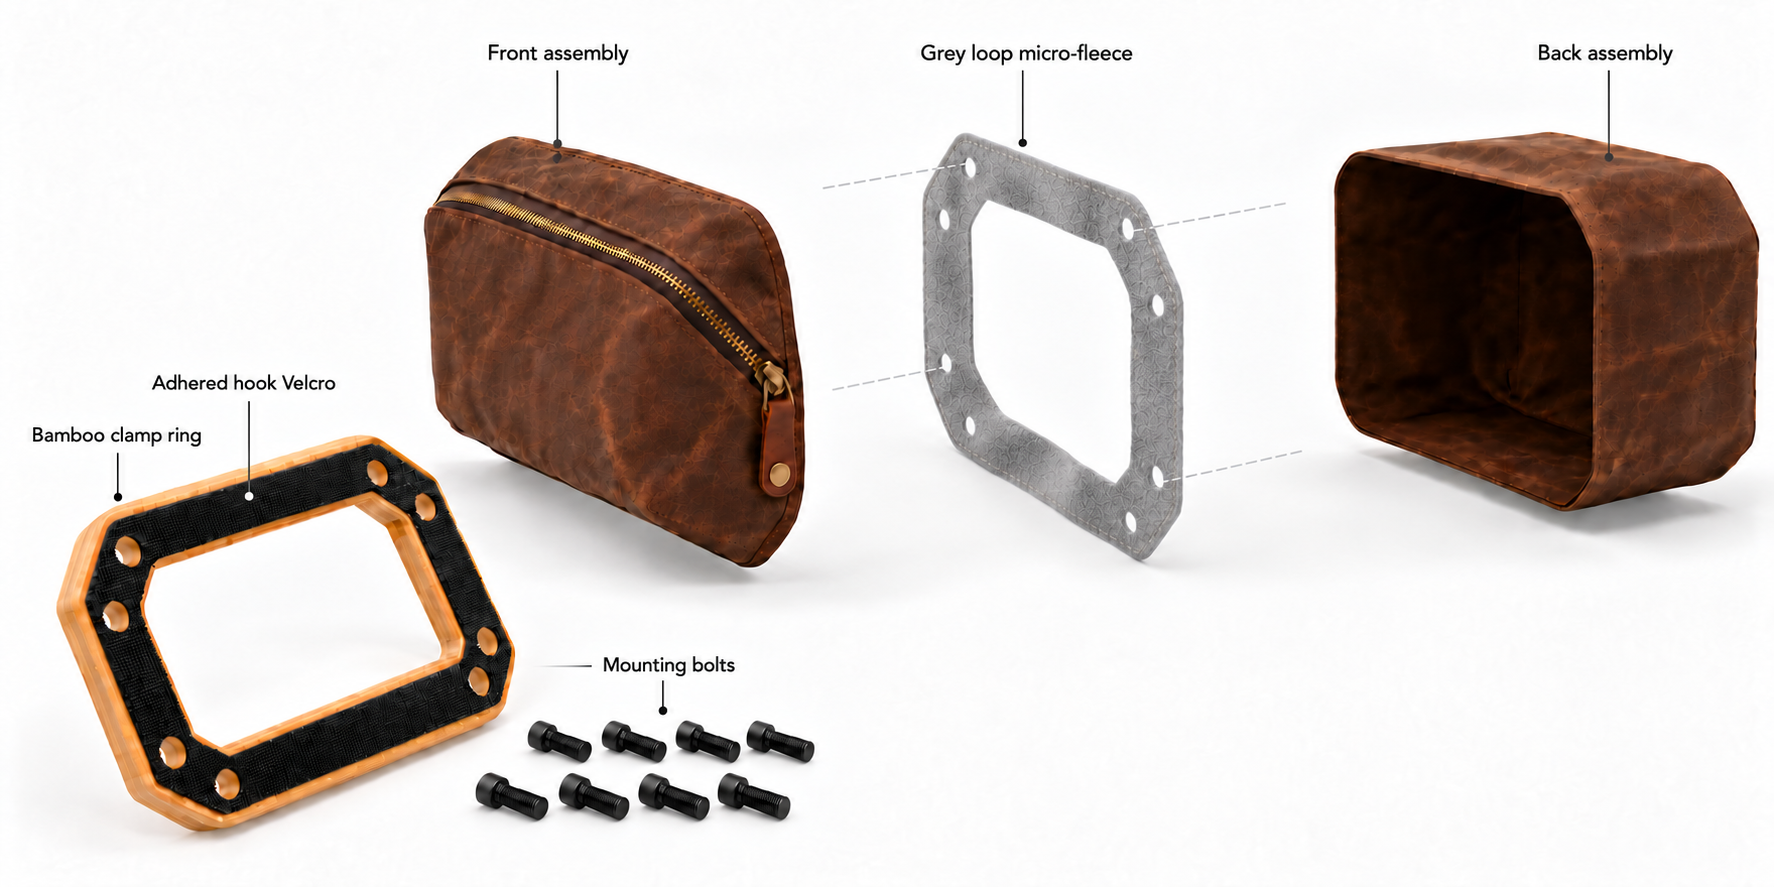
Extruded face; Allowing more volume and storage space. Utilizing darts in the corners that flow into the chamfered edges of the trim ring that retains the bag.
Clamshell zipper opening; allowing more access to the interior of the bag while keeping items from falling out due to the position of the zipper stop.
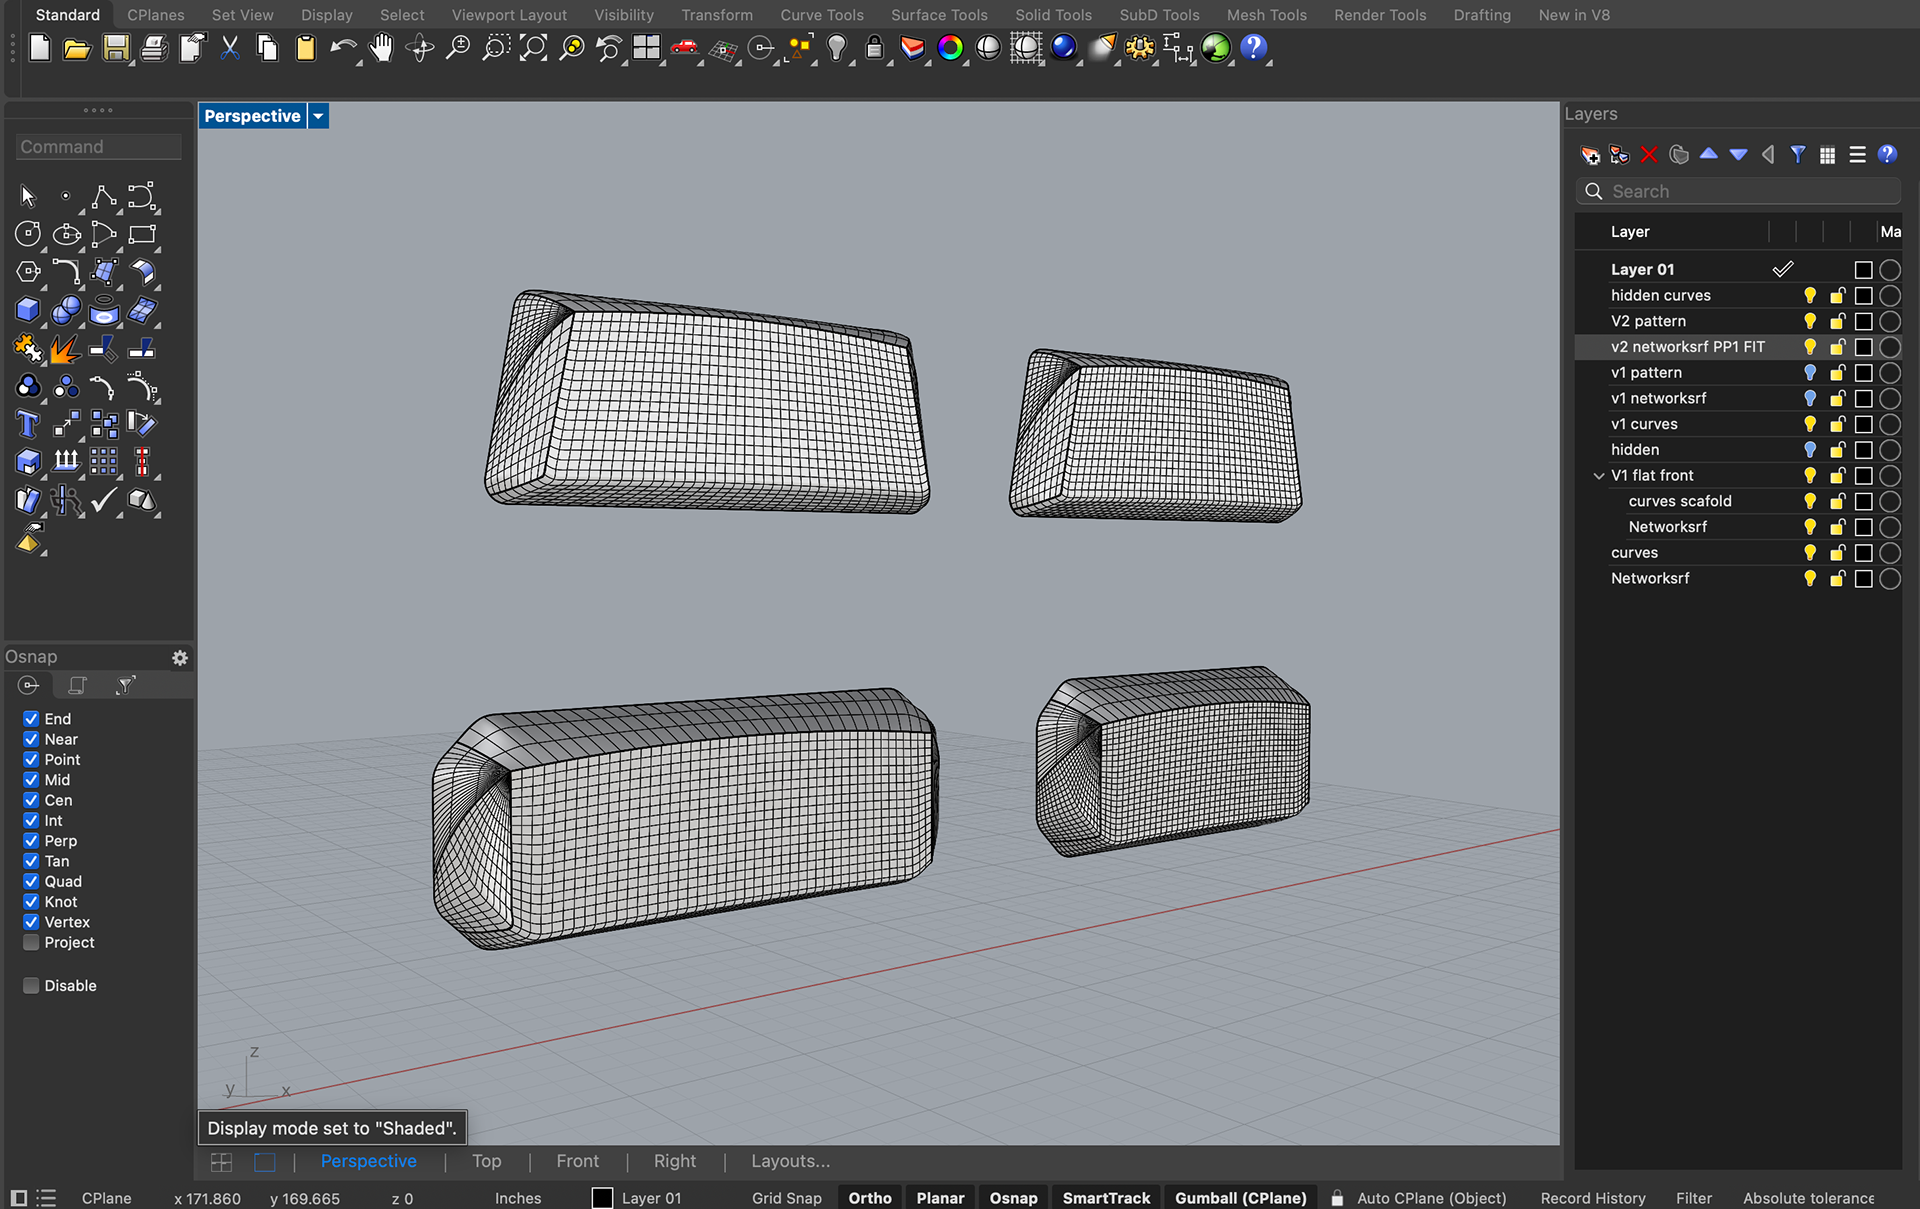
Rhino modeling
Danny provided me with the model of the bamboo trim ring and the cavity inside the door shell
There are 3 unique bags;
- DS lower
- PS lower
- Upper
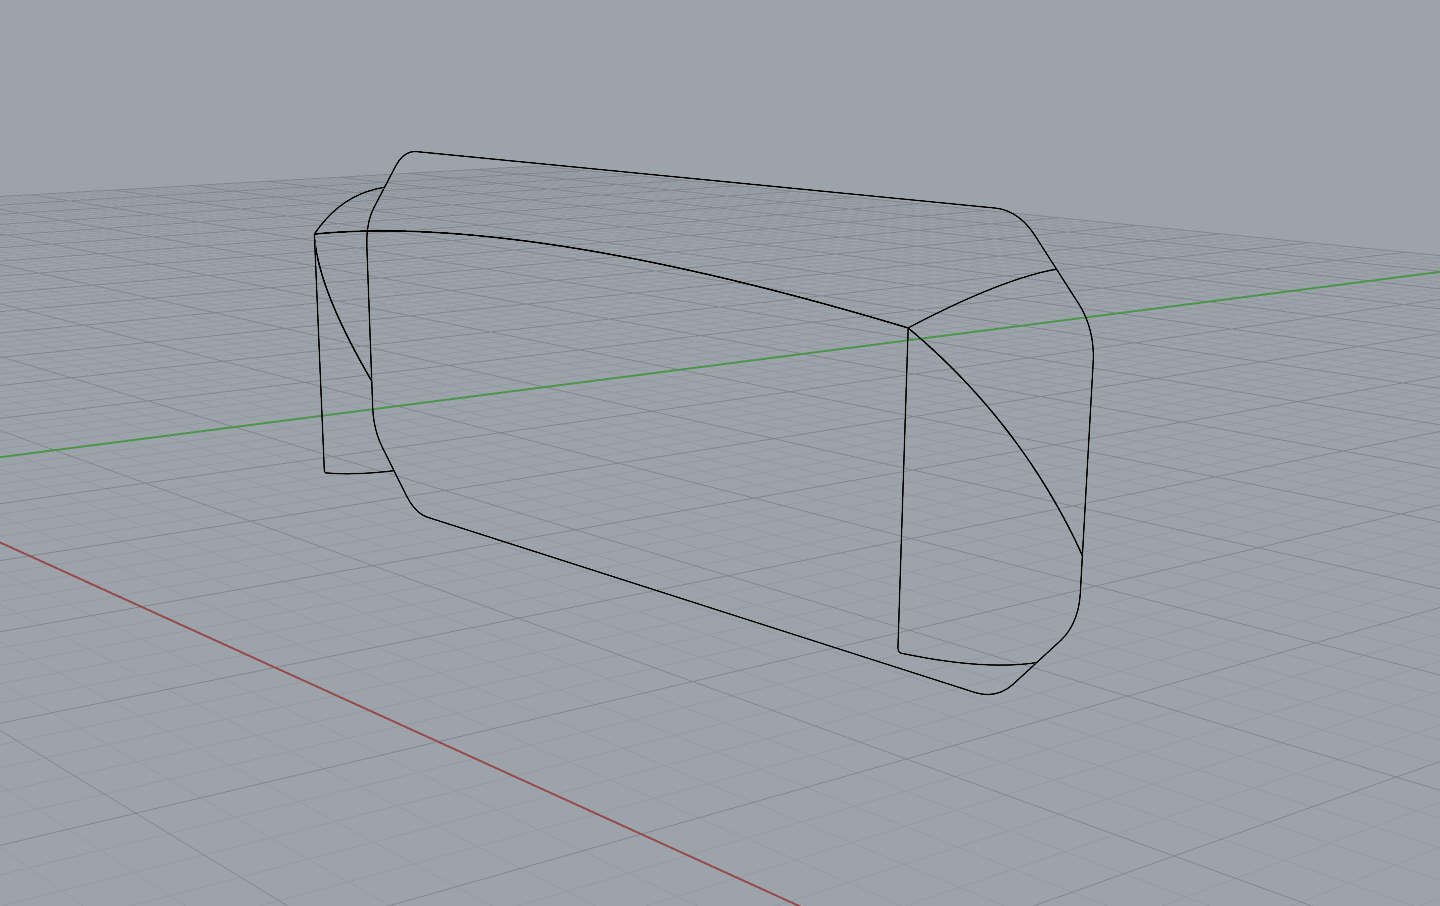
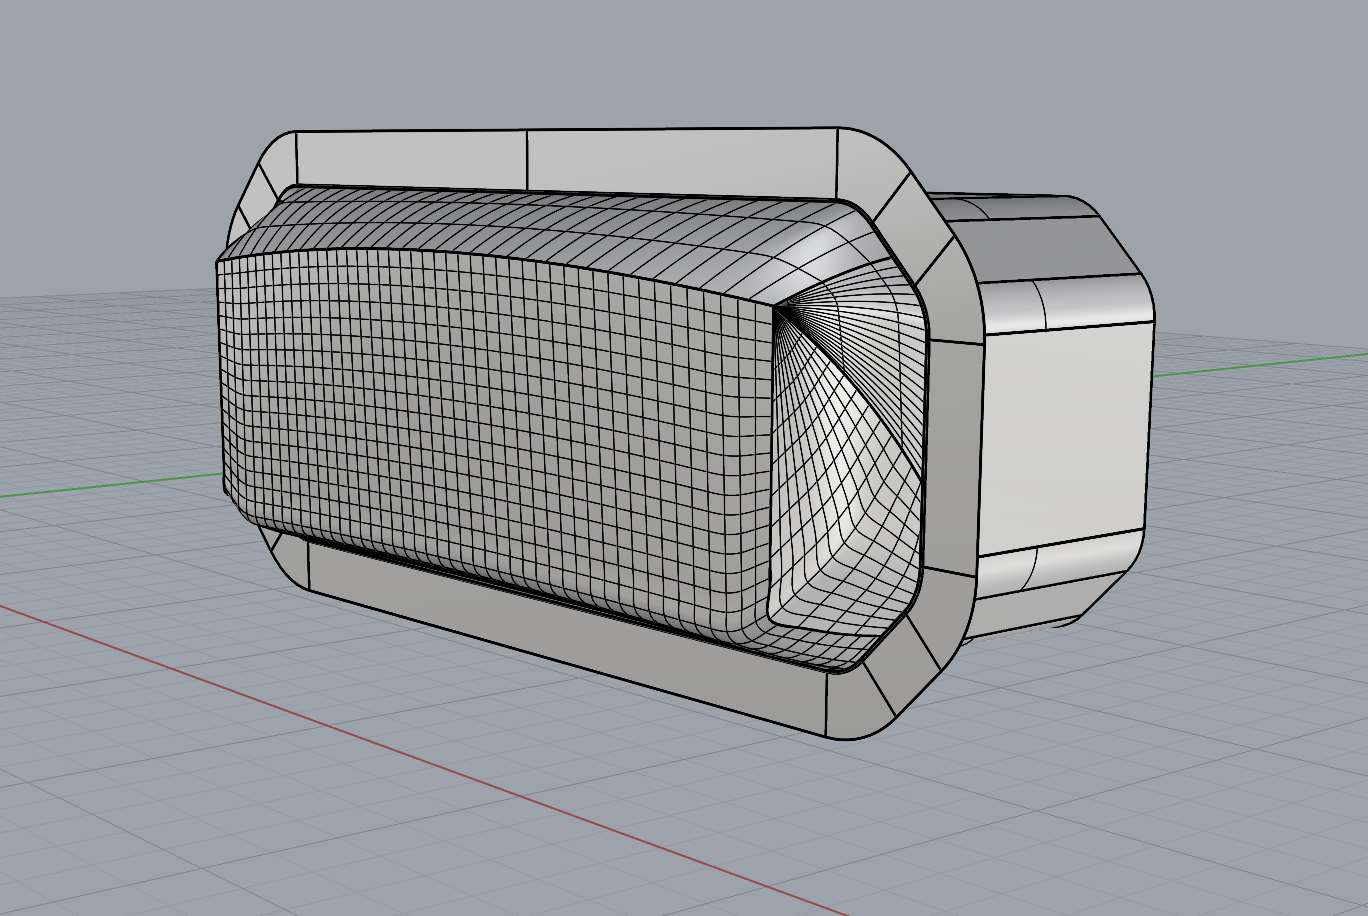
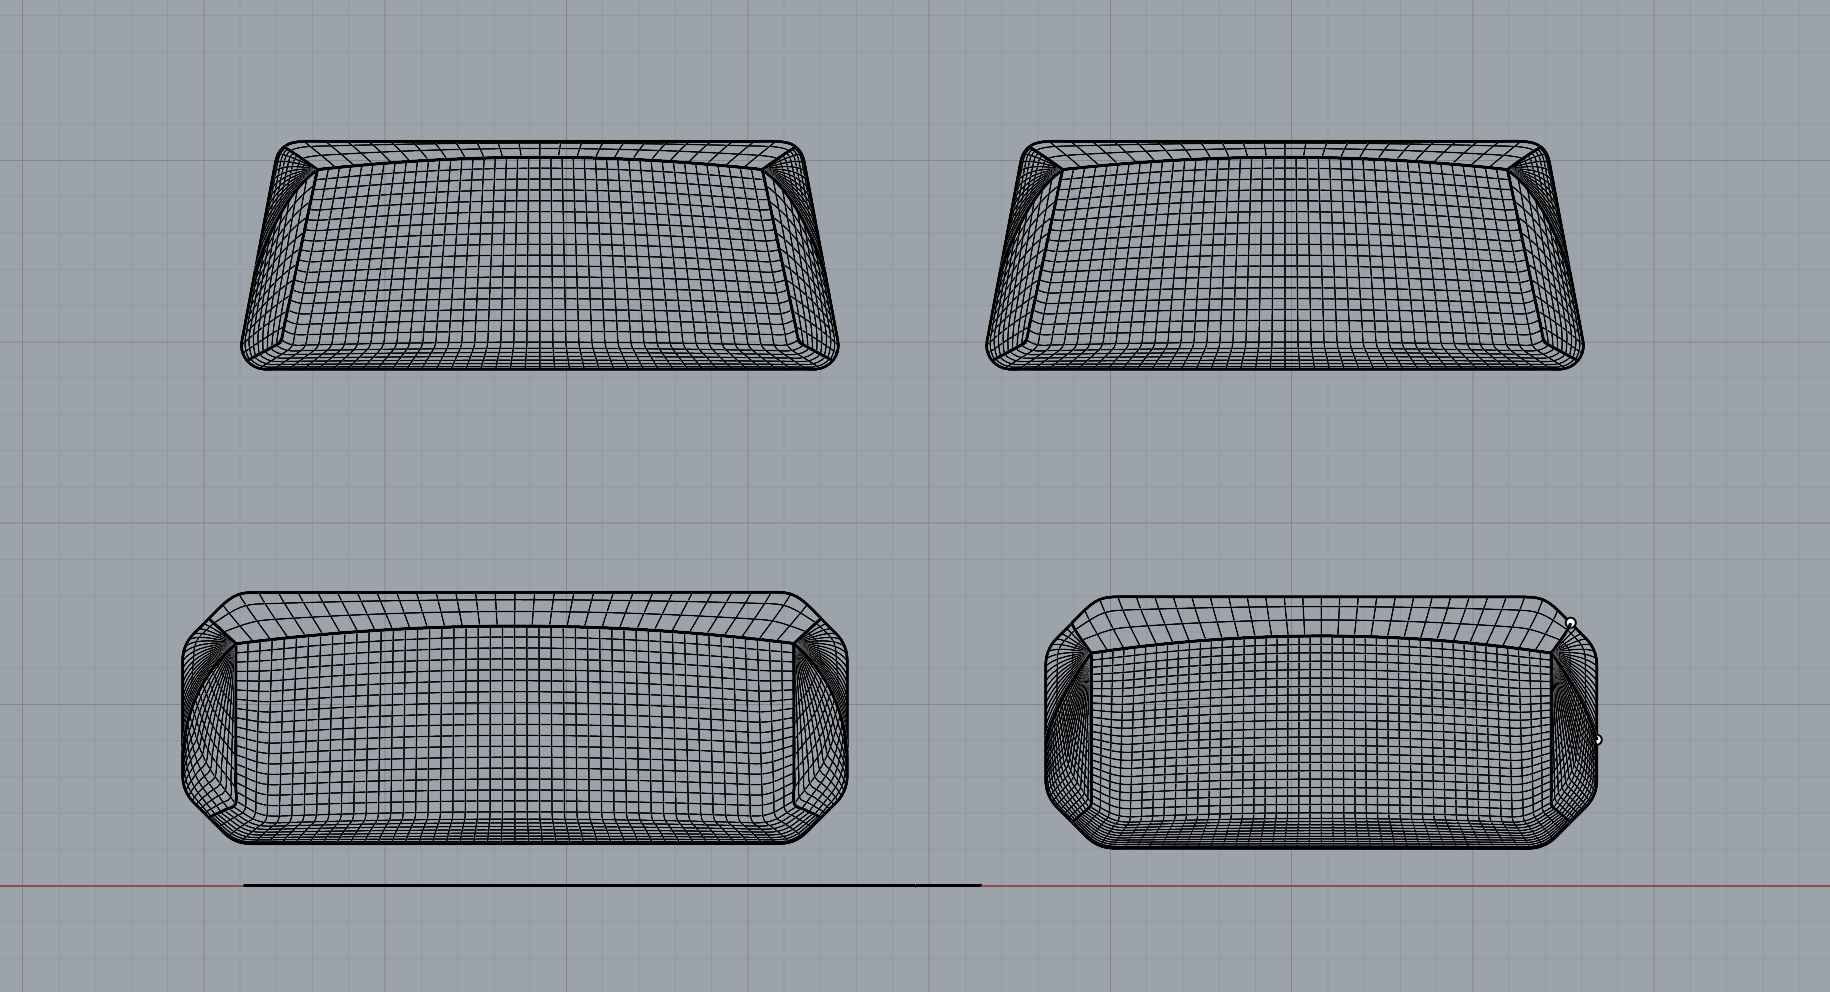
I first built a wireframe off the models I was provided, taking care to add panel breaks in a manner that would work for flatting. It is not as intuitive as extruding/sculpting a shape and drawing seams on it.
After the form was done, all panels were flattened. As you will see shortly, the final DXF pattern export from Rhino looks a good bit different from the final pattern made in illustrator due to the way you must split the panels up.



Visualization and development
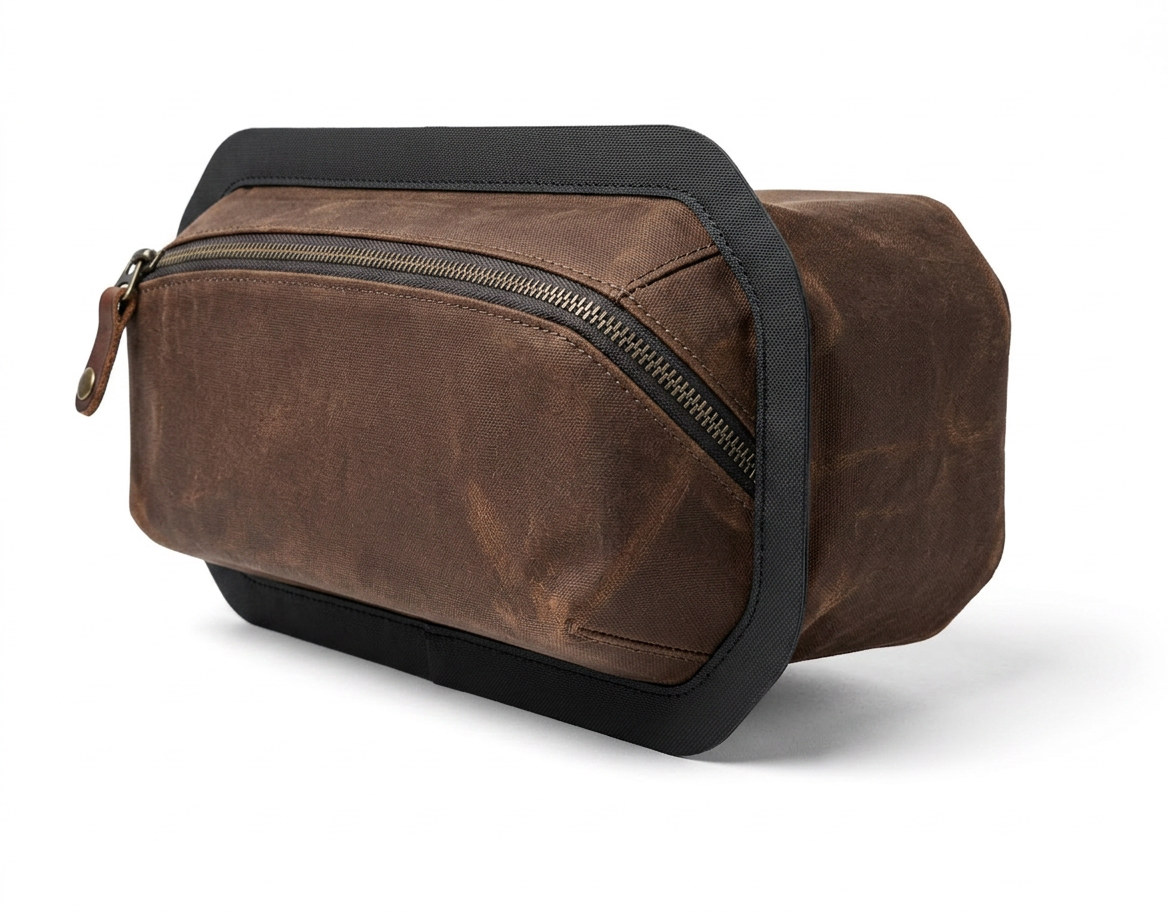
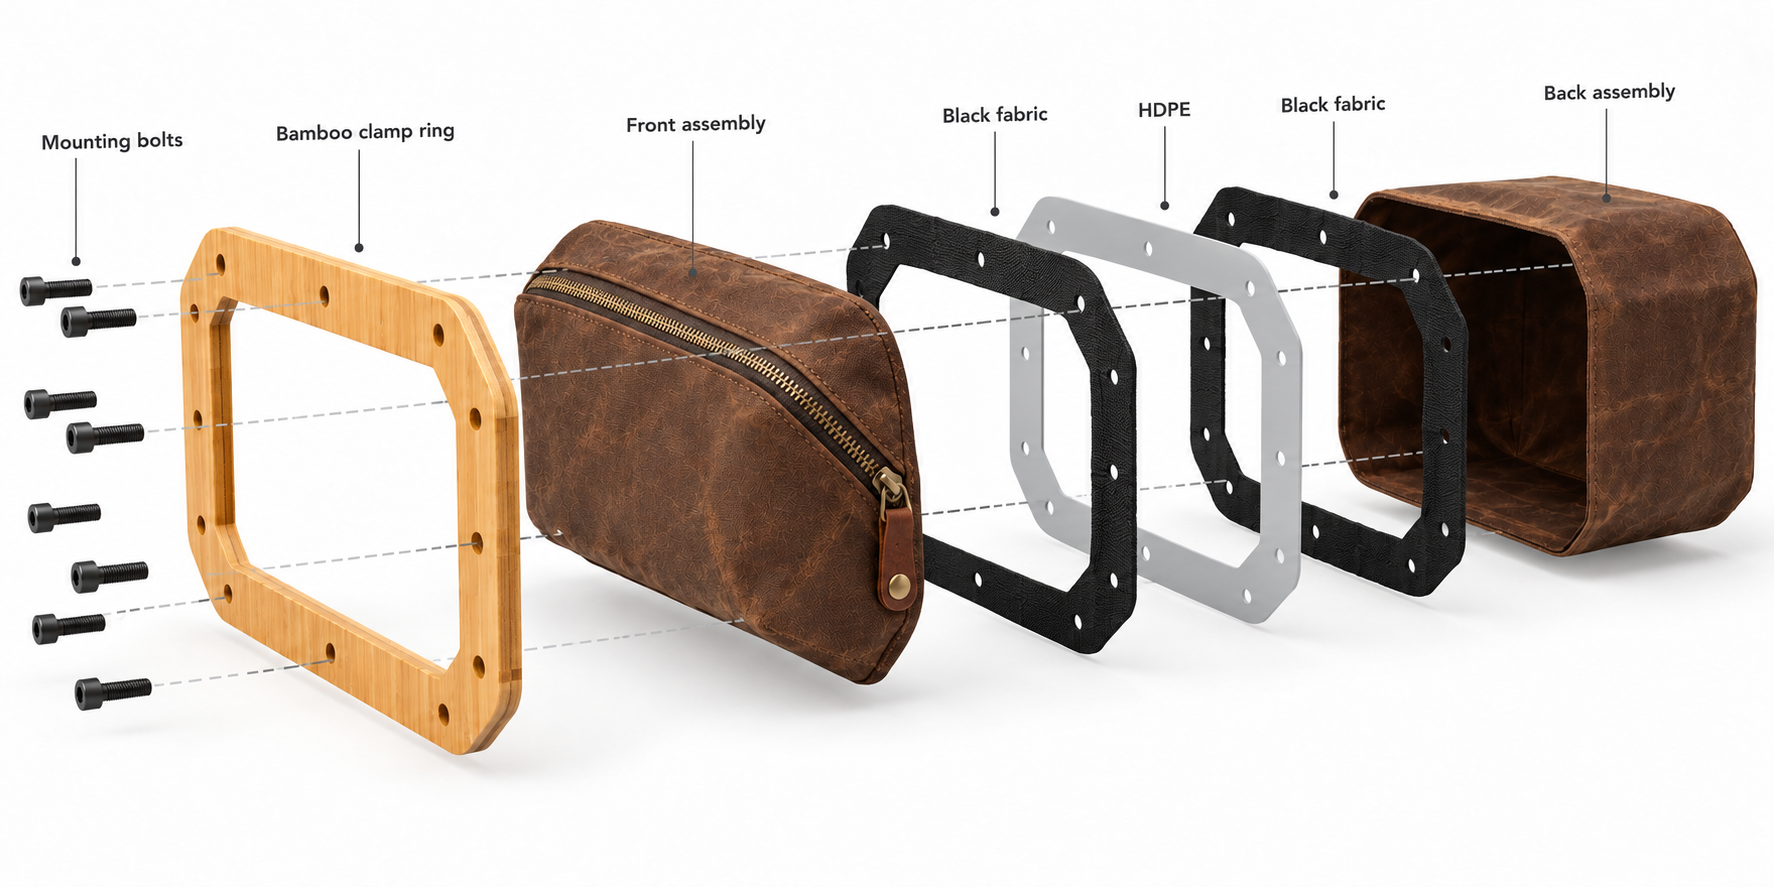
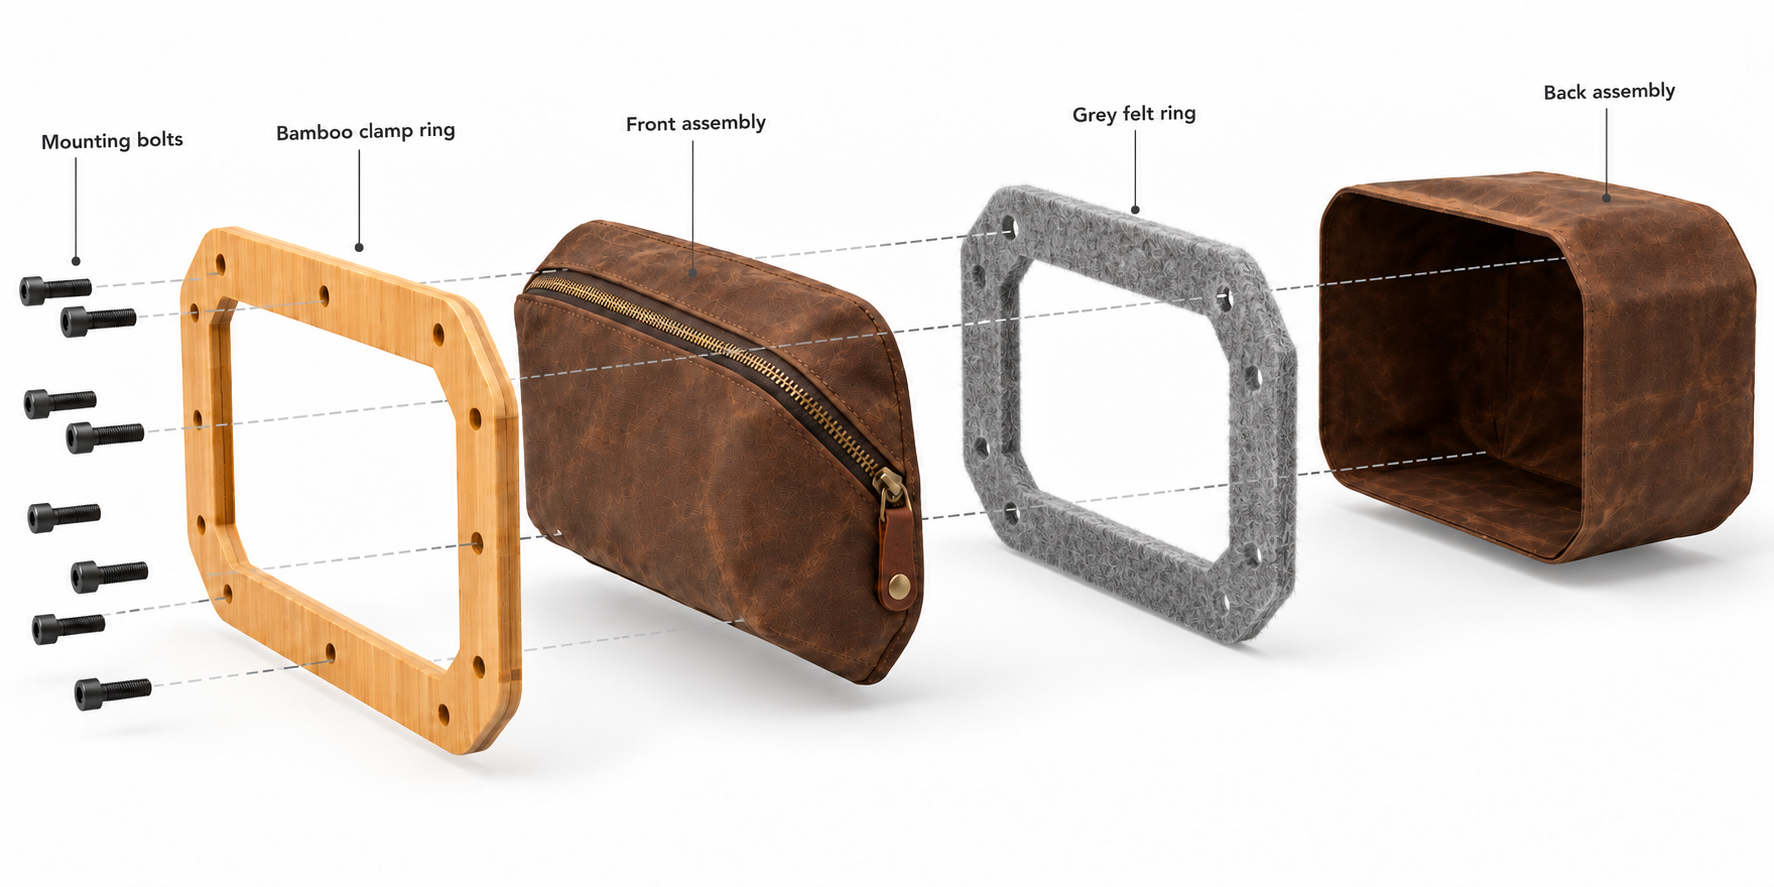
I Imported one of the models into Vizcom to do some visualizations and work through some details.
After a few rounds of prompting the "render" resolved into what the final bag should look like.
Next I played around with how the trim ring would work.
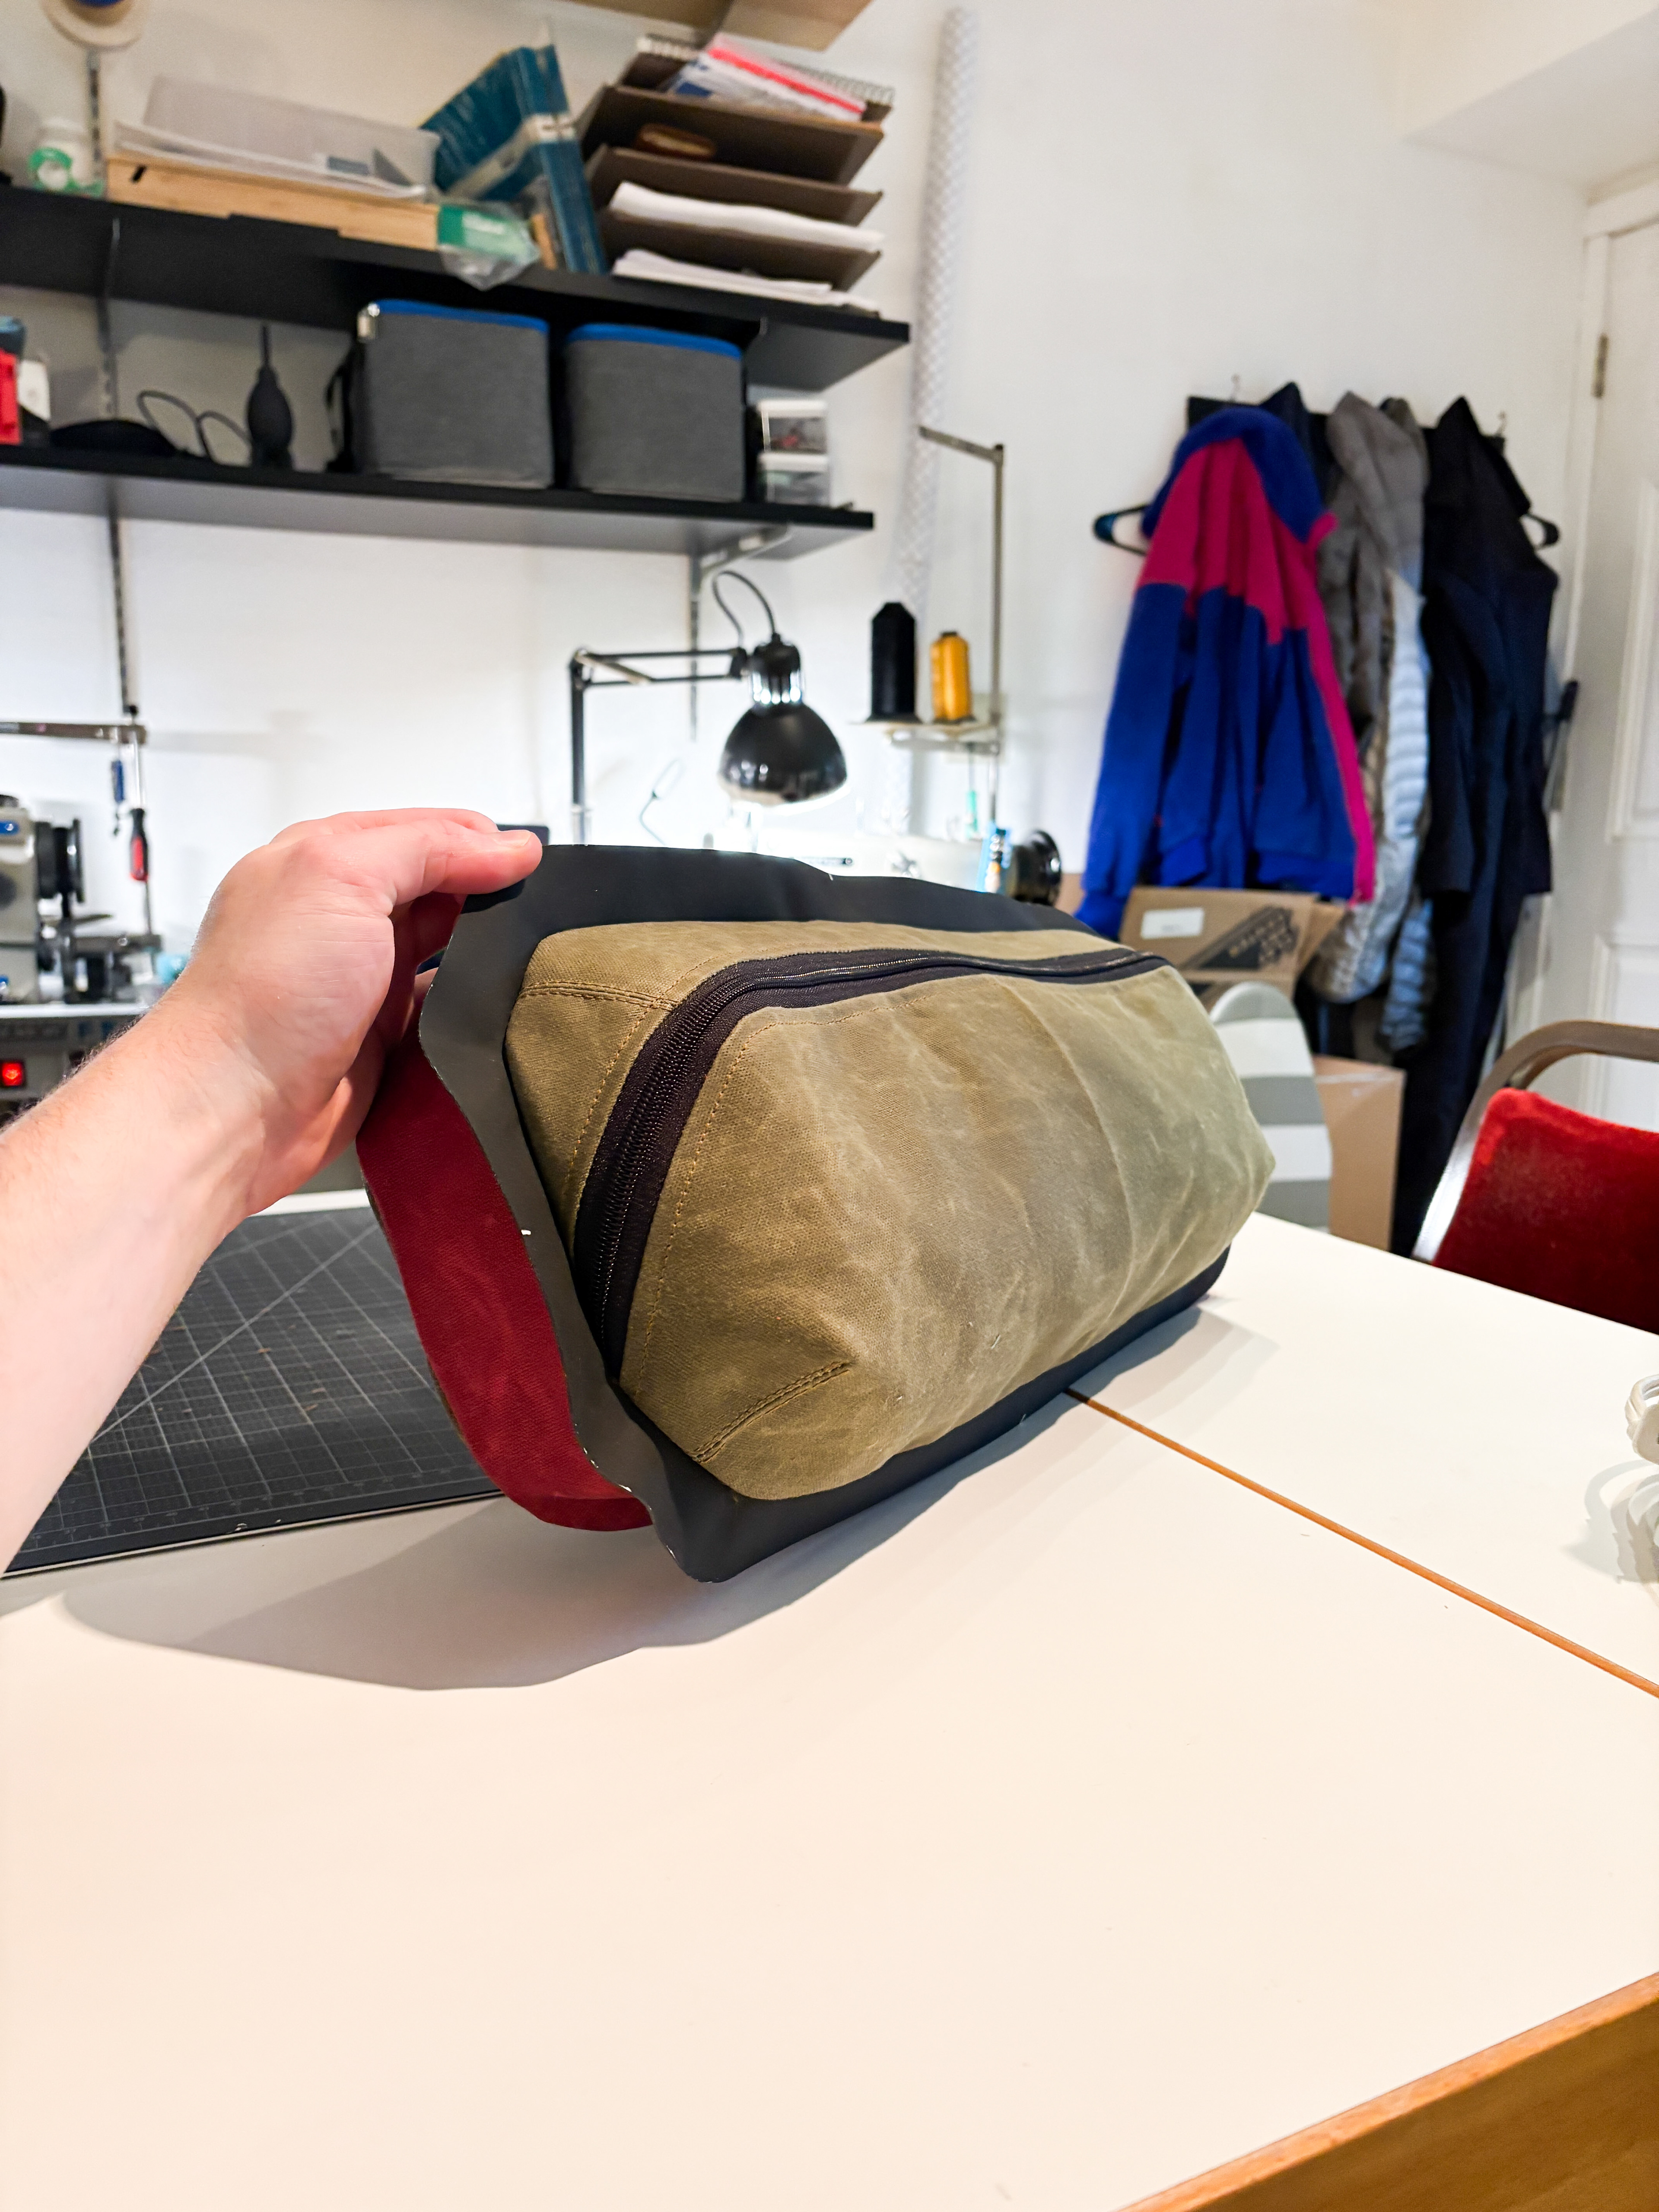
My first thought was HDPE Sheet wrapped by two pieces of fabric. The issue is I did not have access to a cylinder arm or post-bed machine and the sewing operation with the thick HDPE sheet would have been extremely difficulty or impossible on a flatbed.
I experimented with Hypalon in one of the prototypes below, it did work but the cost is quite high for hypalon.
I also considered a thick yet pliable felt sheet.
I ended up landing on a veltex like hook fabric; While there is less internal structure, there is more give and compressibility when paired with the adhesive backed hook that is adhered to the bamboo trim ring and rear door panel.
Samples/Mockups
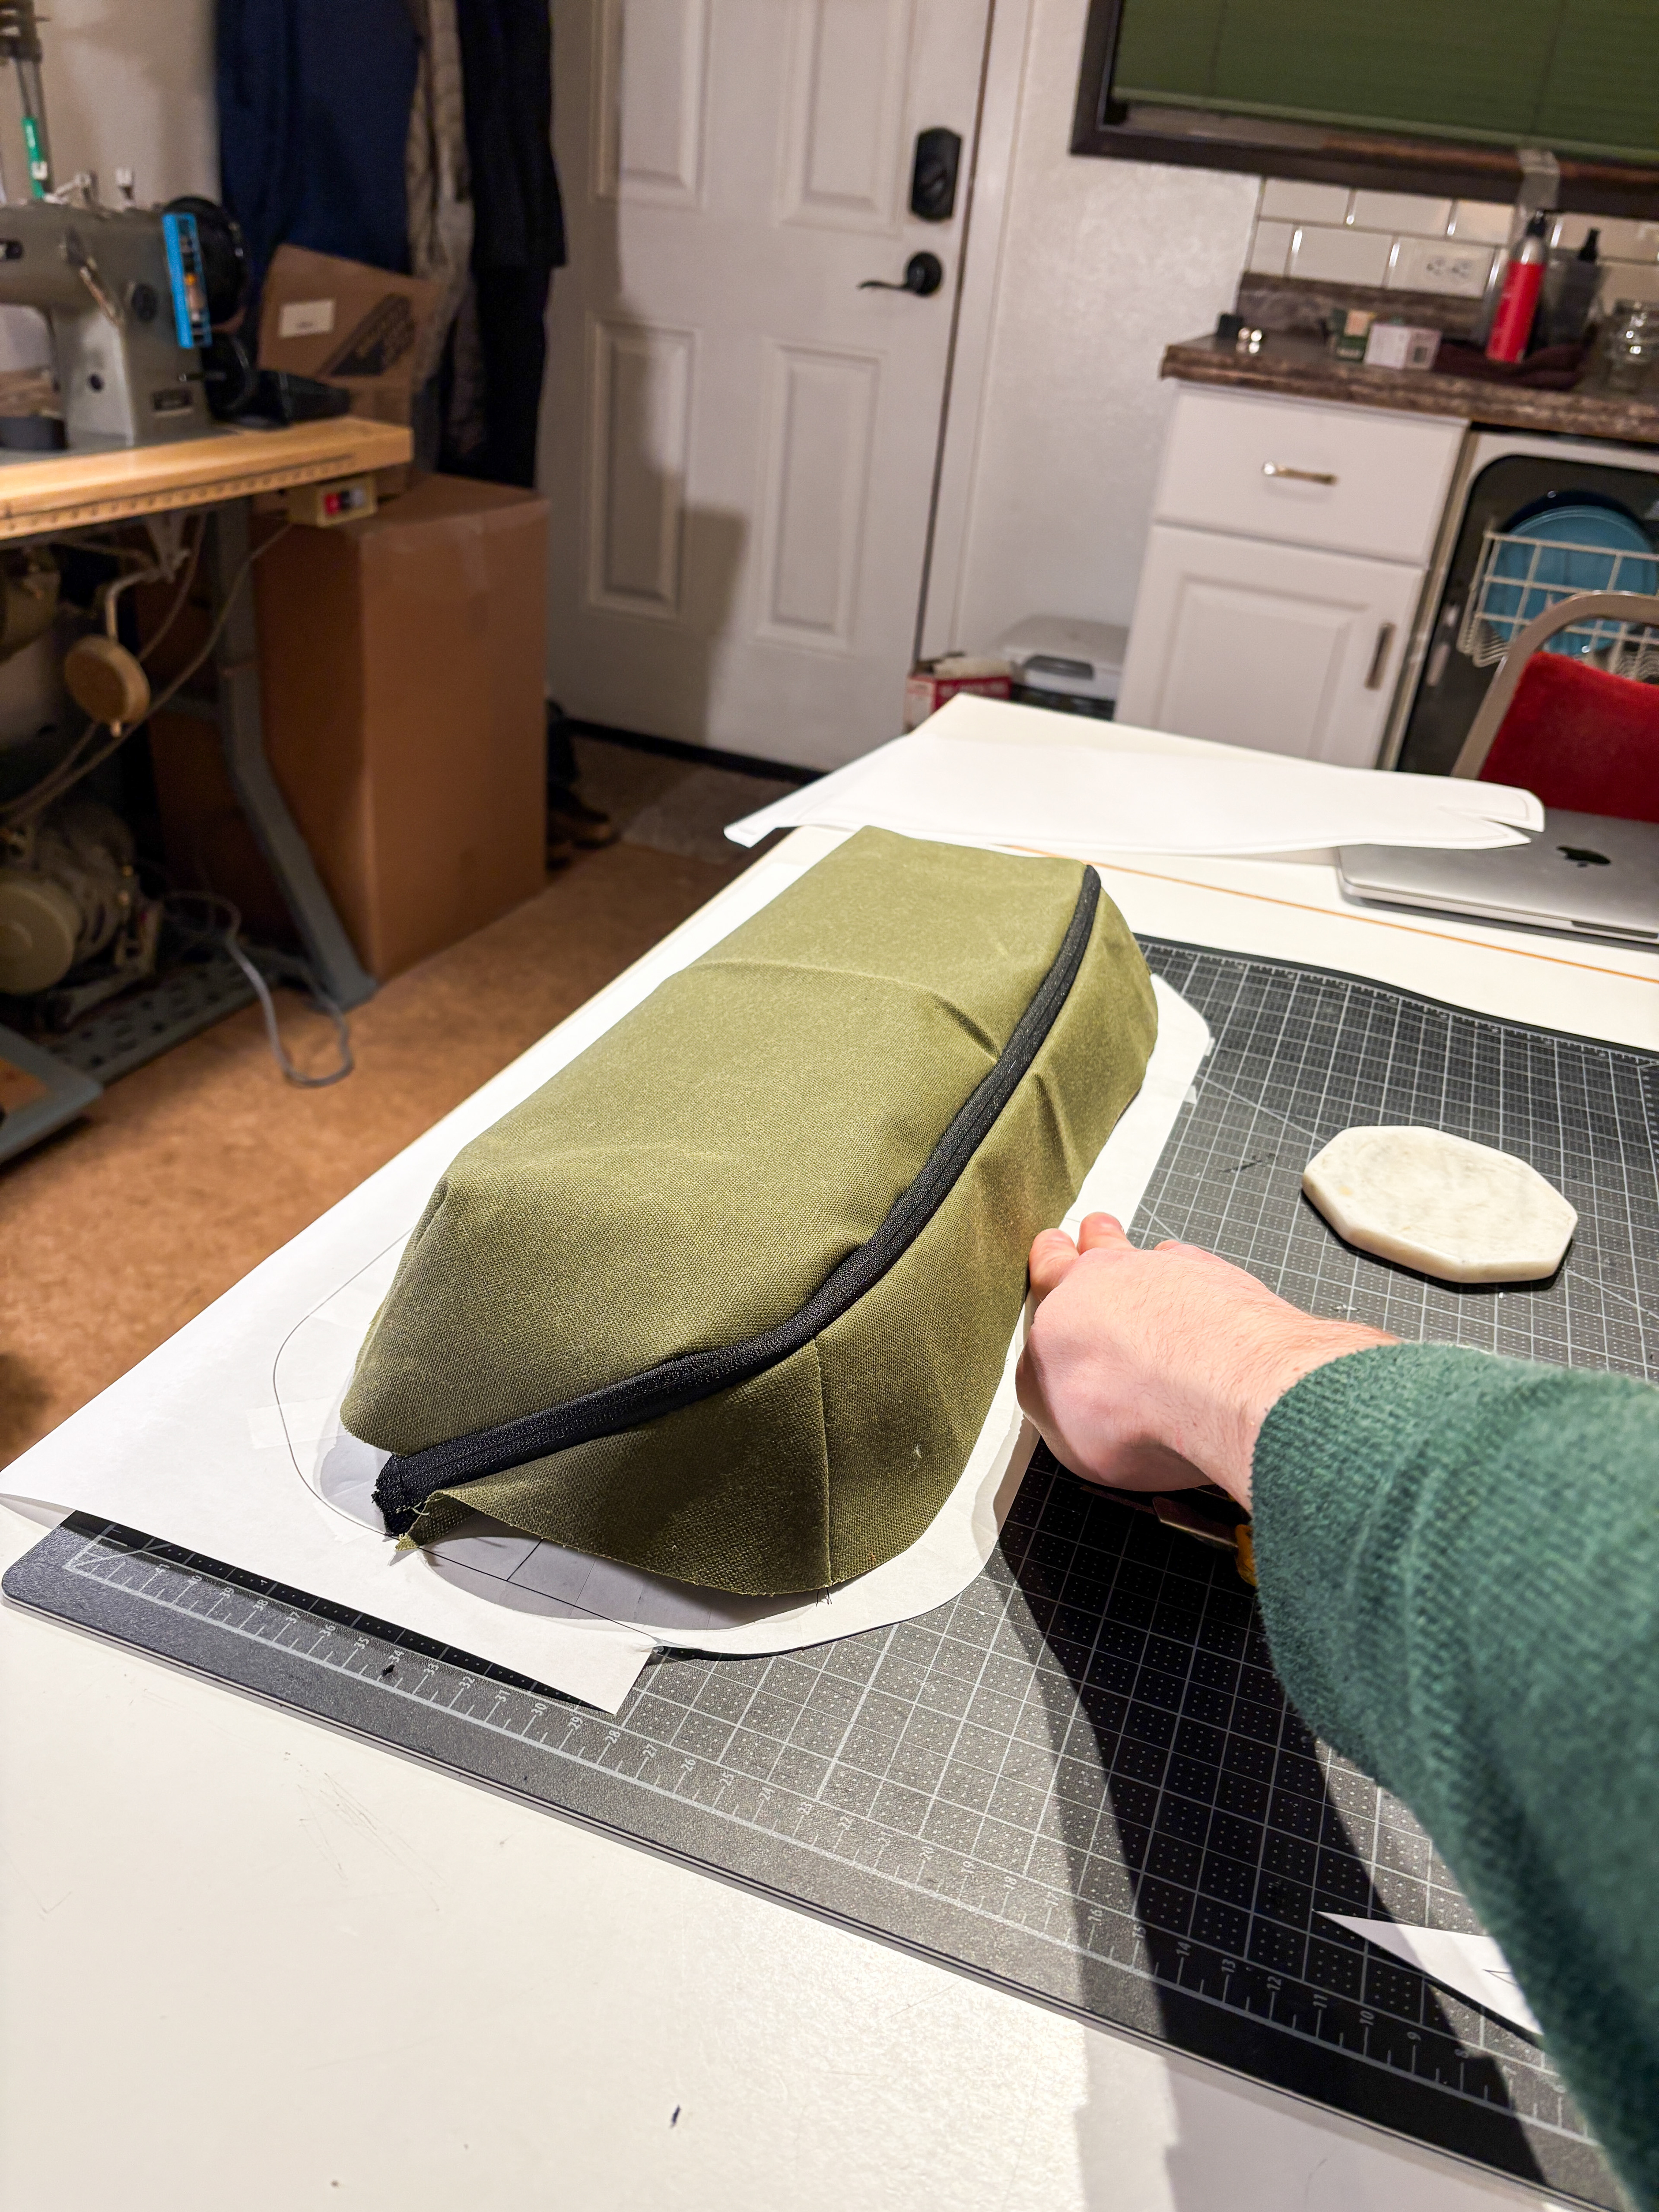
I converted one of the flattened Rhino patterns to a real pattern and made a paper mockup with no seam allowance to make sure that it would all line up properly and nothing became several distorted during the flattening of the model.
I then added seam allowance and made a mockup of just the front panel to verify fitment further. Once verified I finished the pattern and completed a full scale prototype to test fit in the van.
It all fit as expected and I tested the hypalon ring in this prototype.
After verifying the workflow from model to pattern with one bag I repeated with the rest, but did not prototype any of the others before final construction.

Patternmaking
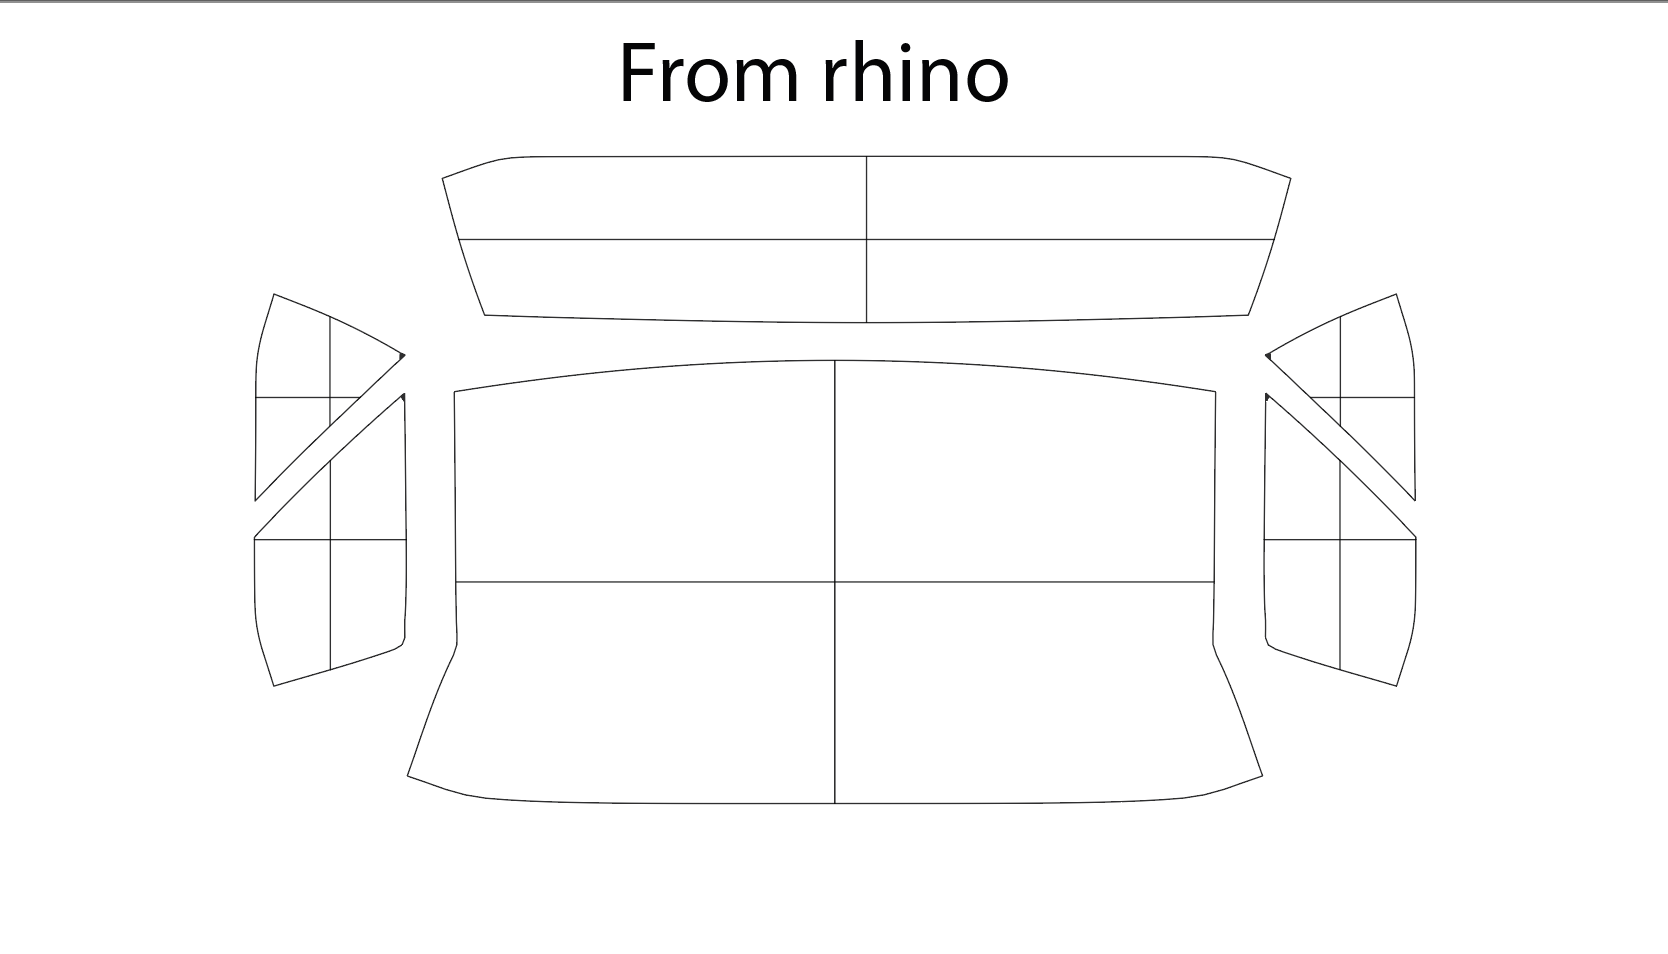
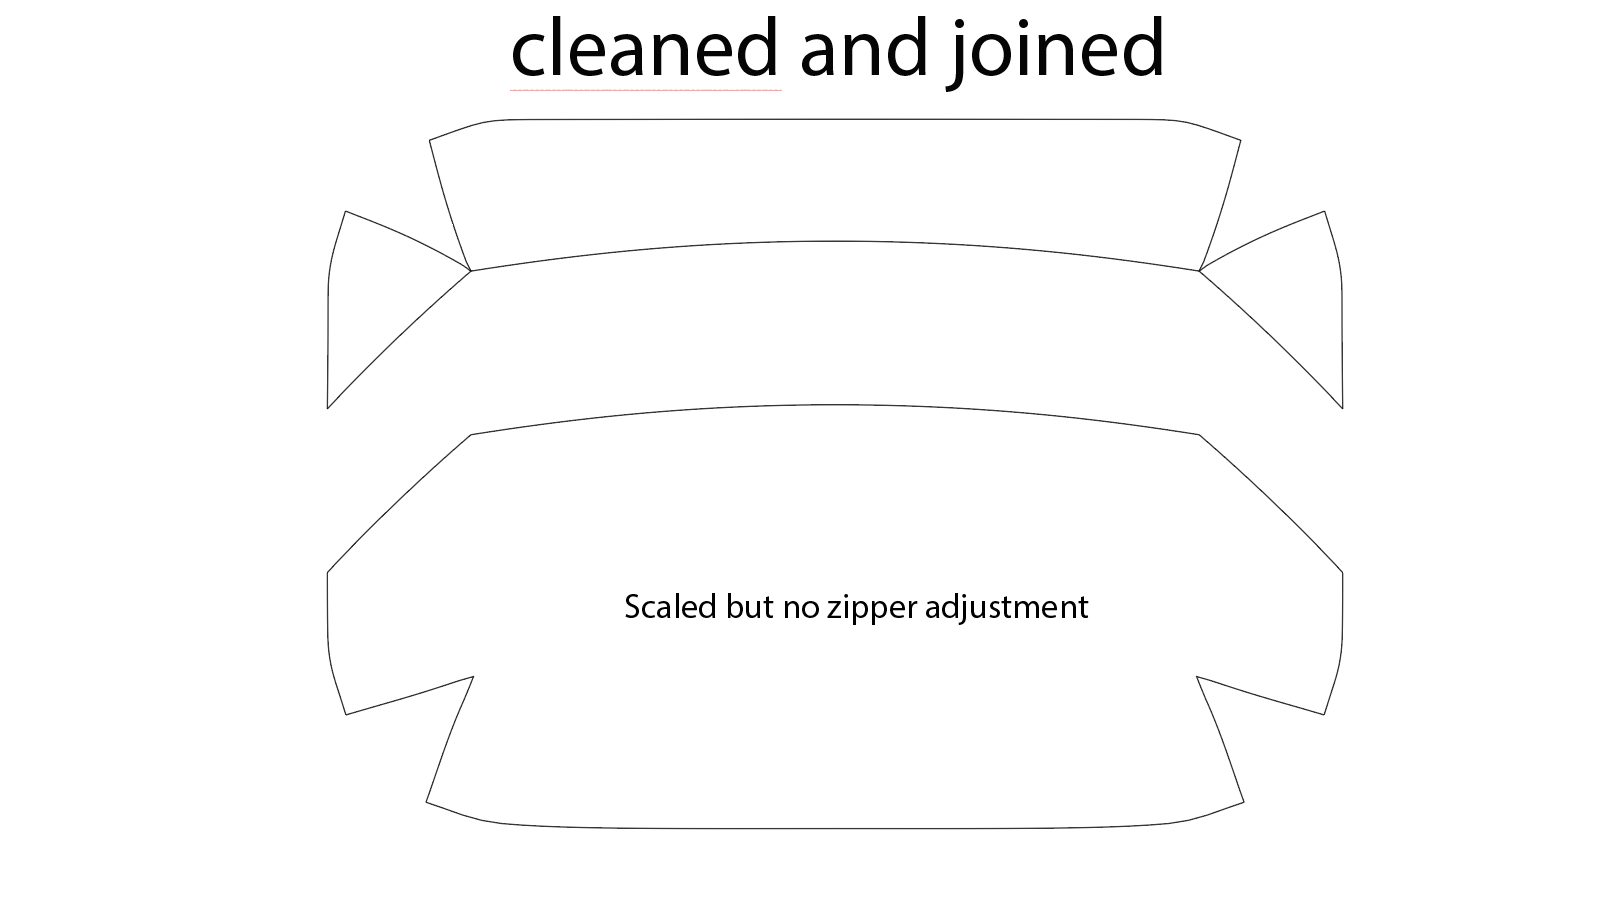
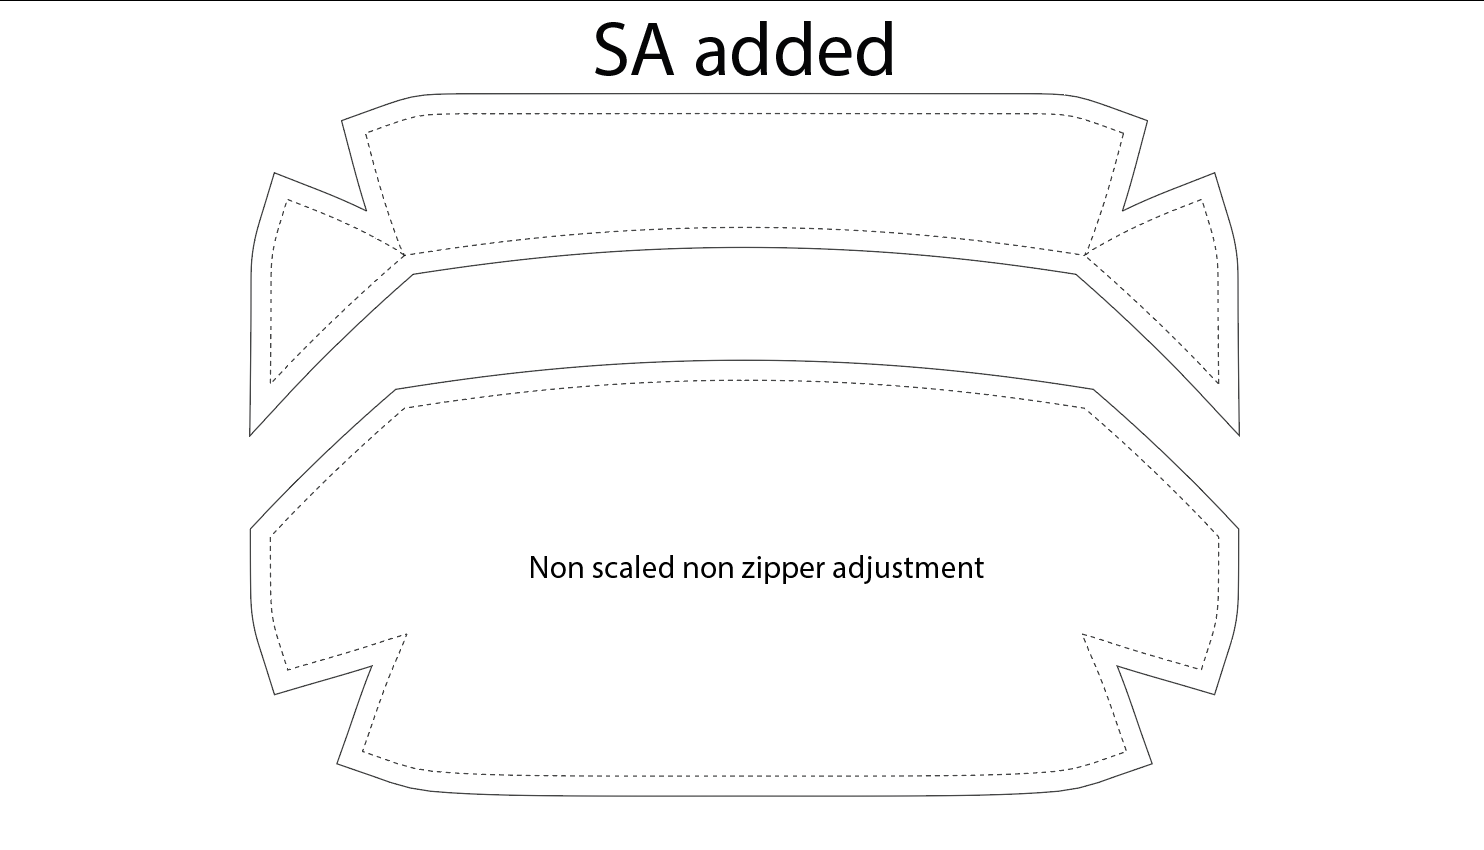
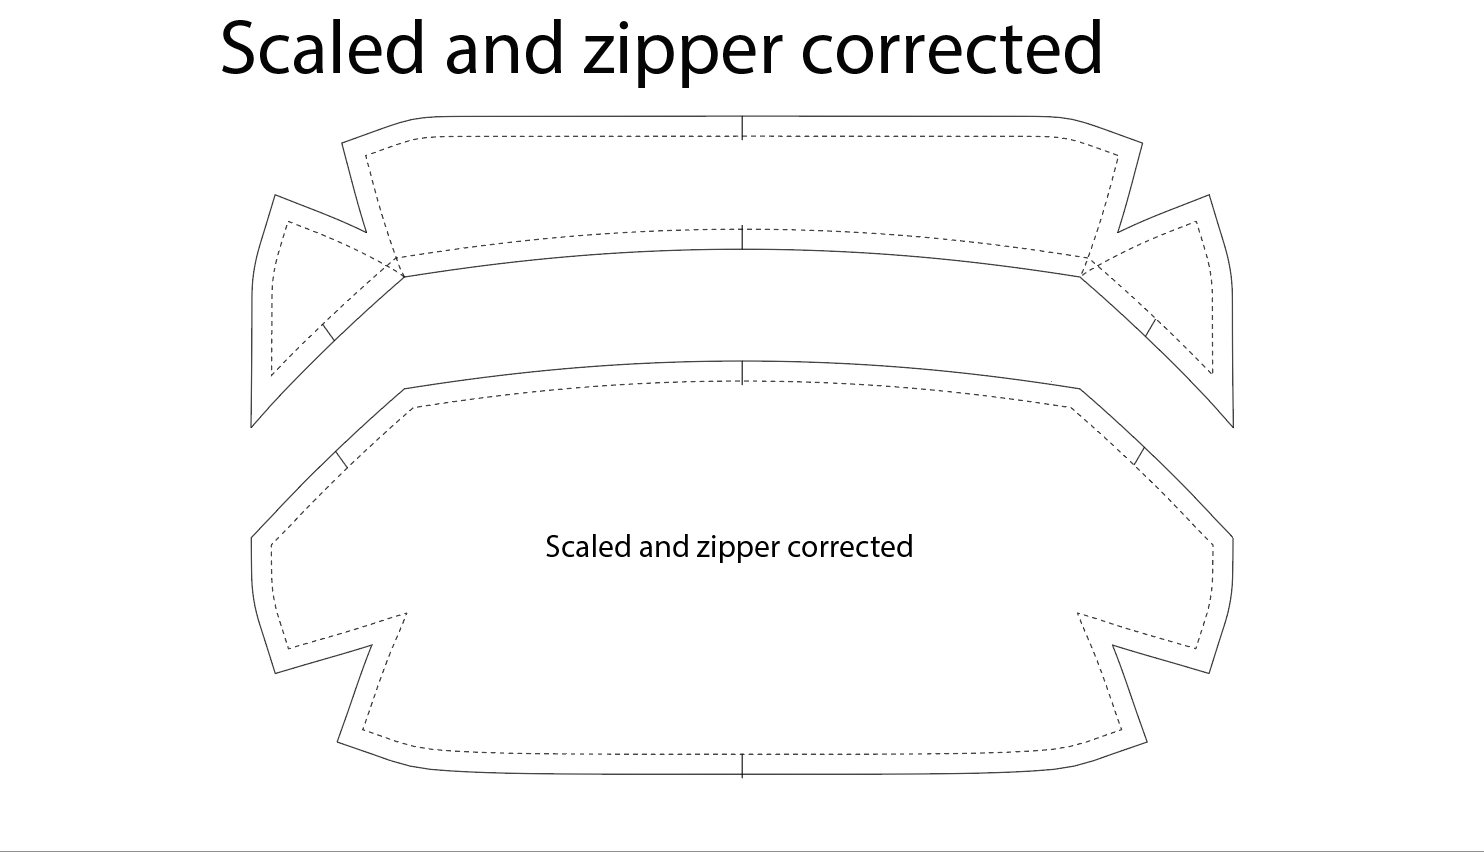

The same general process was done for all 3 sizes of the bag.
- DXF imported into Illustrator
- Patterned joined at areas that were one panel and all artifacts cleaned
- Seam allowance added
- Scaled (This was due to an unresolved import issue)
- Zipper corrected; The exposed zipper width was not accounted for in the model pattern
- Notches added; This required using chatGPT to write a custom script for illustrator to place pattern notches around the trim ring. Because it was a closed shape and the origin notches were derived from where the more complex front panels mated to it, It was easier to run the script on the trim ring to translate the notches. In dedicated pattern making software I have been told this workaround is not needed.
Construction

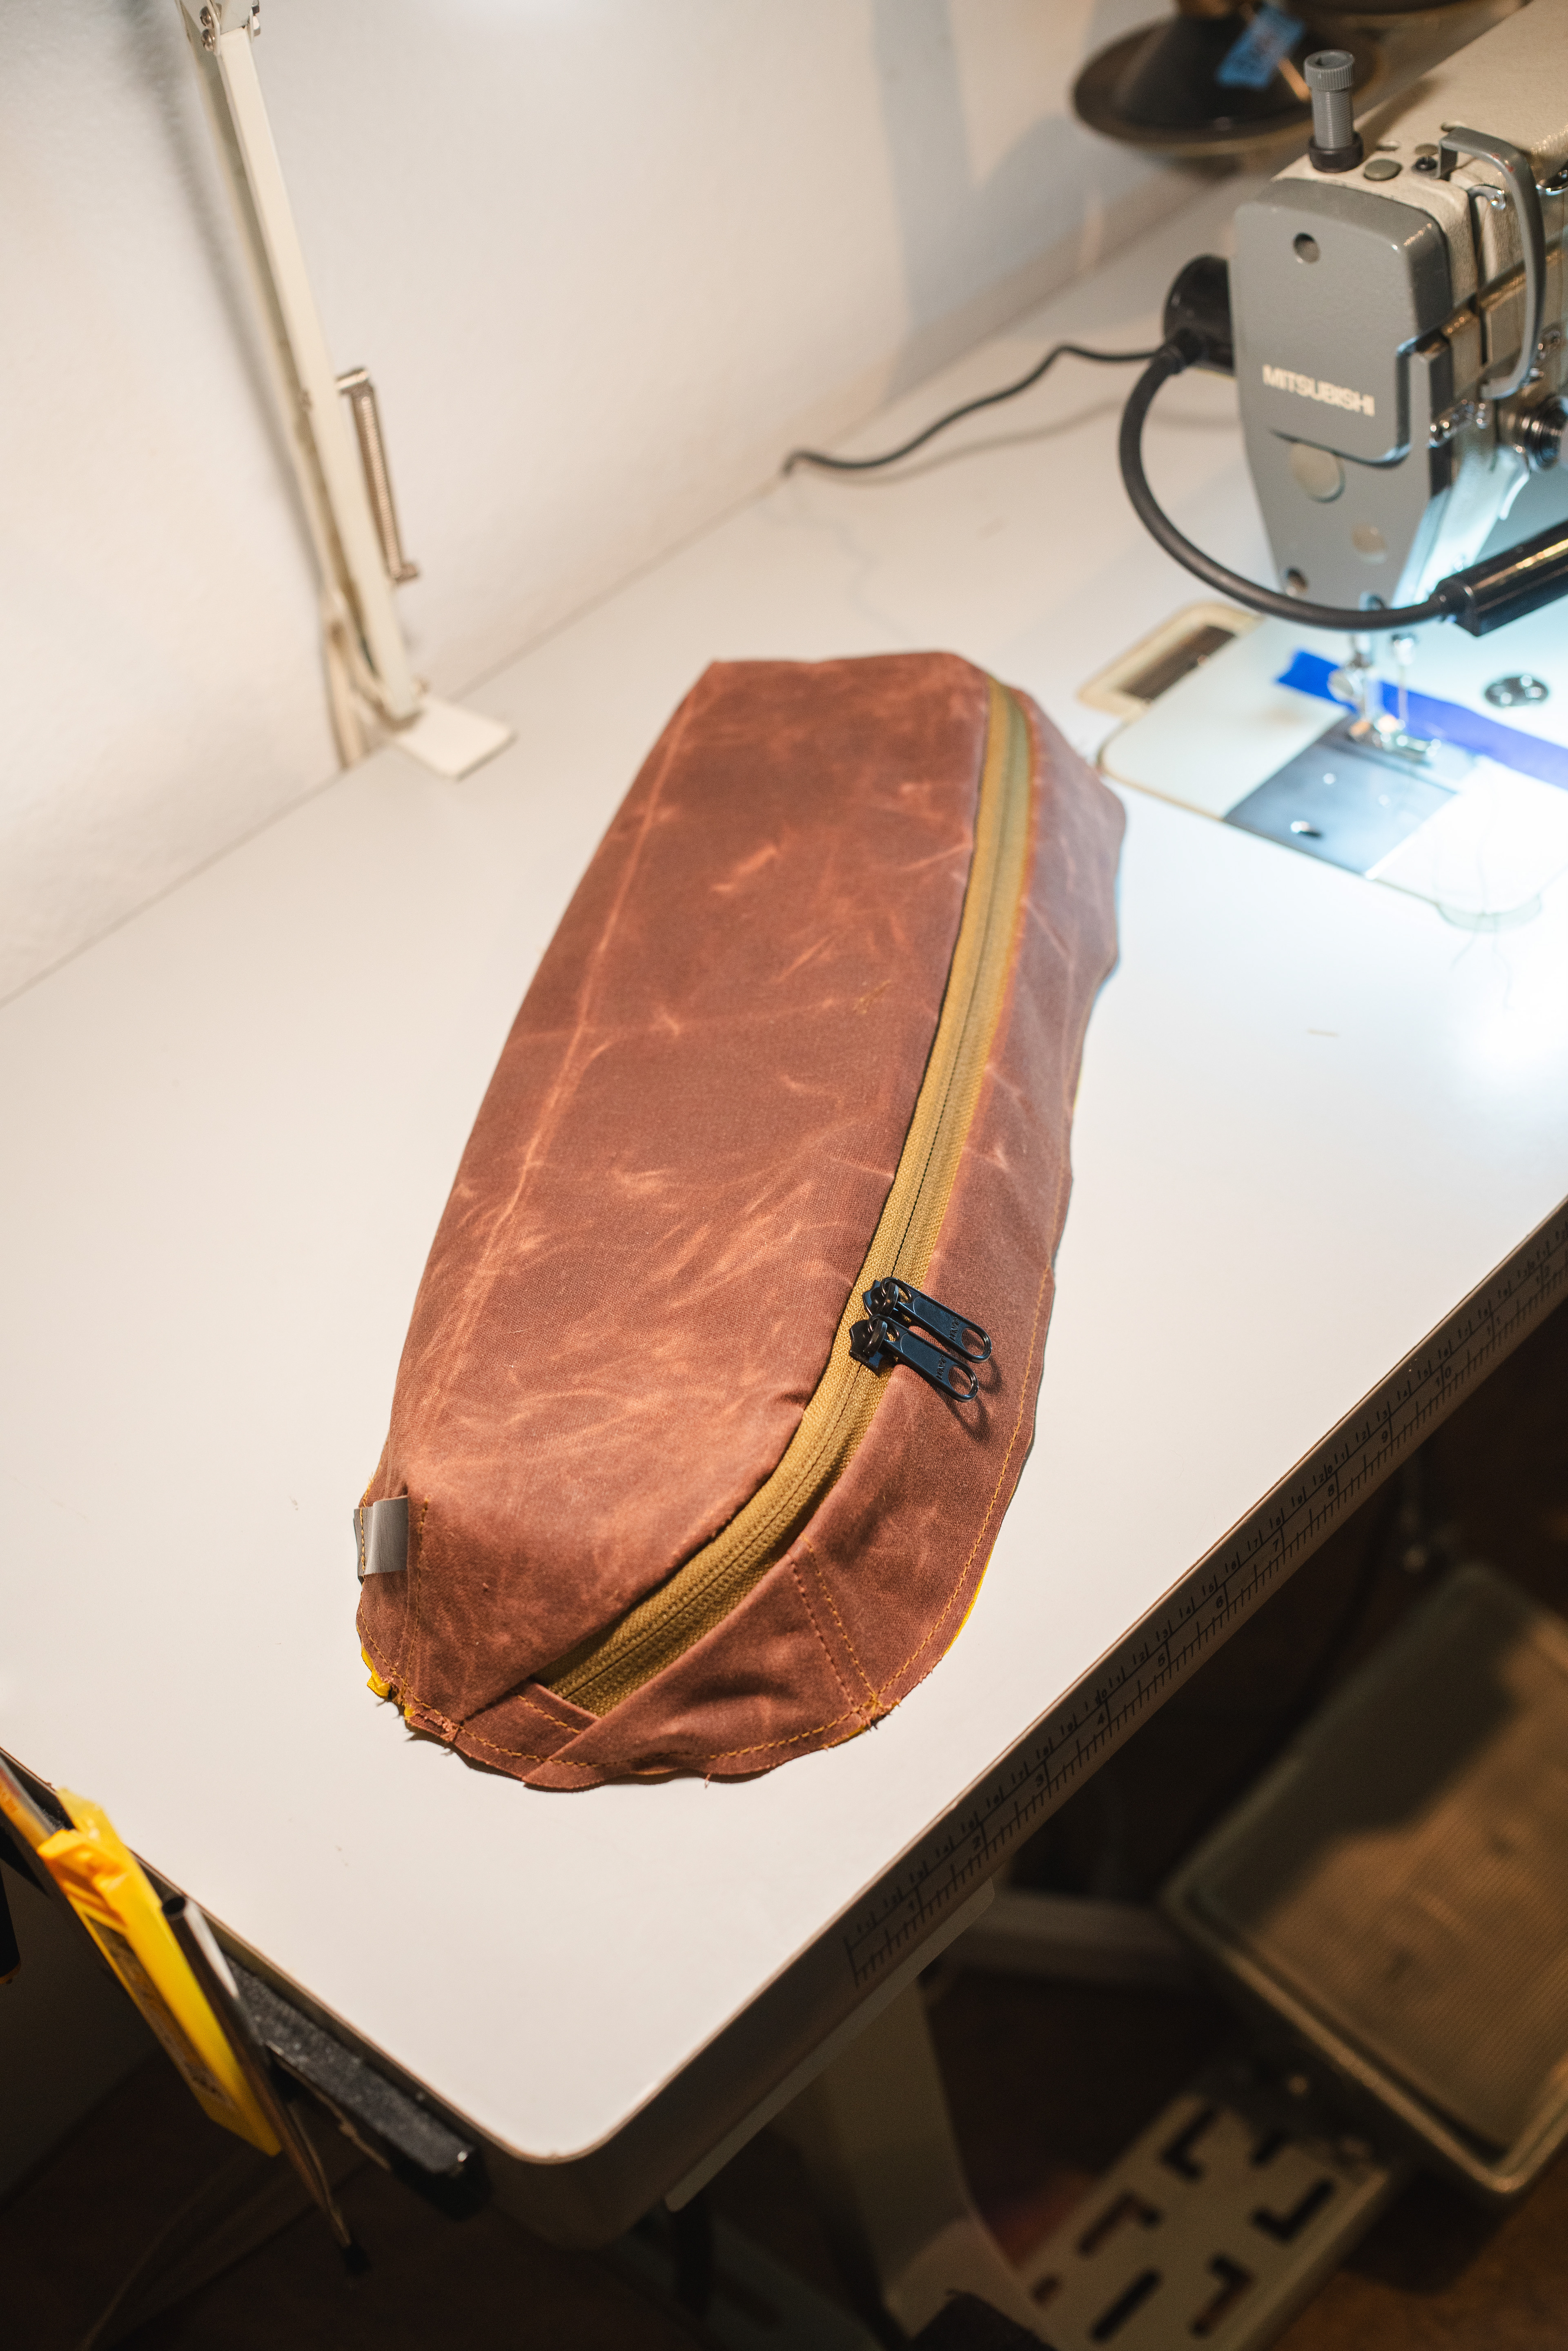
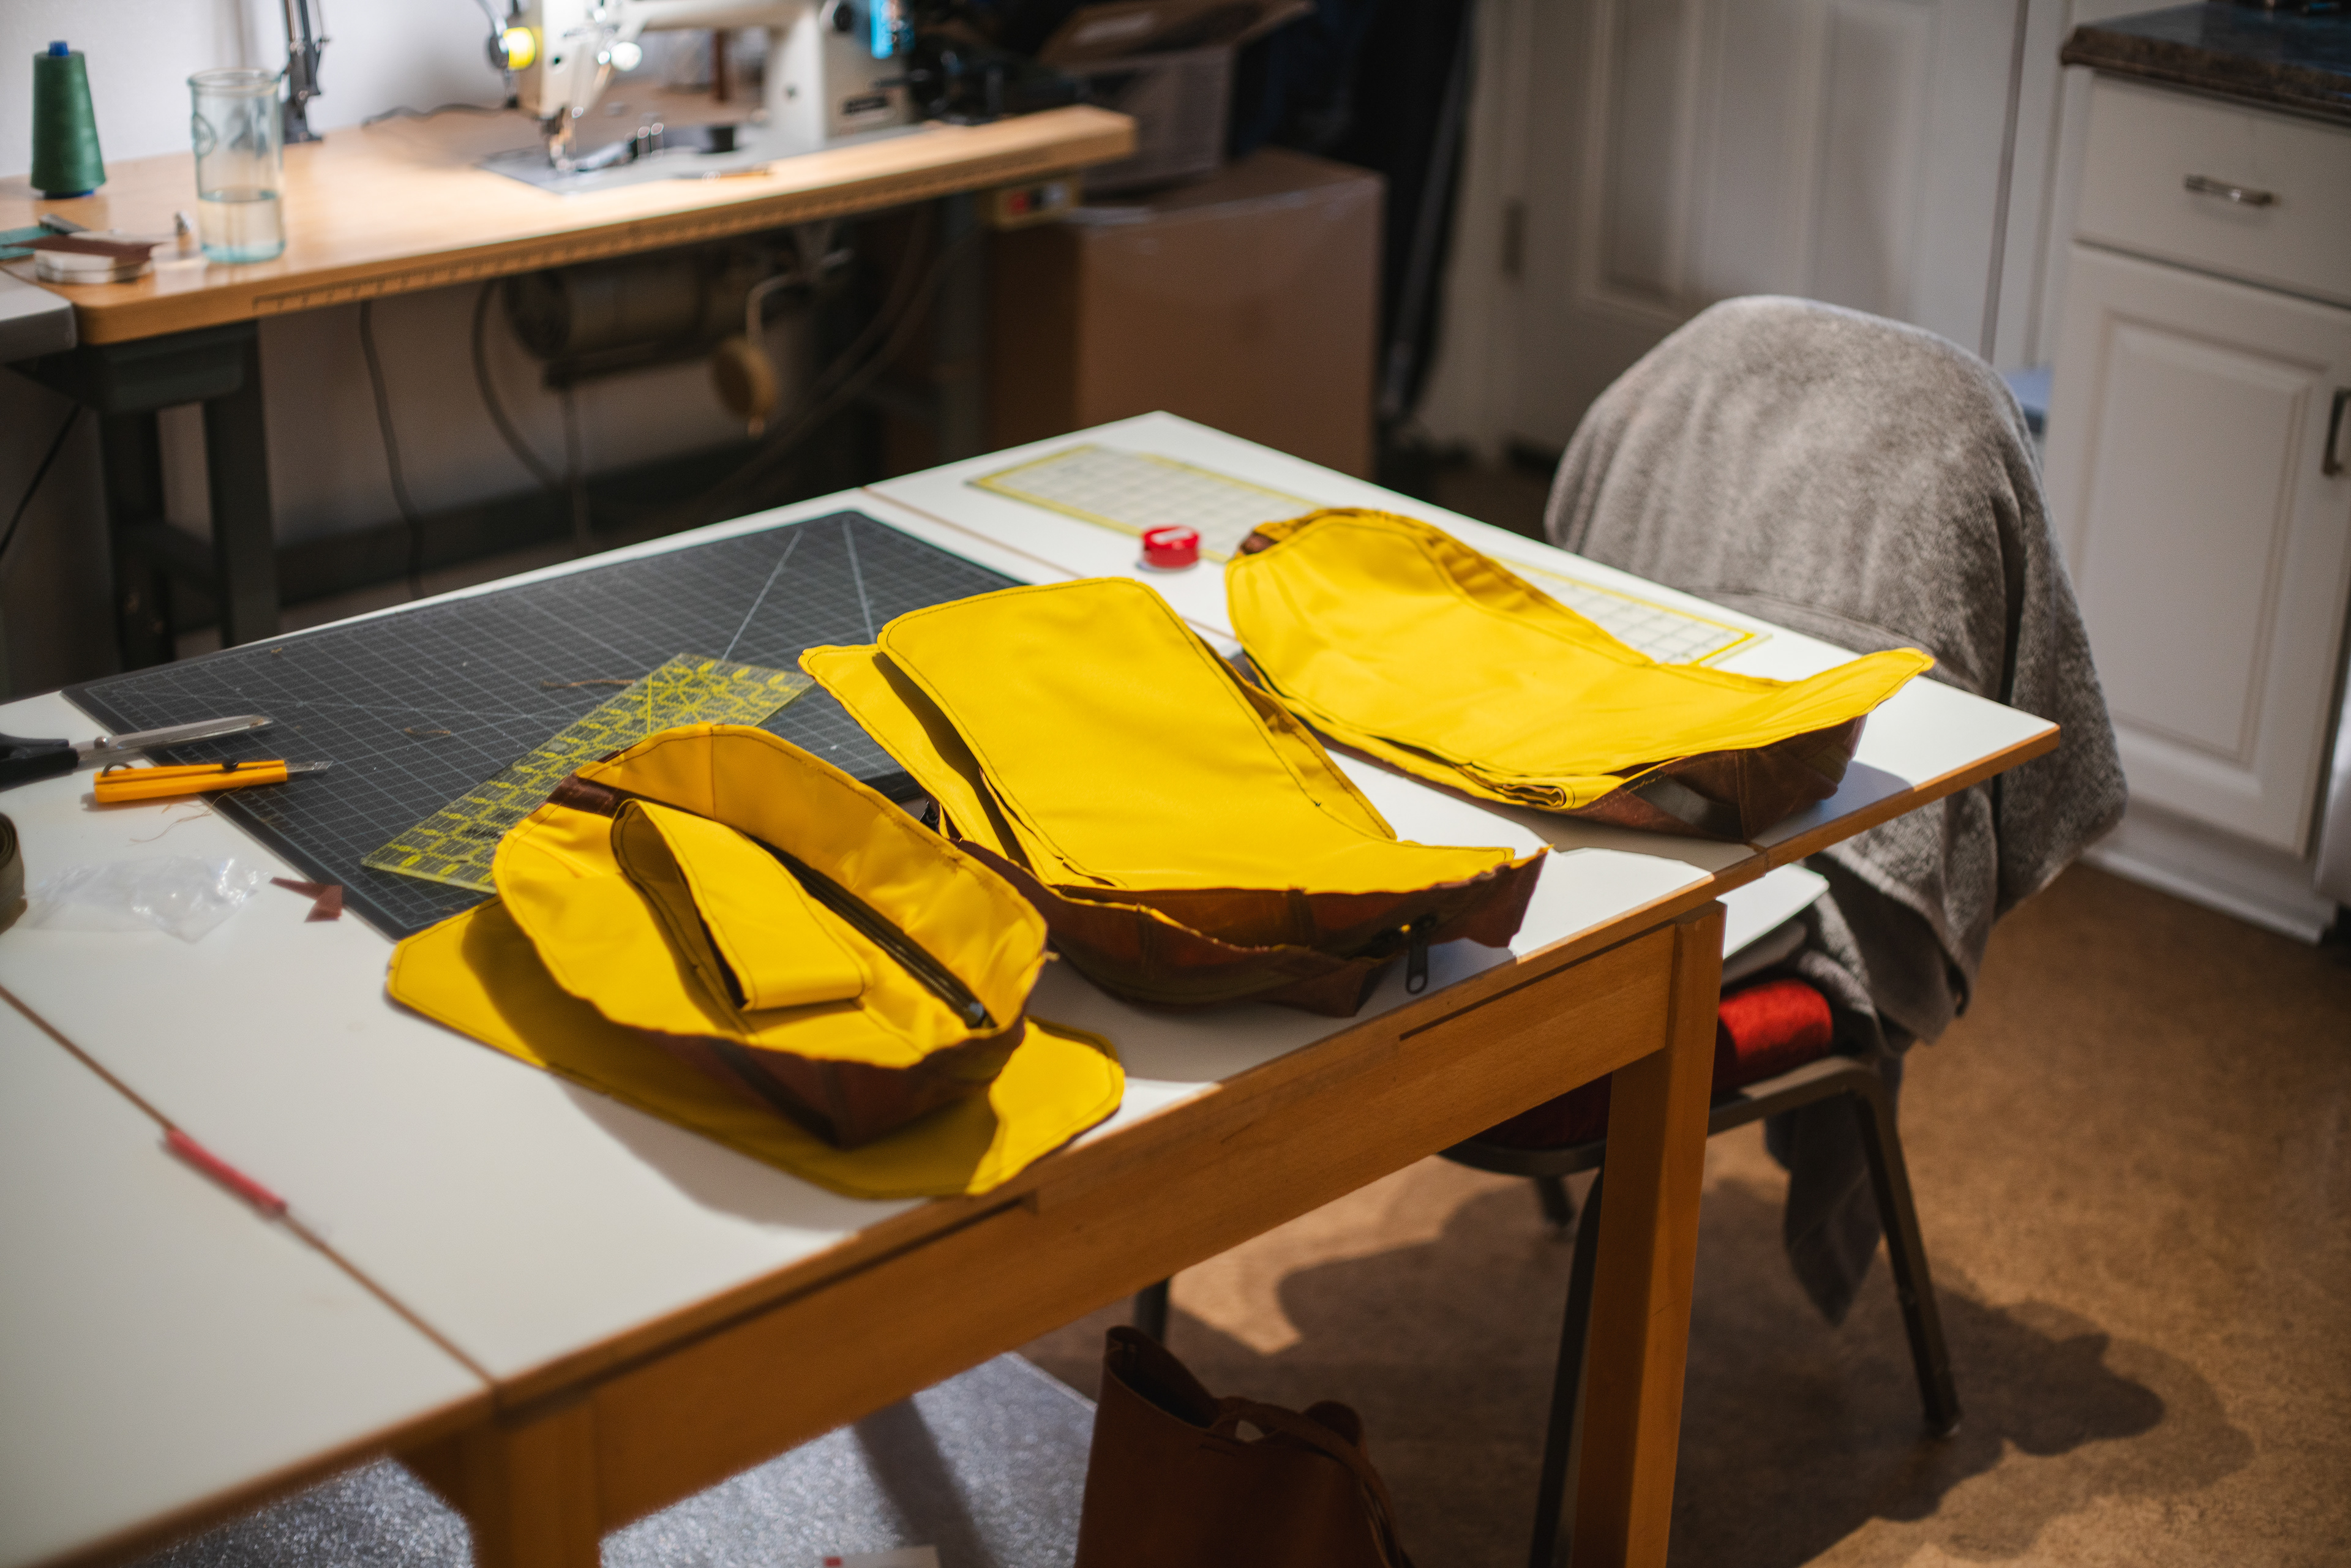


I contacted my friend Cody from stitchtech (shoutout) to help me laser cut the patterns for this project. I Included the pattern notches with the laser for easy alignment during construction.
The Final bags are finished with a 18oz brown waxed duck canvas, 420D golden yellow plain weave nylon with a PU coating, Ykk #8 reverse coil zippers in coyote, Veltex style loop fabric with foam backing and small leather loops on the bottom darts.
The use of yellow was intentional, It will aid in seeing items in the bag especially in darker conditions and compliments the reddish brown waxed canvas.
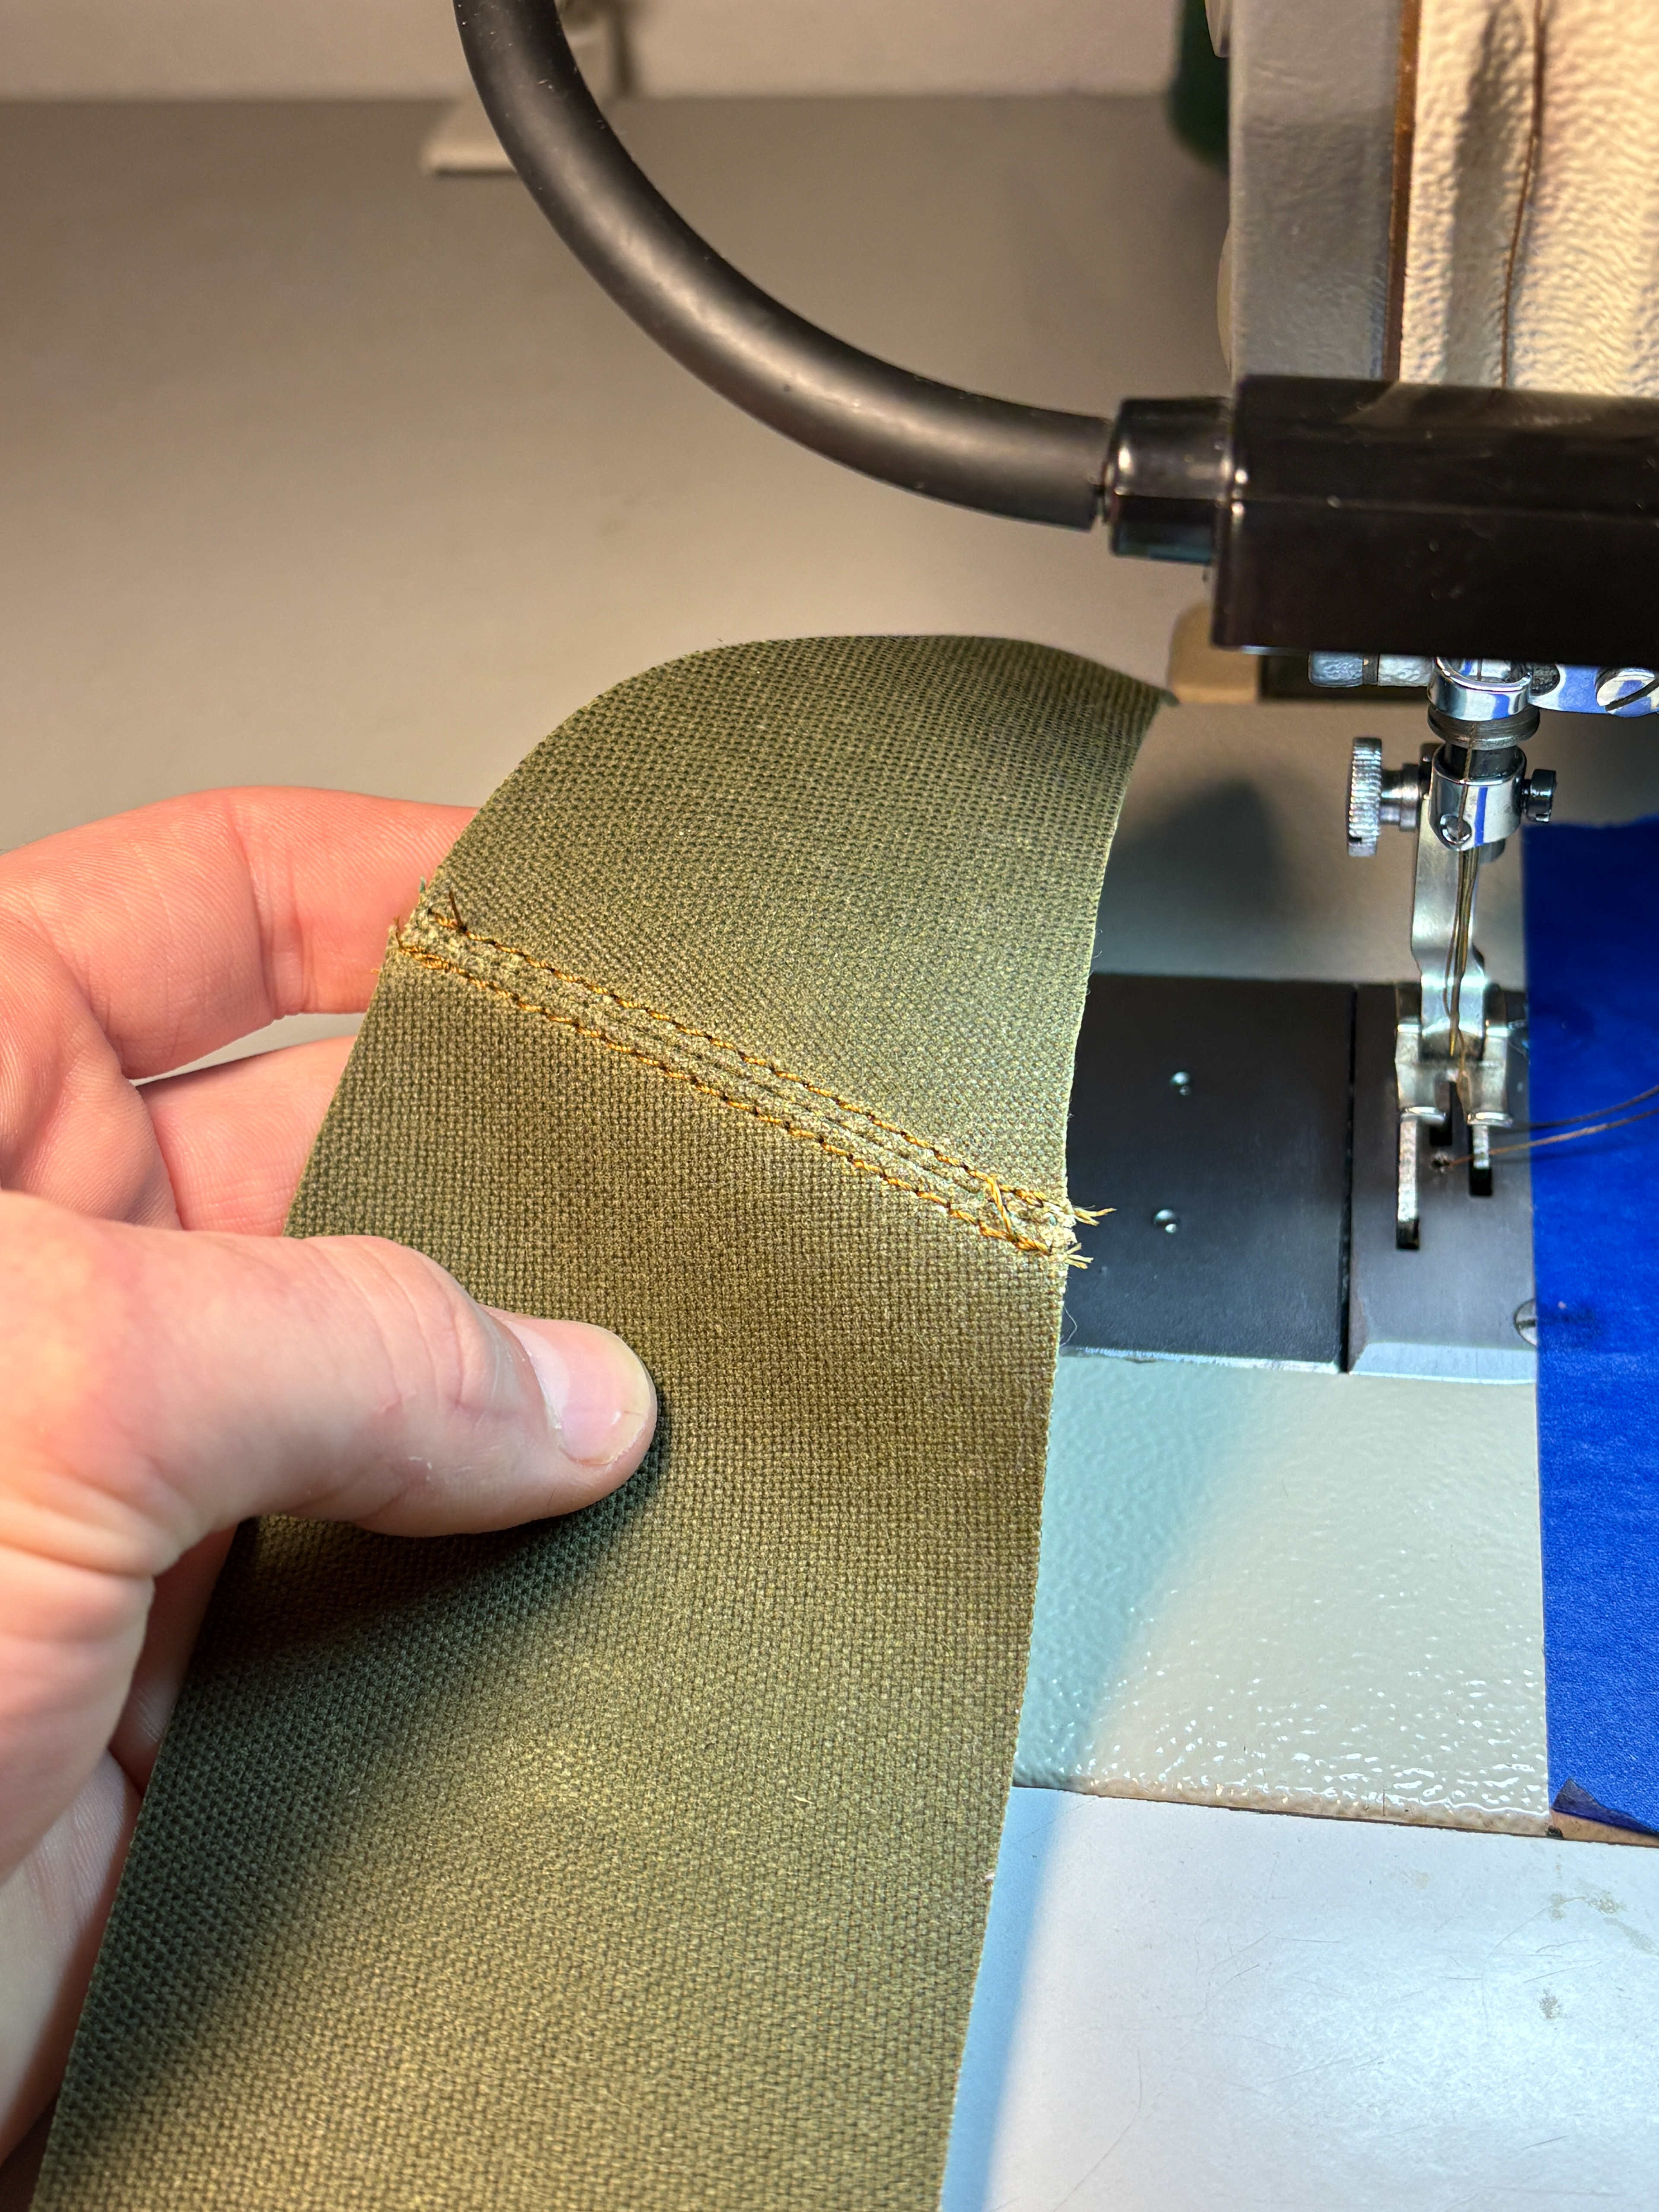
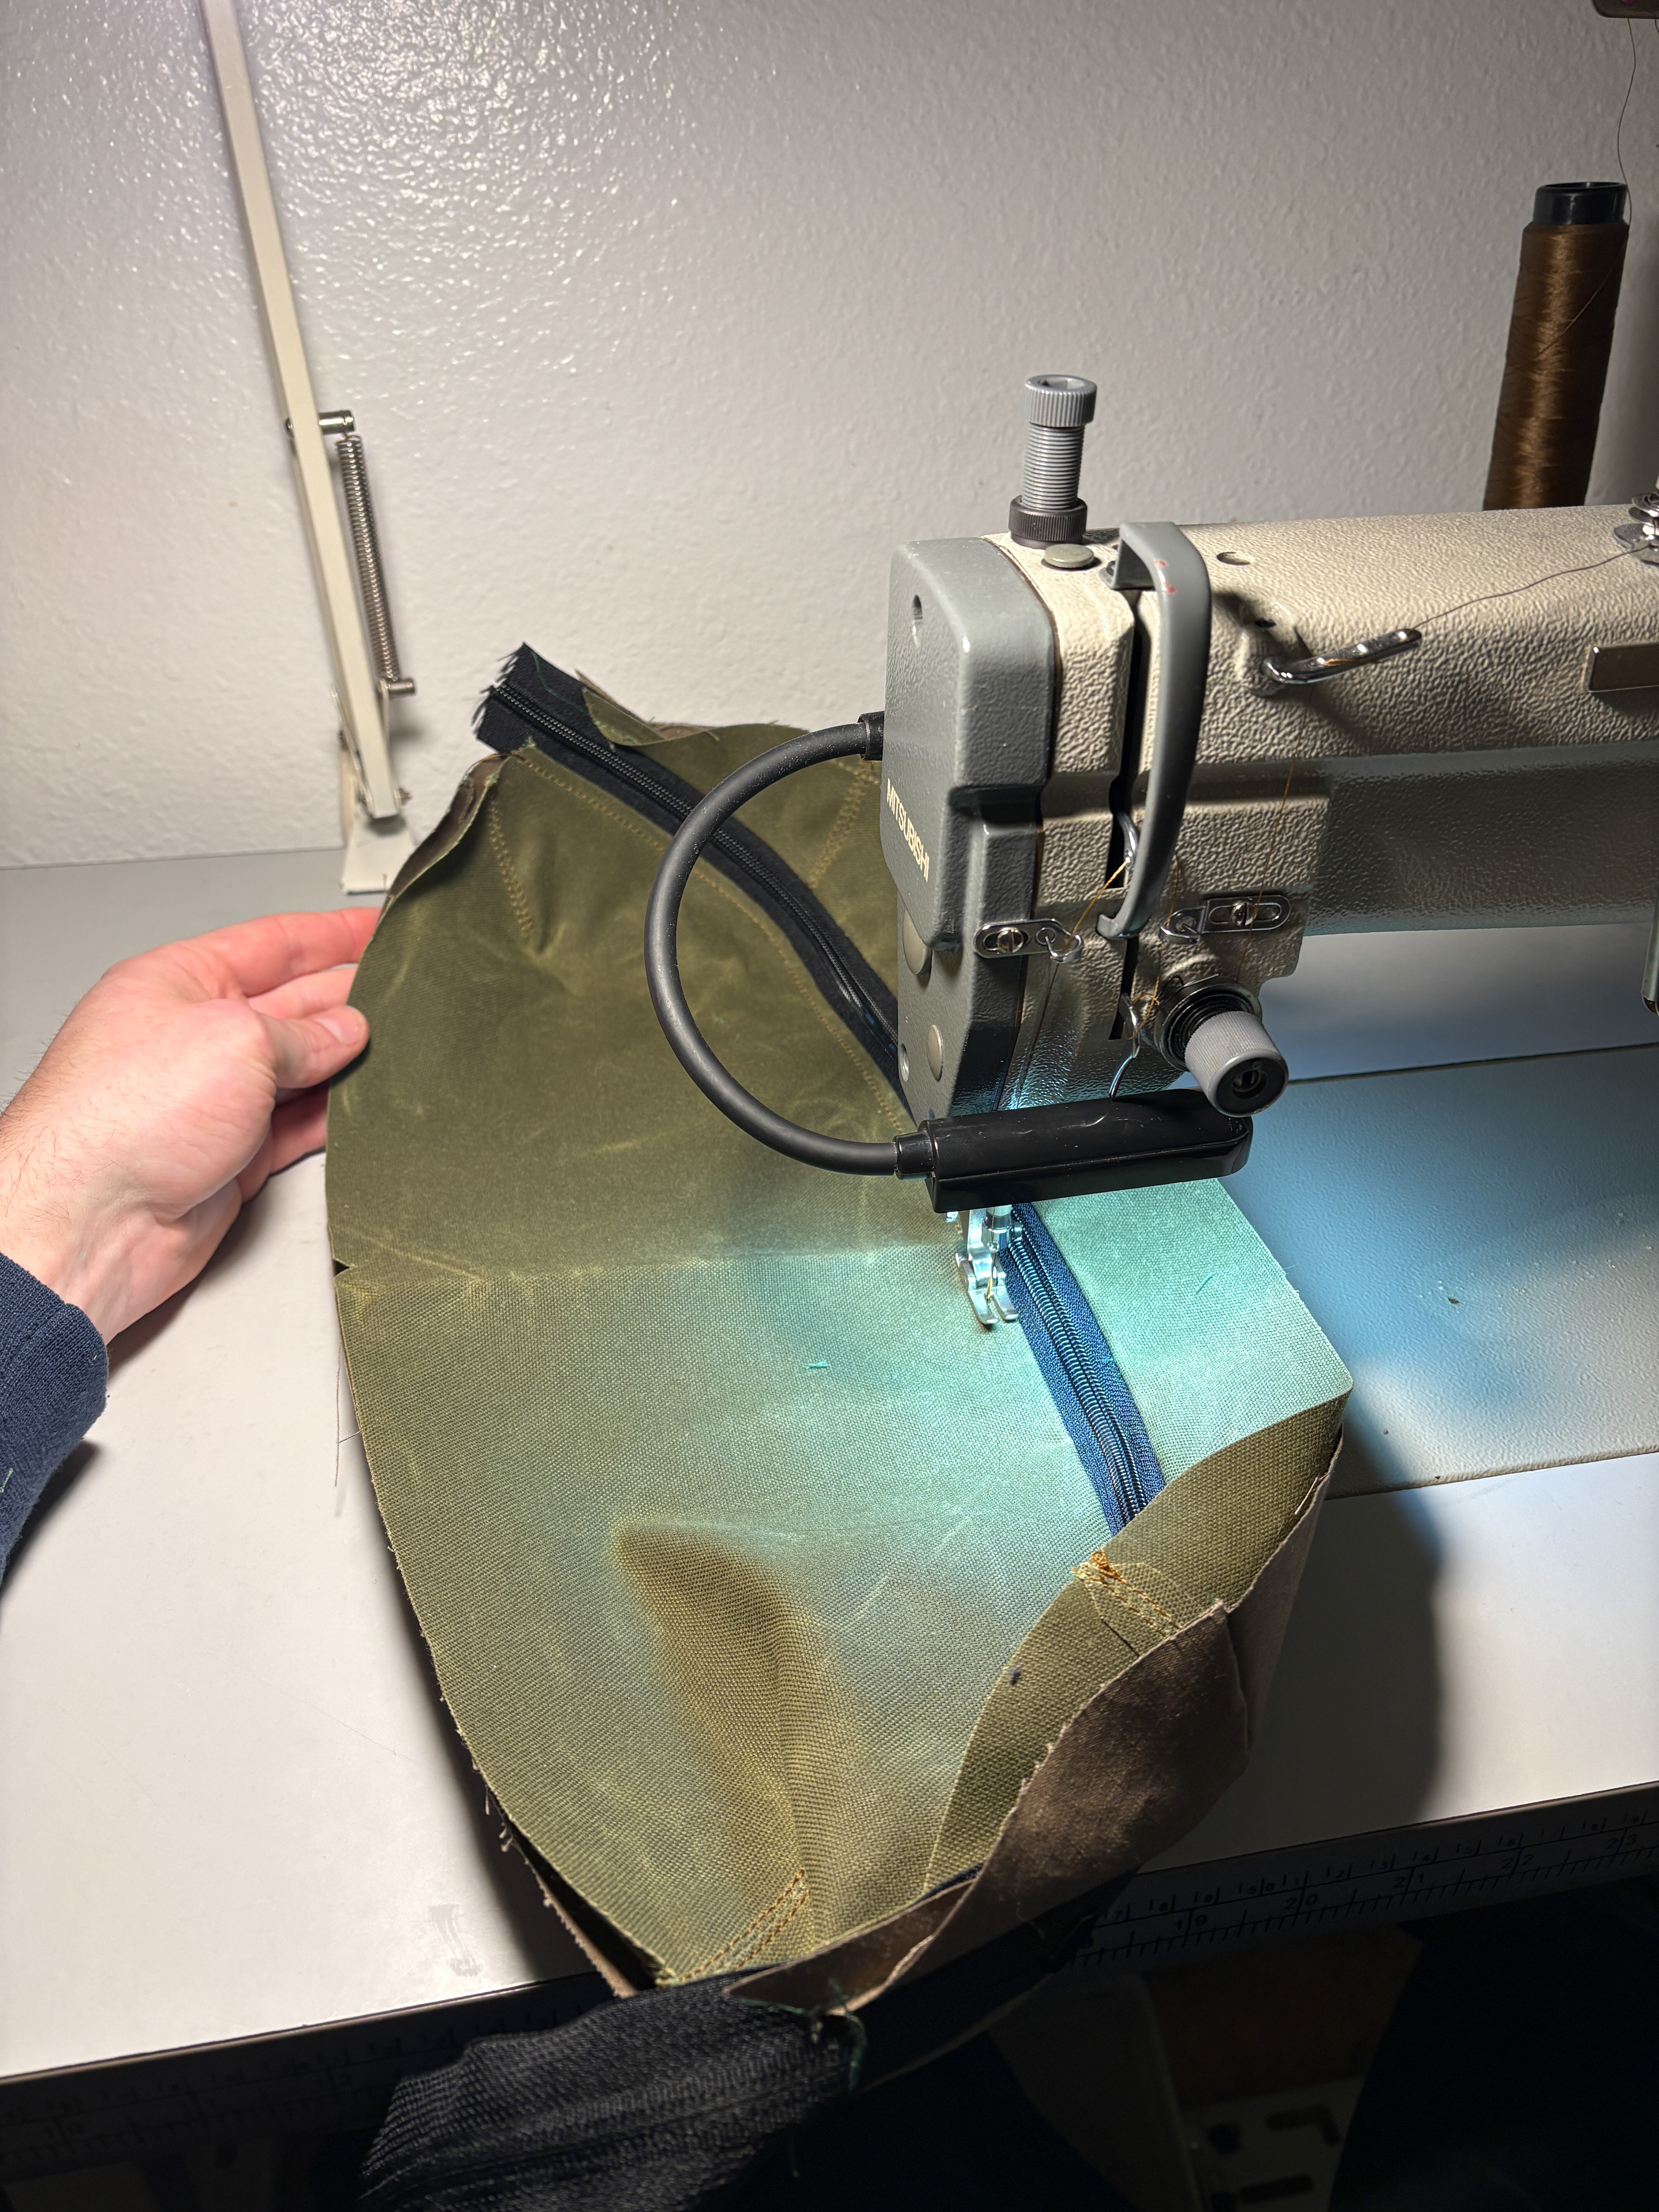
The majority of the construction was done on my drop feed single needle strait stitch machine and interior binding of the assembly on my double feed walking foot with a right angle binder.
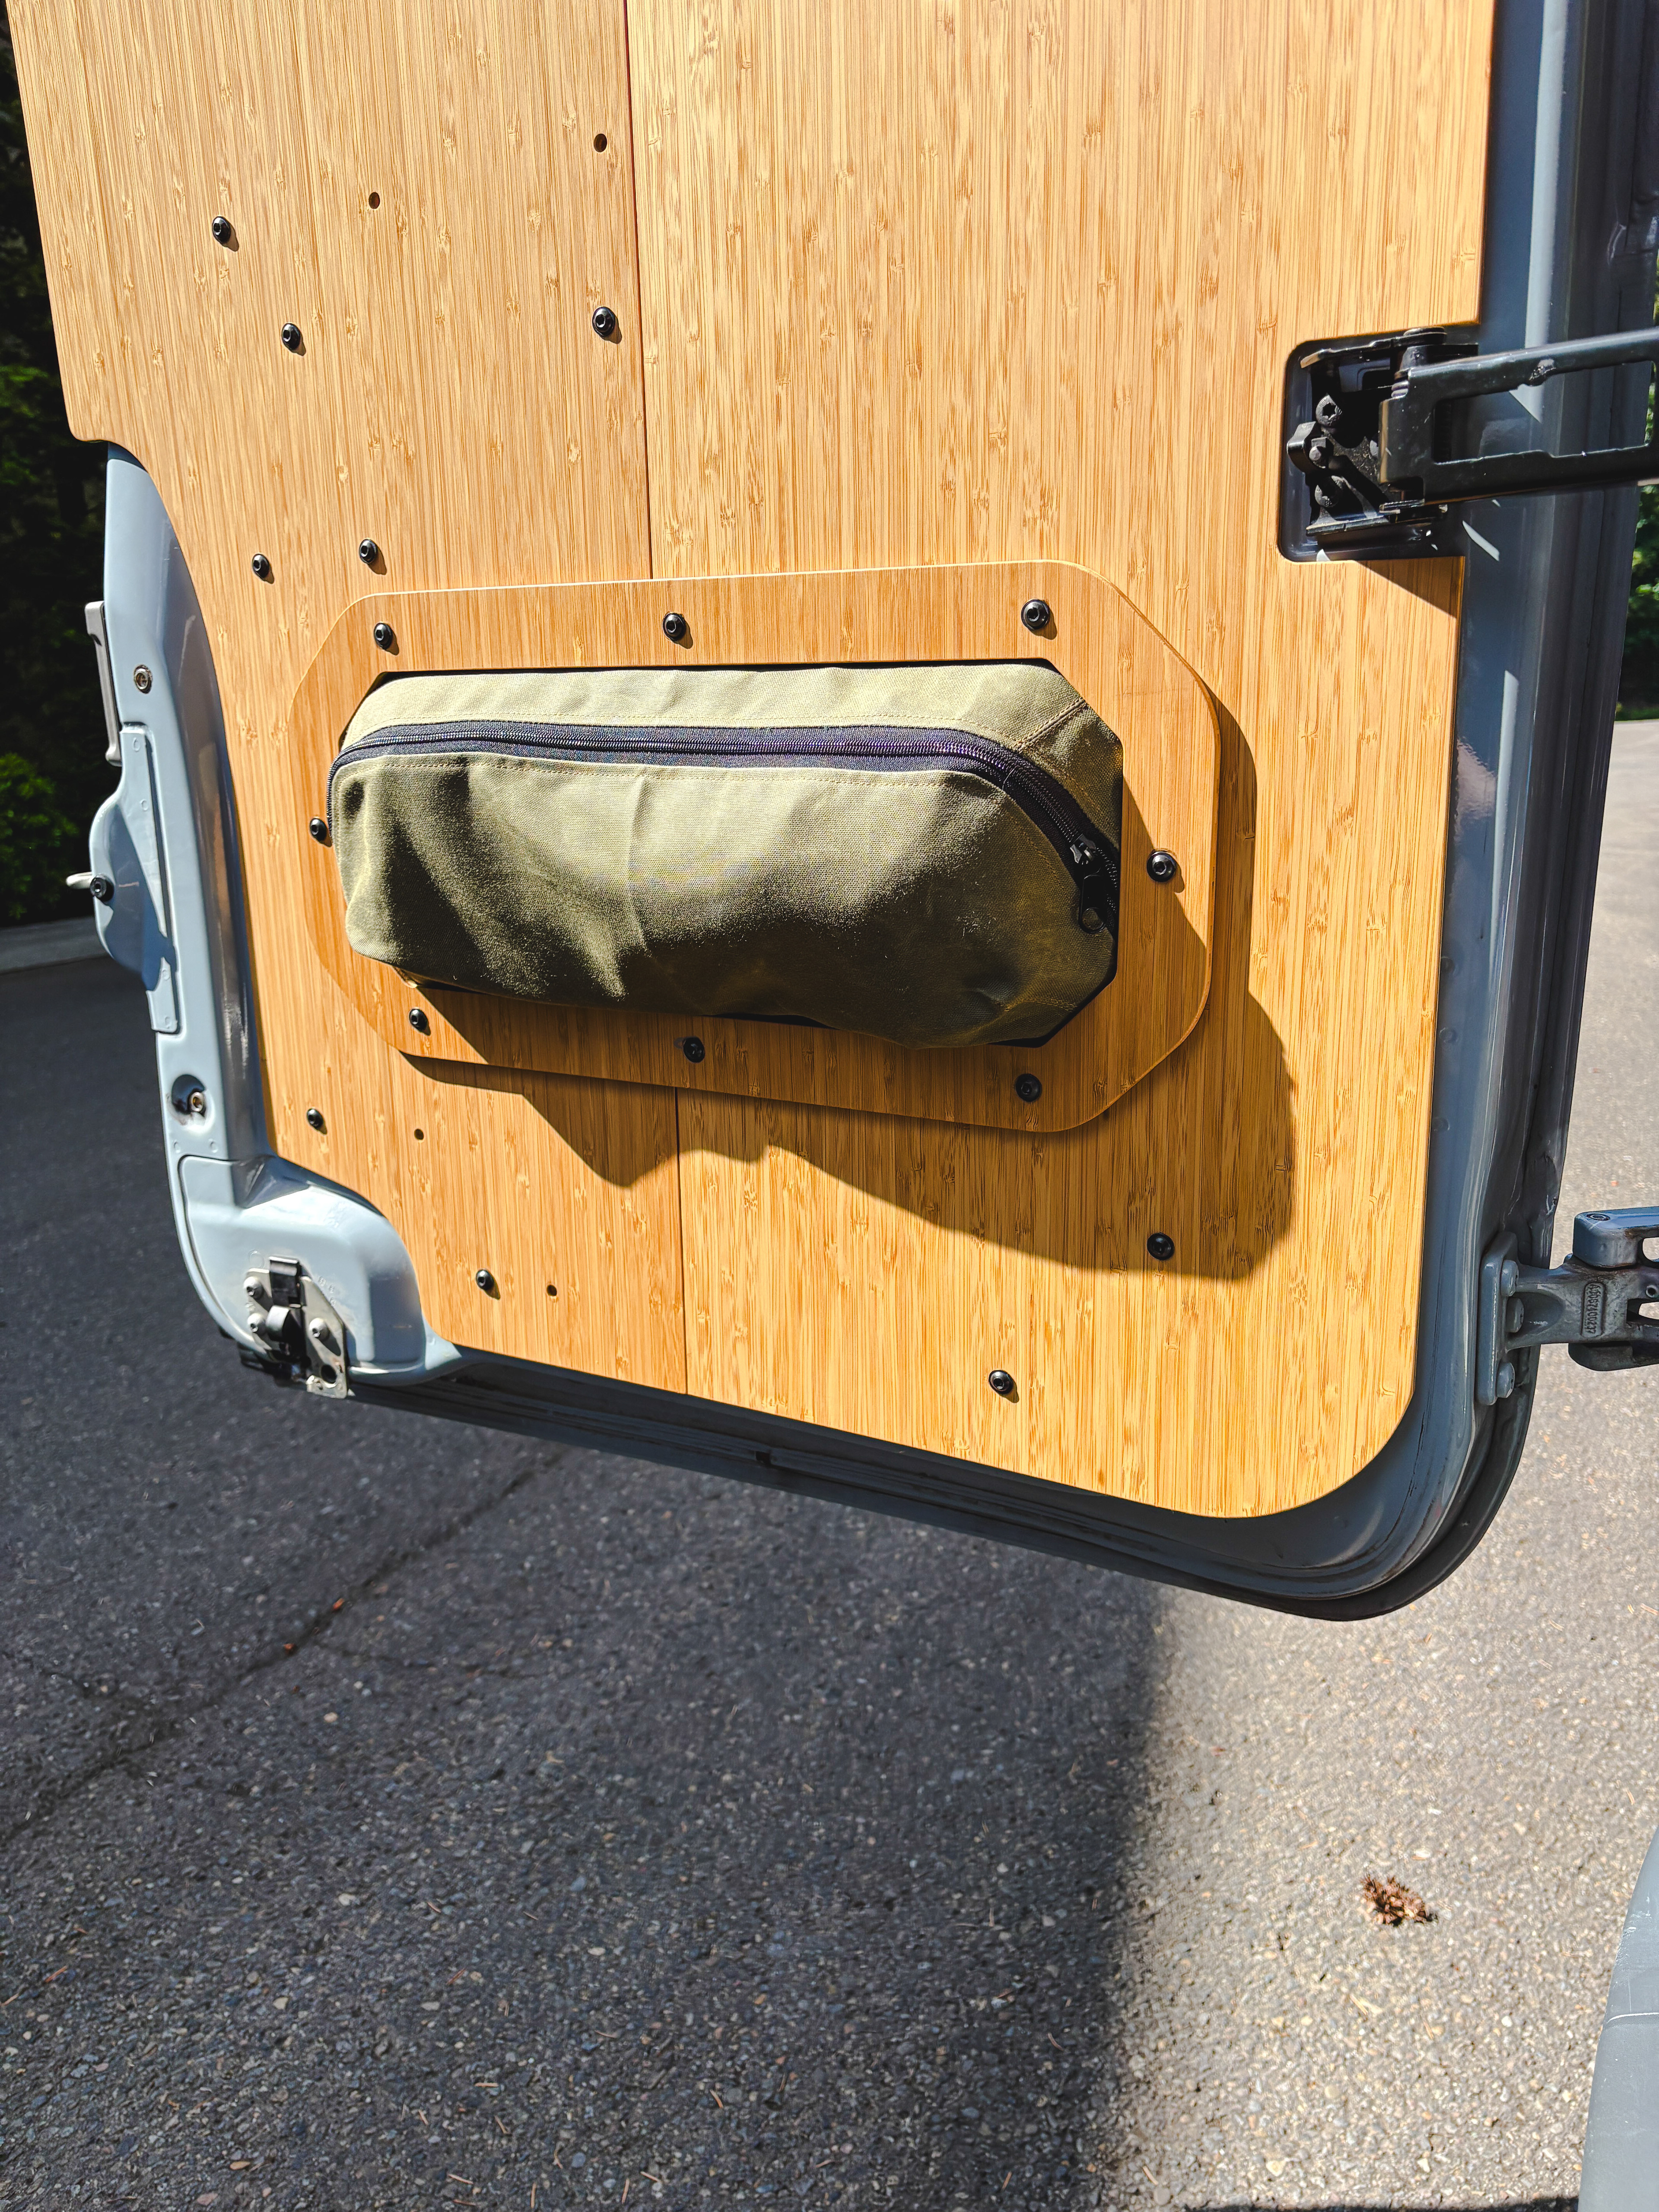
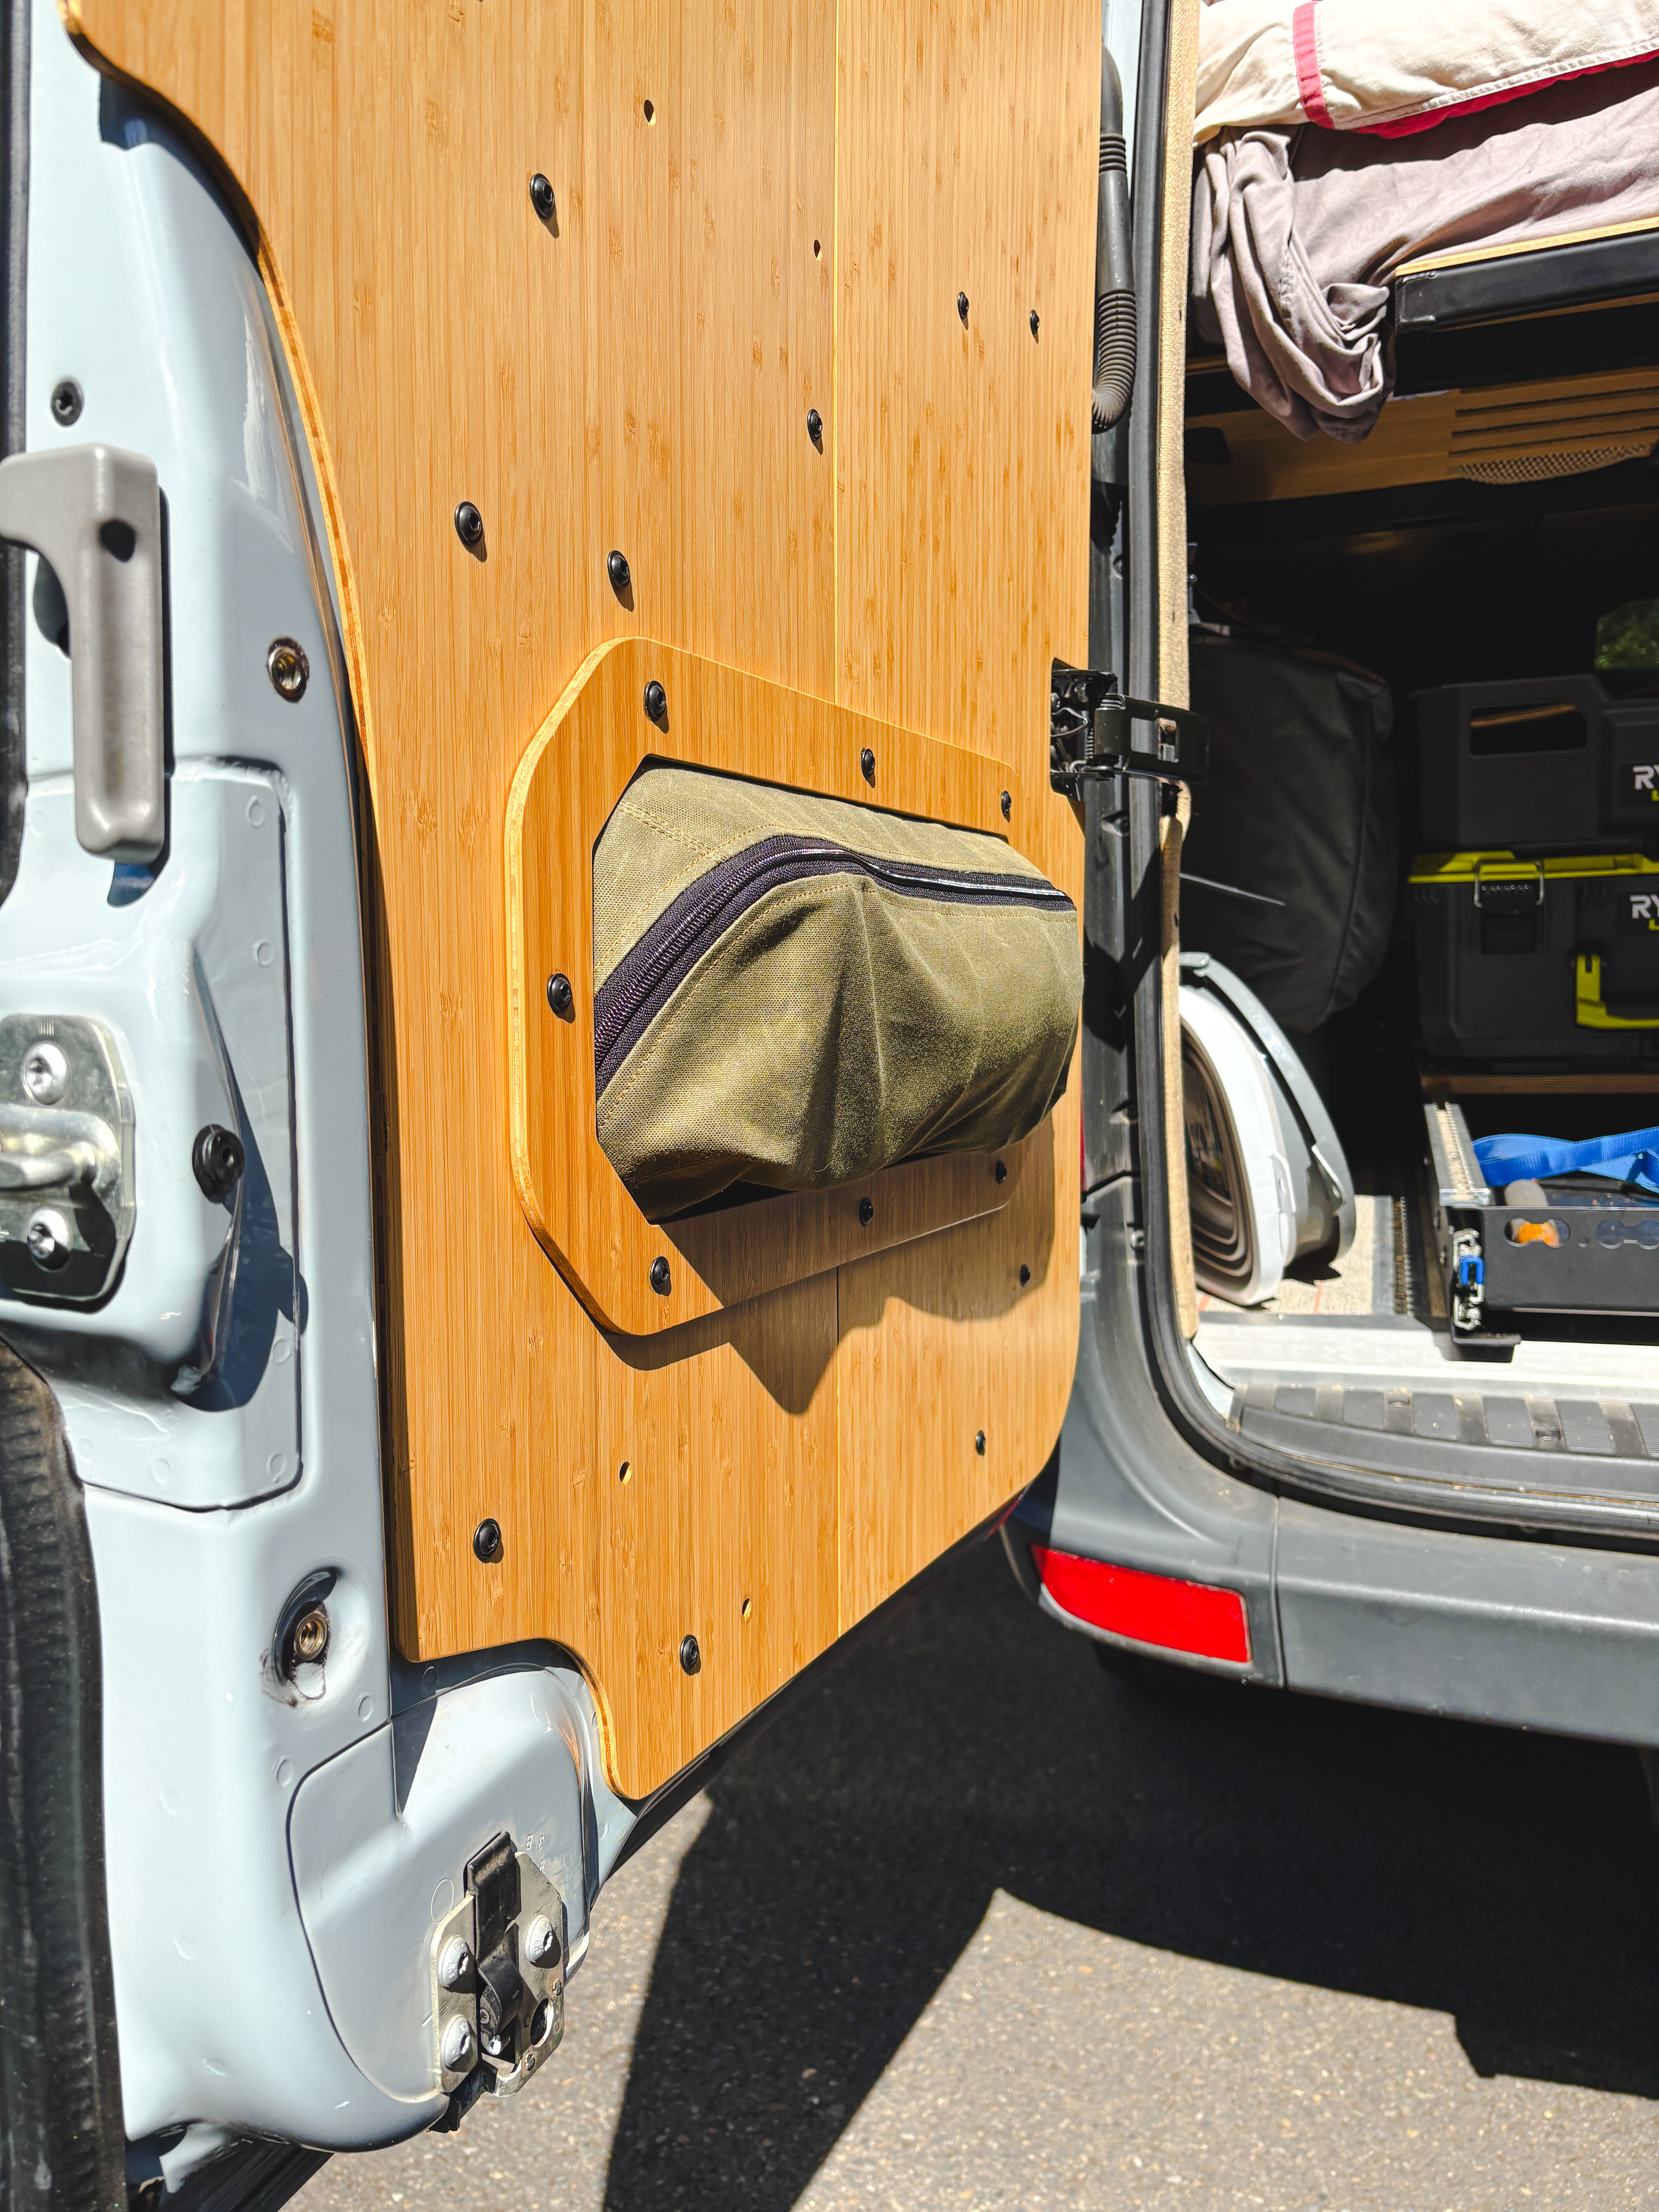
Final product